Add extra dimension to any plain gift bag with a variety of craft items and Glue Dots®. Be sure to read the tips below to find out how to make stickers bond to projects permanently.
%20copy.jpg?width=725&name=Banner%20Birthday%20Gift%20Bag%20finished%20close-up%20(2)%20copy.jpg)
Designed by: Danielle Hunter
Time: 1 hour
Level: Beginner
Size: 8" x 5 ½" x 3"
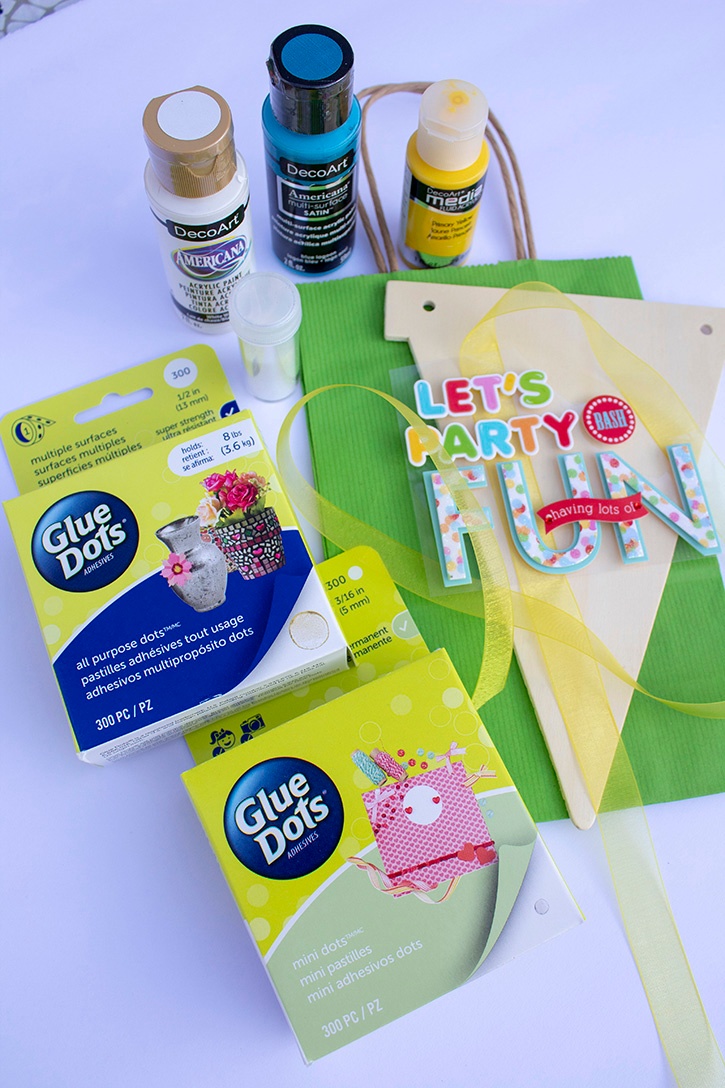
Here's what you need:
- All Purpose Dots™
- Mini Dots™
- Small hole punch
- Painter’s tape
- Paint brushes
- Small gift bag (I used green)
- ArtMinds™ wooden pendant
- Me & My Big Ideas party time stickers
- Floral Garden® sheer ribbon (yellow)
- DecoArt acrylic paint (white, yellow, blue)
- Stampendous® micro glitter (crystal)
- Clear acrylic sealer spray
Here's what you do:
Apply two coats of white acrylic paint to pendant. Allow the paint to dry between coats.
Attach painter’s tape, blocking of the top of the pendant. Apply two coats of blue acrylic paint. Let it dry and remove tape.
Use the end of a paintbrush to dab small circles of yellow acrylic paint onto pendant. Let dry.
Sprinkle micro glitter over pendant and spray one coat of clear acrylic sealer to set glitter. Let dry.
Punch two holes into the front of the gift bag (be sure that they will line up with the wooden pendant), adhere All Purpose Glue Dots® to back of pendant, and attach it to the bag making sure that you line up the holes.
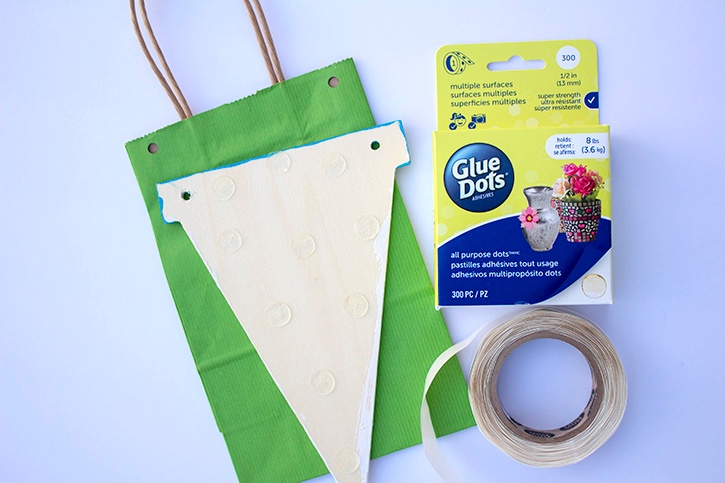
Insert your ribbon into the holes and tie a bow.
%20copy.jpg?width=725&name=Banner%20Birthday%20Gift%20Bag%20ribbon%20step%20(2)%20copy.jpg)
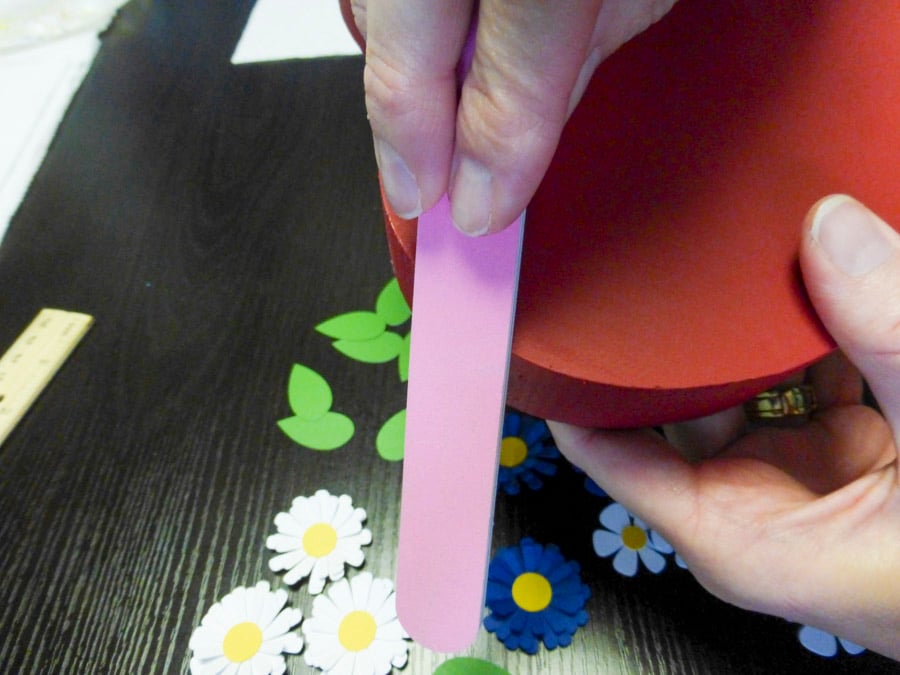
Use Mini Dots to apply the party stickers to pendant.
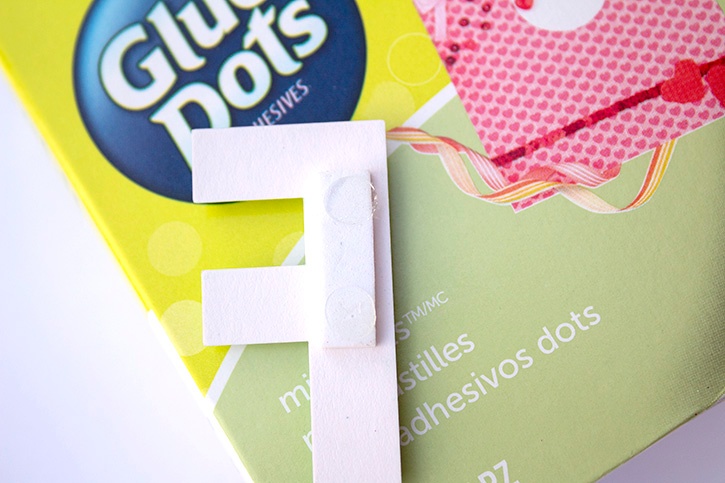
Tips: Stickers lose their adhesive abilities over time. Use Glue Dots® to bond stickers to projects for added peace of mind.
Tips: Use Glue Dots to hold the ribbon in place. A Mini Dot was added to this project behind the bow’s knot to secure placement.
~Danielle


Danielle Hunter is a multitasking mom of two creative girls. She works in human resources for a non-profit organization and is a yoga teacher in training. She lives in Northeast Ohio and has been dedicated to crafting since childhood. Danielle completed her first scrapbook at the age of four, was a scrapbooker-for-hire for several years, and has shared her knowledge in a classroom setting. She enjoys turning trash to treasure, making crafts for kids, and creating artistic projects with bold colors and fun designs. Danielle joined the very first design team for Glue Dots in 2010. Her projects have been featured in Craft Ideas and CardMaker magazines, as well as websites such as Reader’s Digest, HGTV, and Crafting a Green World.


