We love quick tips with Glue Dots, especially when they help us keep organized. This quick tip from Designer Grace will definitely help you and your scrapbook albums become a little more organized. She shows you how to make quick and easy labels with cardstock, plastic sleeves and Glue Dots.
Designed by: Grace Tolman
Time: Approximately 15 minutes
Size: 1 ¾" x 3”
I have been meaning to label my scrapbook albums but didn’t know how to deal with those books that have no spine label already added to it. With my fuse tool and Glue Dots adhesive, it was a snap to get them organized and in order. How I wish I would have thought of it sooner!
Here's what you need: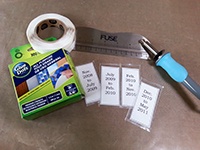
- Glue Dots® Advanced Strength Dispenser or All Purpose Glue Dots®
- White cardstock- The Paper Company
- Plastic sleeves- Avery
- Scissors
- Computer and Printer
- Fuse tool- We R Memory Keepers
Here's what you do: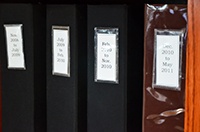
- Type your labels on a word document in your computer. Print them off on one sheet.
- Trim the labels to about 1 ½ x 2 ¾” using scissors or paper trimmer.
- Slip the labels inside the sheet protectors and create the fused pockets using the Fuse tool.
- Trim off the excess and add some Multi Purpose, Glue Dots® adhesive to the back side of the plastic labels.
- Adhere to the spine of the album.
~Grace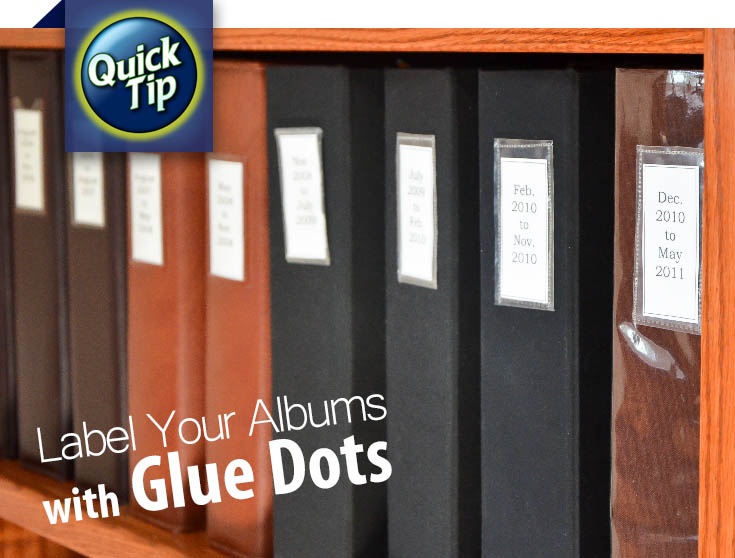

I’m a mom to a 10 year old boy and an 8 year old girl. Therefore my life is usually filled with learning, new discovery, bribery and driving to and from all of our activities. I have a loving and very supportive husband of 11 years. When the kids have gone to bed at night, my time is spent crafting while catching up on my favorite shows and movies. I also enjoy reading, window shopping, knitting and perusing blogs for inspirations. Three years ago we moved to Colorado from California and we are enjoying our new environment. I feel very inspired with my new home, my new scrapbook space and the mountain views. Although I’ve been doing some type of scrapbooking since grade school, I only started to scrapbook seriously after my son was born. When he was born I knew I would be staying at home with him but coming from a fast paced sales job I was afraid I would ran out of things to do during the day. Little did I know that with newborns you won’t have any time to do anything else. Anyways, after going through a basic scrapbooking class I was hooked and haven’t stopped scrapping since.


