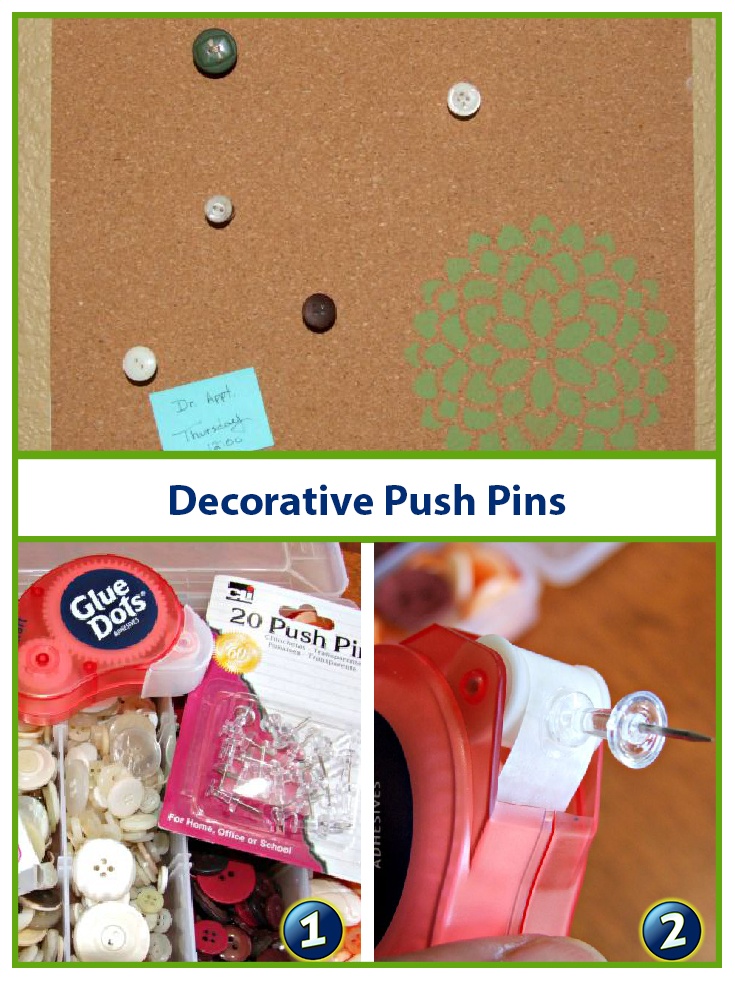
Whether you're winding down your school year, re-organizing your home office, or getting ready for the next school year, you can give your cork boards a bright new look with decorative push pins. All you need are Glue Dots and embellishments.
Designed by: Donna Budzynski
Time: 5-10 Minutes (depending upon how many you make)
Level: Beginner
Here's what you need:
- Craft Glue Dots®
- Micro Glue Dots®
- Embellishments
- Push Pins
Here's what you do: 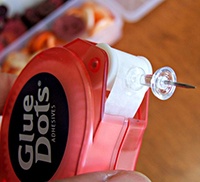
- Select the embellishments you want on your pushpins along with the size of Glue Dots adhesive. Craft Glue Dots are 3/8" in diameter and Micro Glue Dots are 1/8" in diameter.
- Press the pushpin onto the adhesive as shown. Use the wheel on the side of the dispenser to advance a Glue Dots to the front of the nose roller. You can also press the embellishment onto the adhesive and peel the embellishment away from the liner to release.
- Press the embellishment firmly onto the pushpin and you're done!
Now your freshly decorated cork boards will look extra cute with decorative push pins. Mix them up or make a matching set - you can add any types of embellishments to your push pins using Glue Dots.
Happy organizing!
~Donna
Use either format of Craft Glue Dots to complete this project:
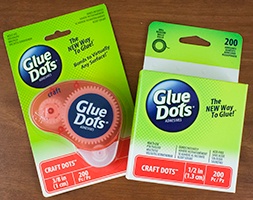
Glue Dots Products are available at:
![]()


The Team at Glue Dots consists of three highly creative individuals who find new ways and uses for Glue Dots products for every day life. We hope you like what we create. :-)


