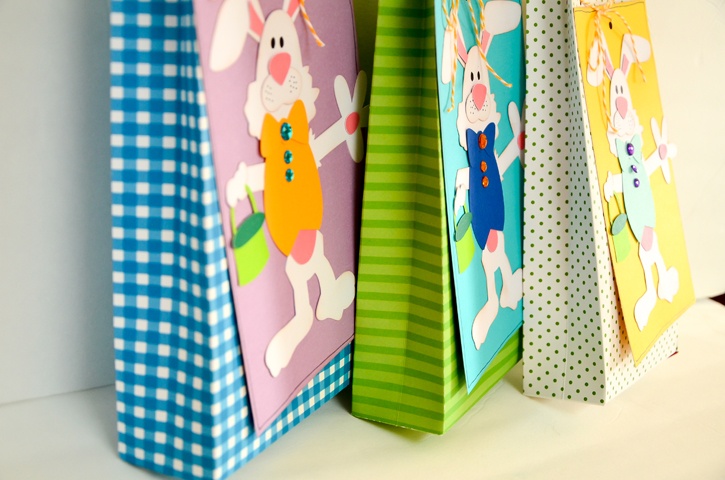
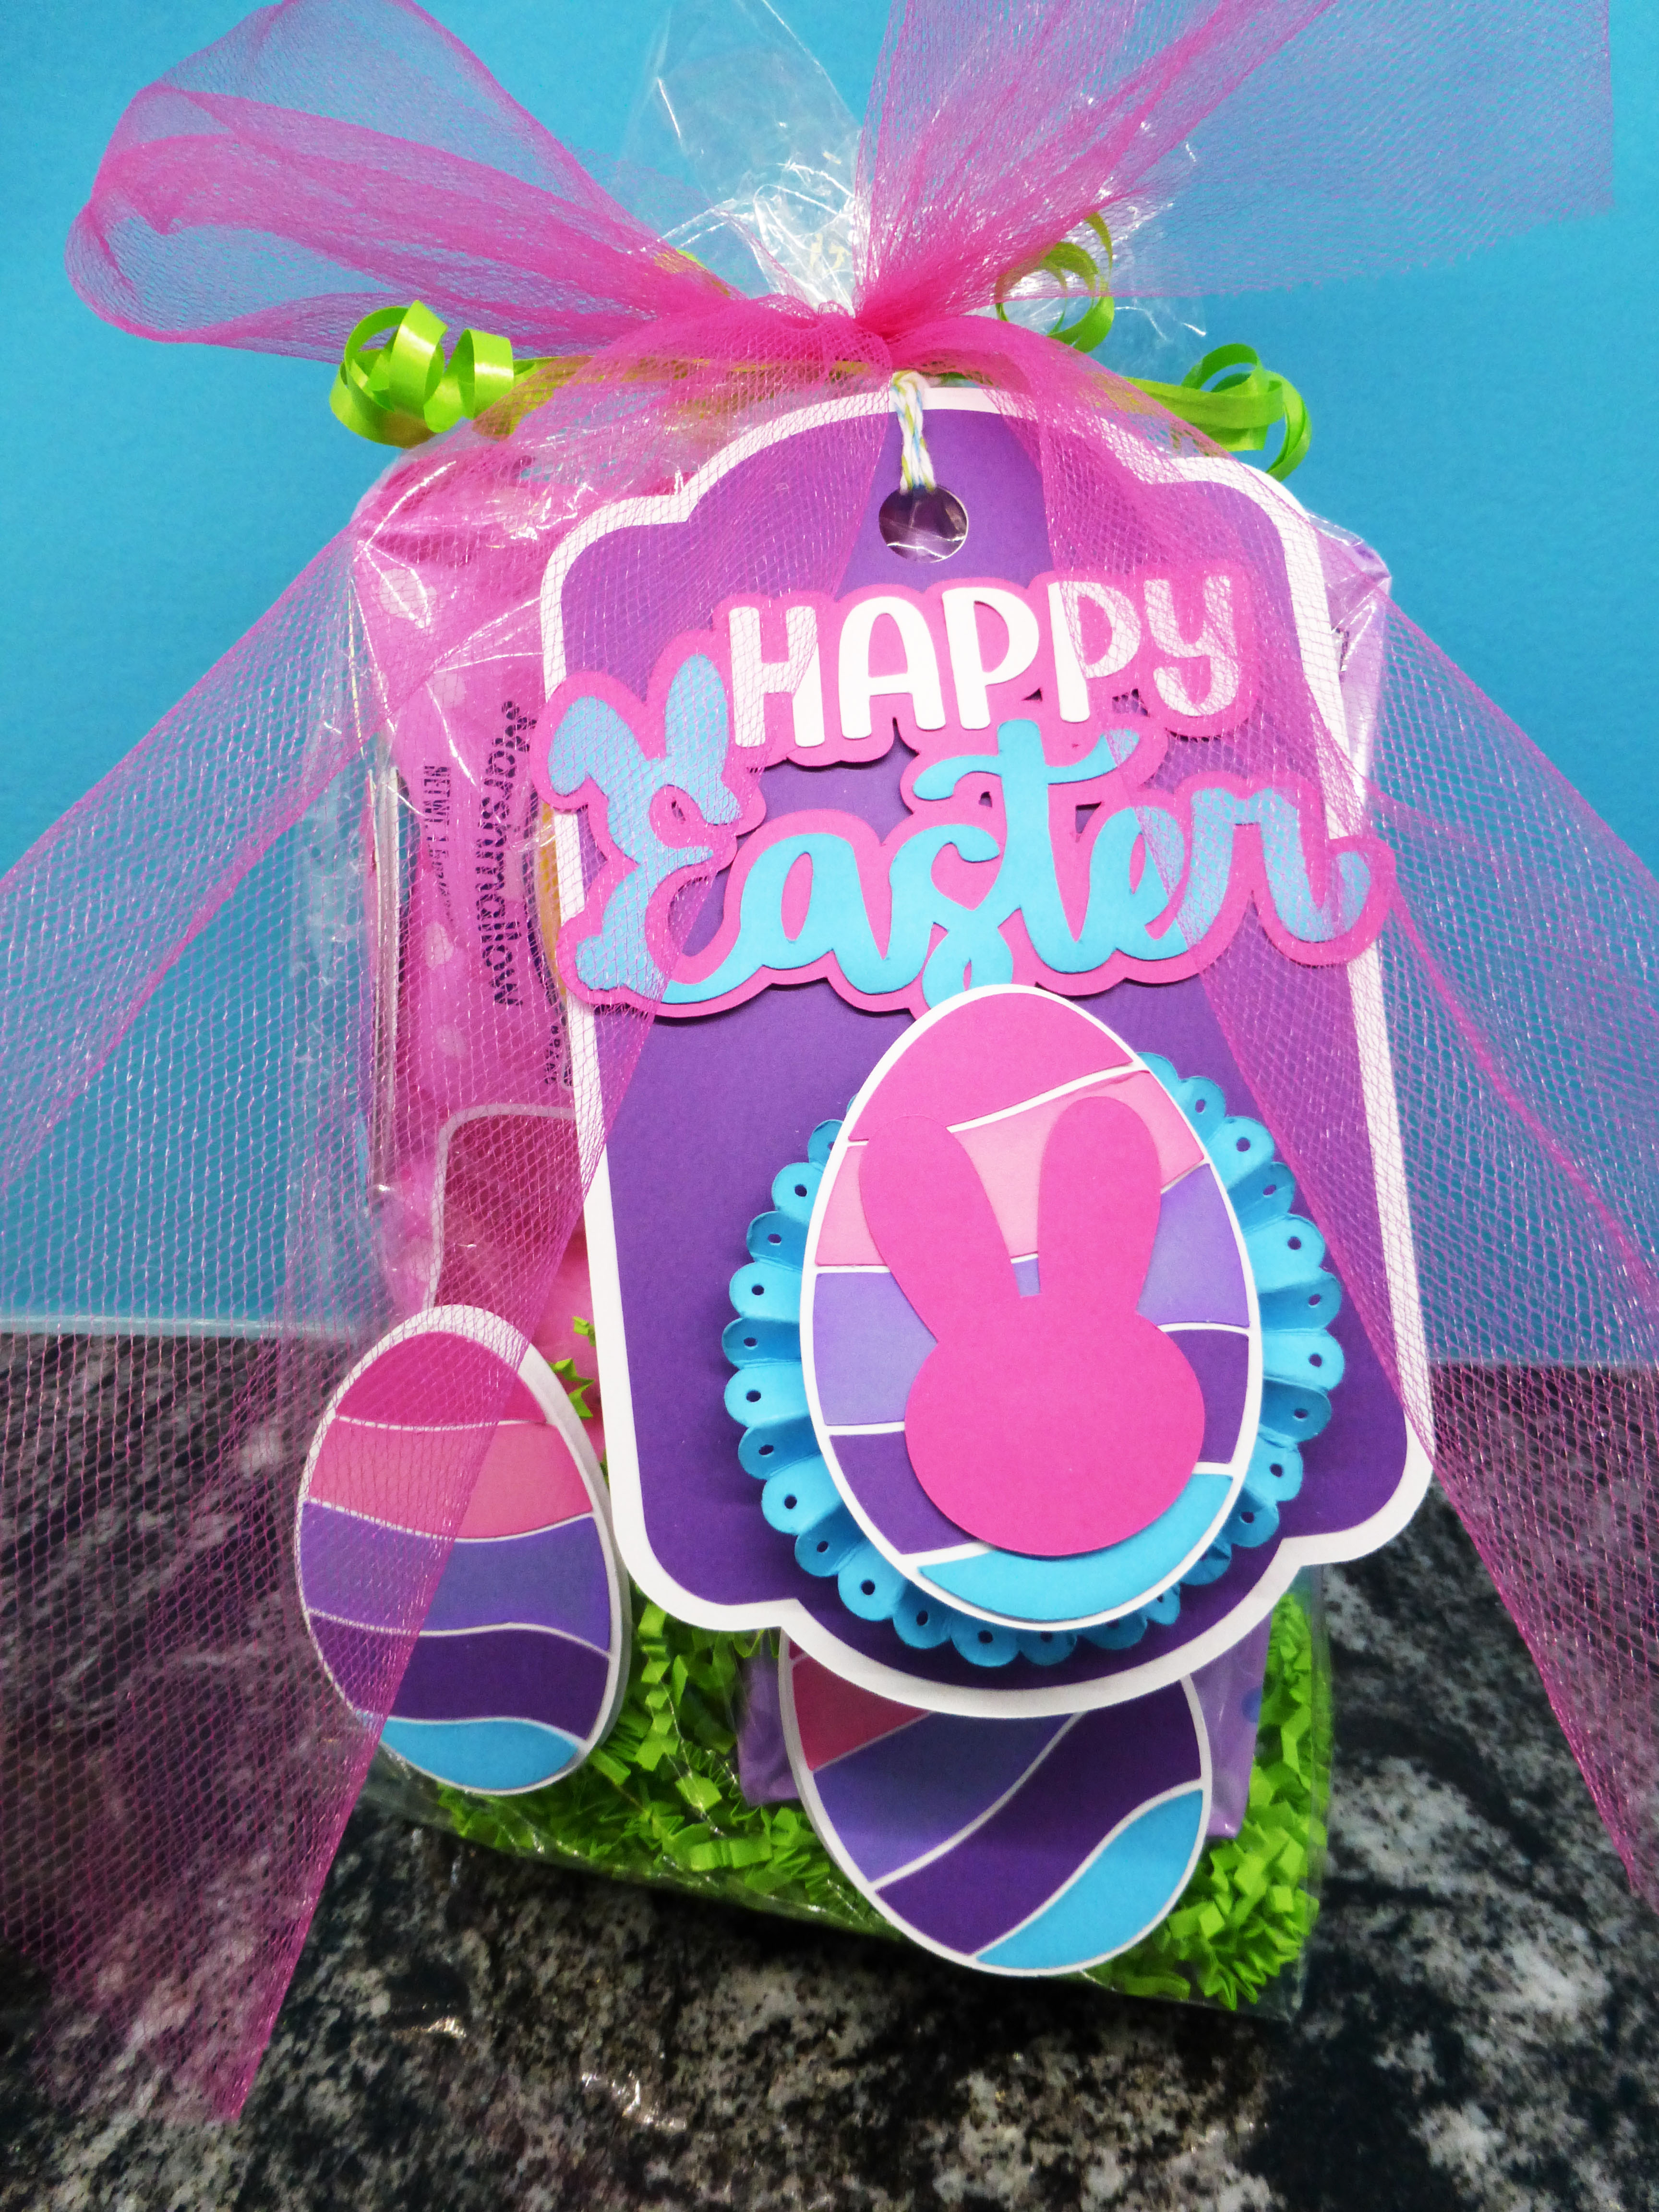
I haven’t done paper piecing projects in a long time. However when I first saw the new Permanent Premium GlueTape from Glue Dots, I knew that this type of project is the best way to test this new adhesive. Adding the cute Easter bunny to a card, scrapbook page, or in my case a treat bag makes any project super cute and special.
Designed by: Grace Tolman
Time: Approximately 45 minutes (for 3 bags)
Level: Intermediate
Size: 9 ¾” x 5” x 2”
Here's what you need:
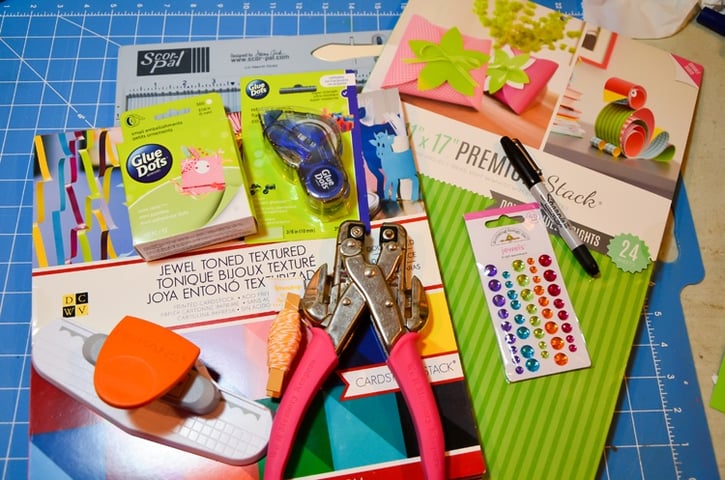
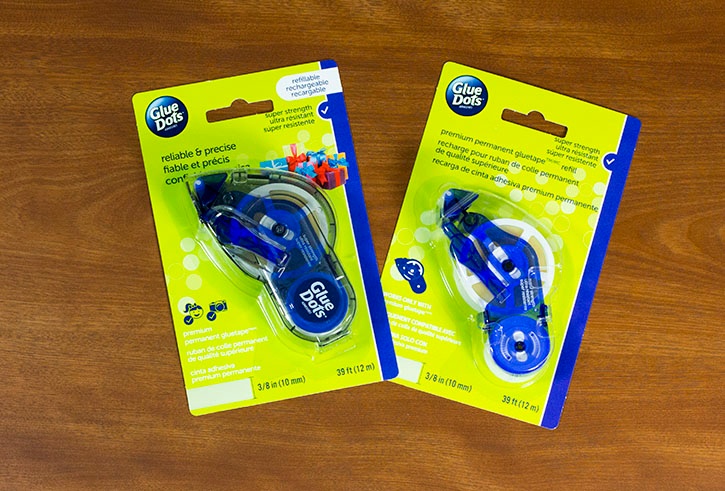
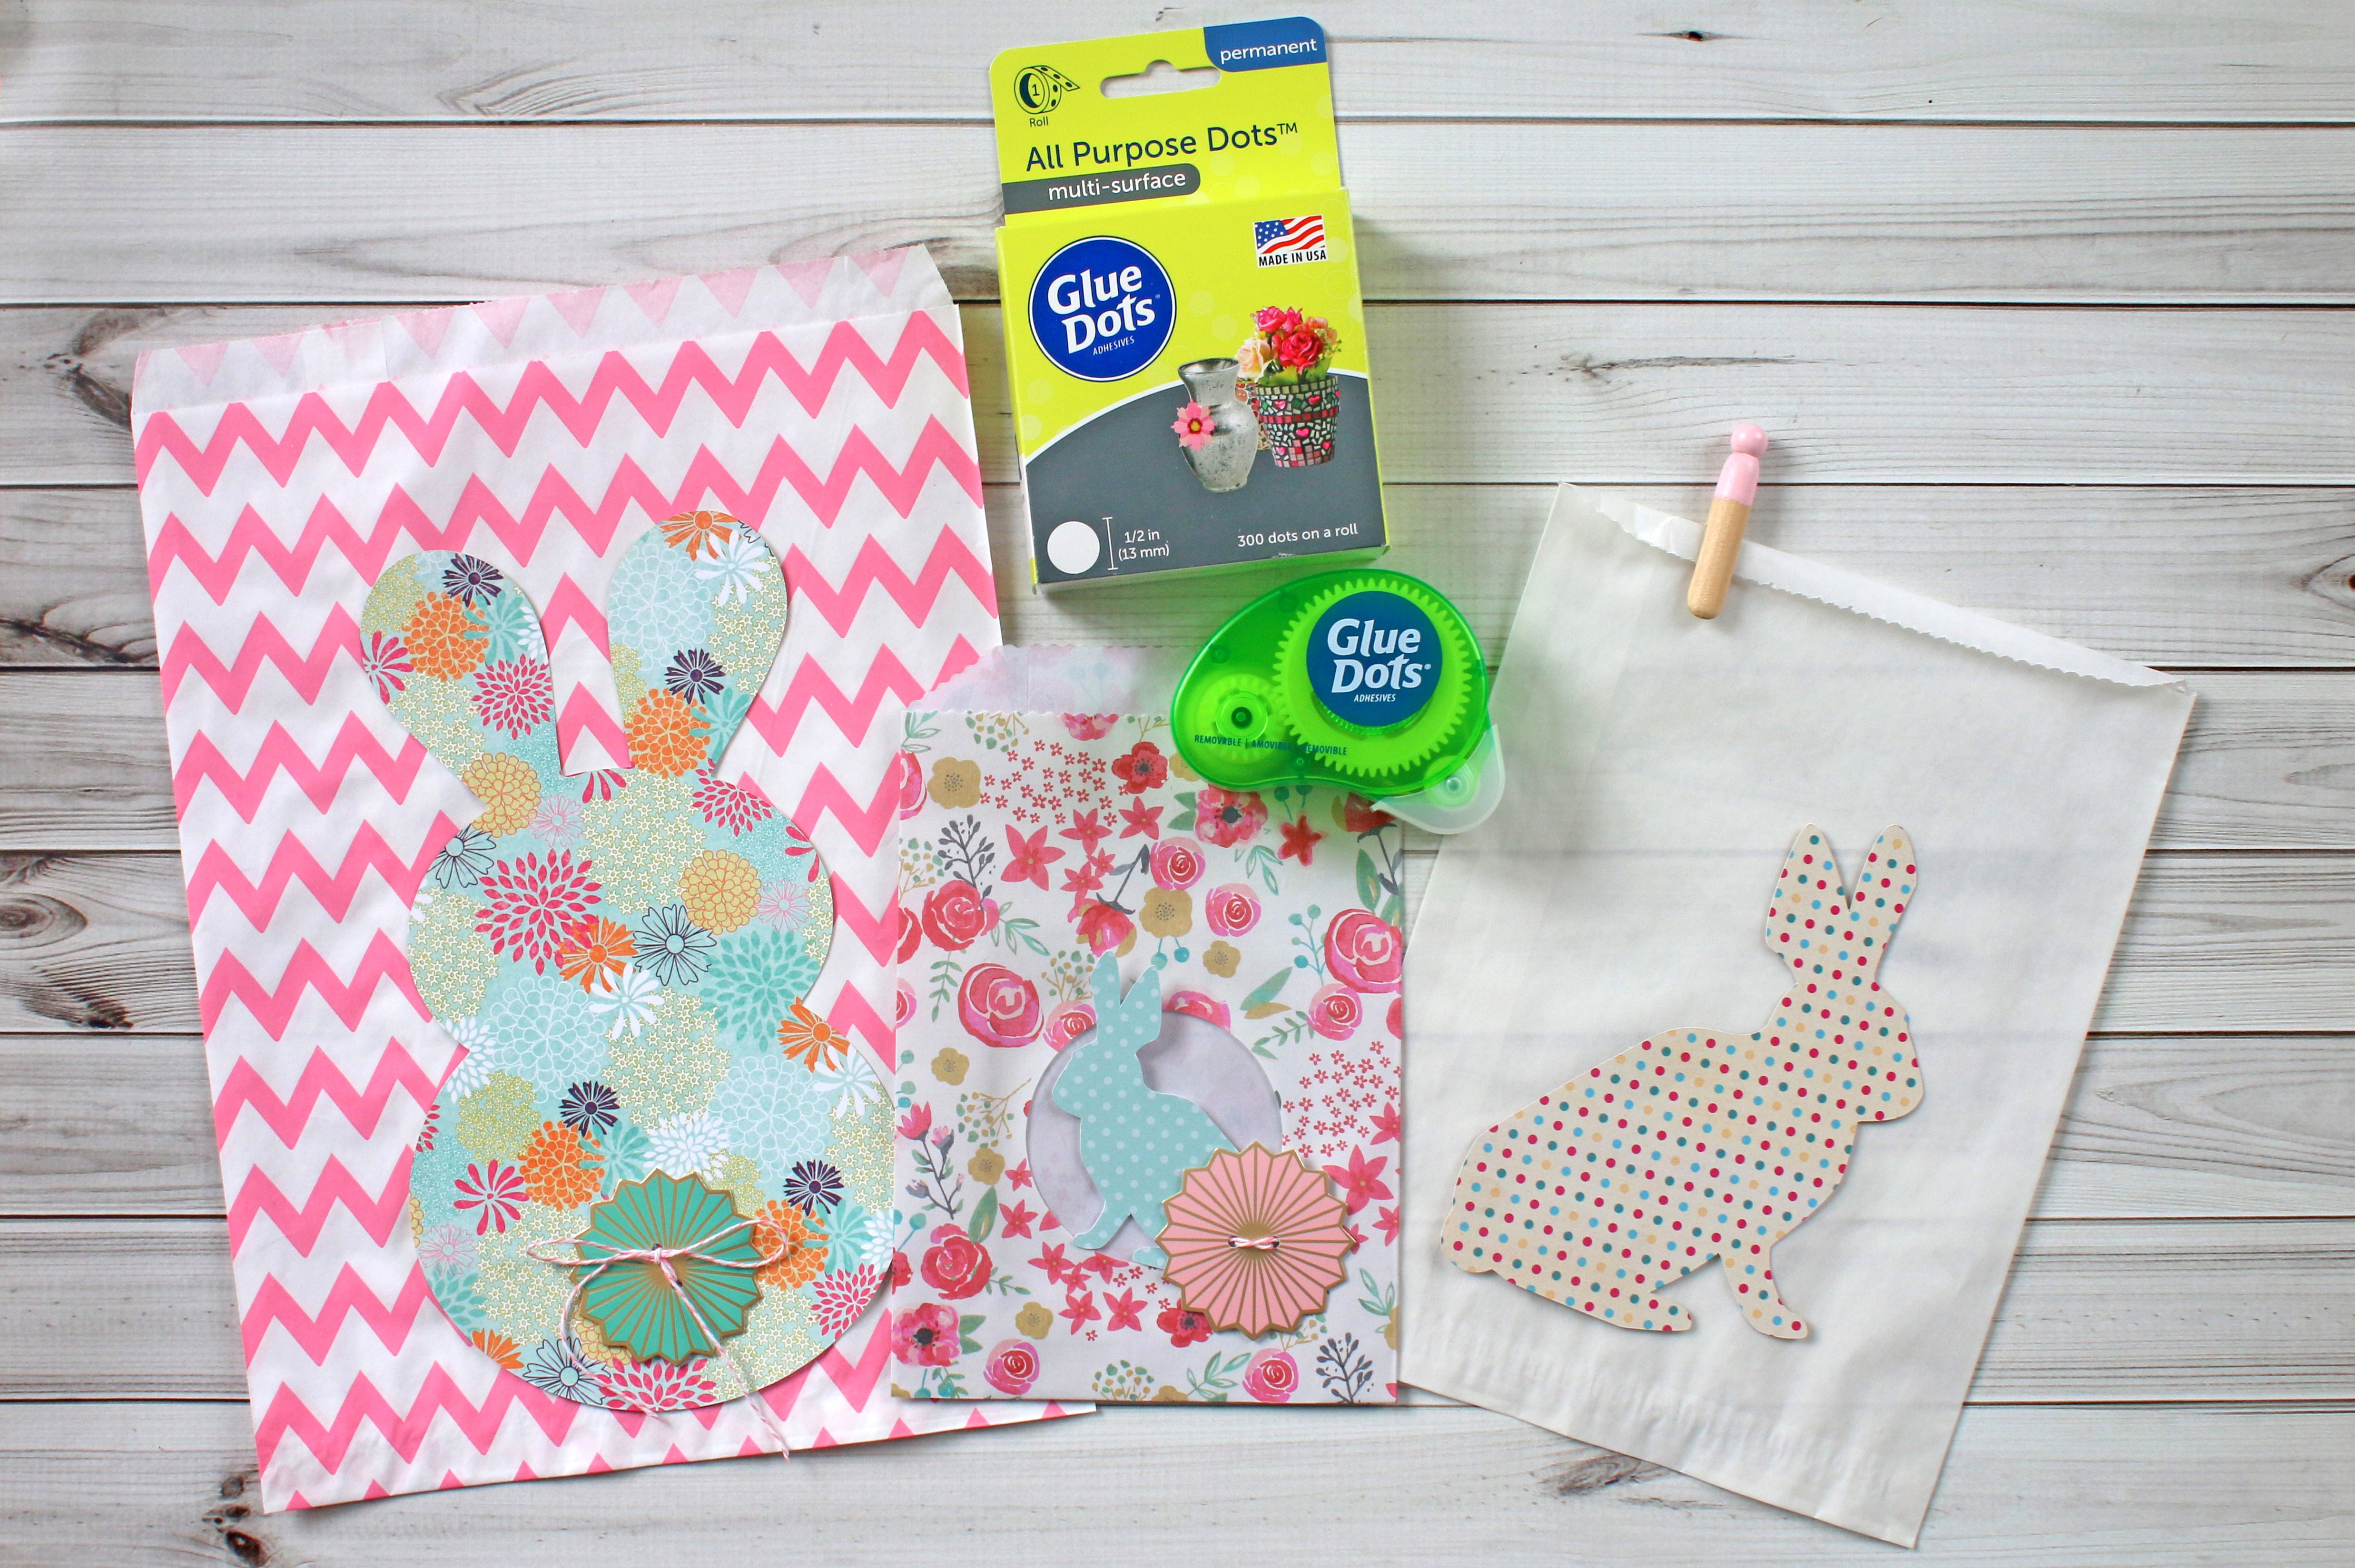
- Premium Permanent GlueTape™ - NEW from Glue Dots®
- Mini Glue Dots®
- 11x17 Premium Stack, Die Cuts with a View
- Jewel toned cardstock, Die cuts with a View
- Twine
- Rhinestones
- Die cut machine- Cameo, Silhouette
- Cut file- Easter bunny, Silhouette Store
- Scallop border punch- Fiskars
- Black marker
- Brown Ink
- Hole punch
- Scissors
Here's what you do:
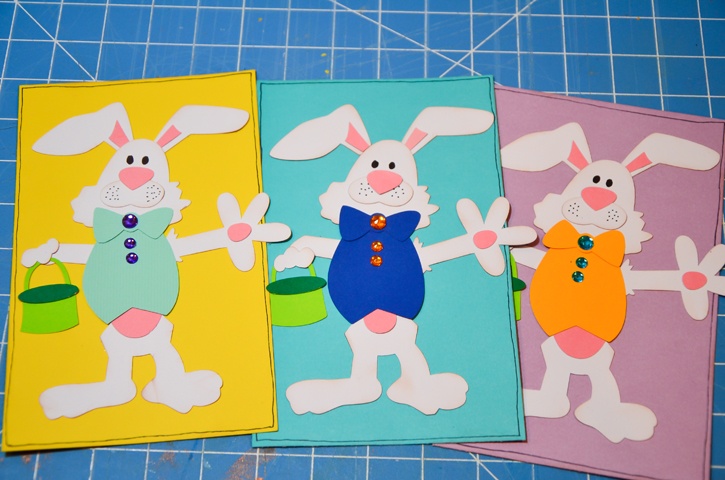
Cut the necessary pieces to your Easter bunny image with your die cut machine and cut file. Use various cardstocks if desired.
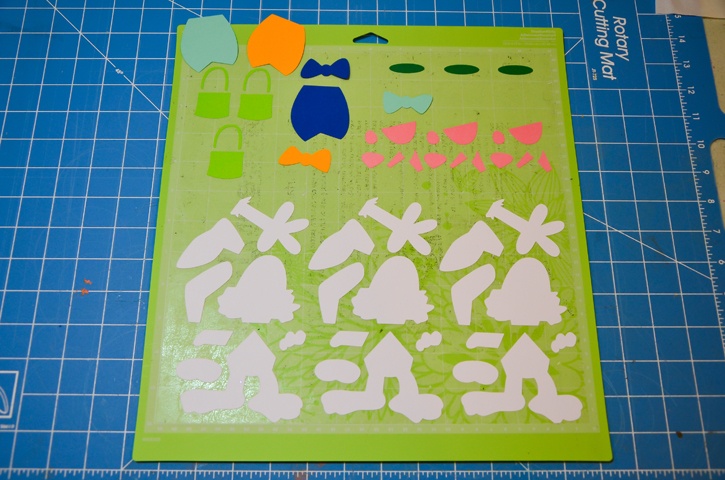
Lay out the pieces and assemble the image. Ink the edges of the bunny’s body with brown ink for a more dimensional look. Adhere the pieces onto an 8” x 5” piece of cardstock using NEW Permanent Premium GlueTape from Glue Dots and Mini Glue Dots.
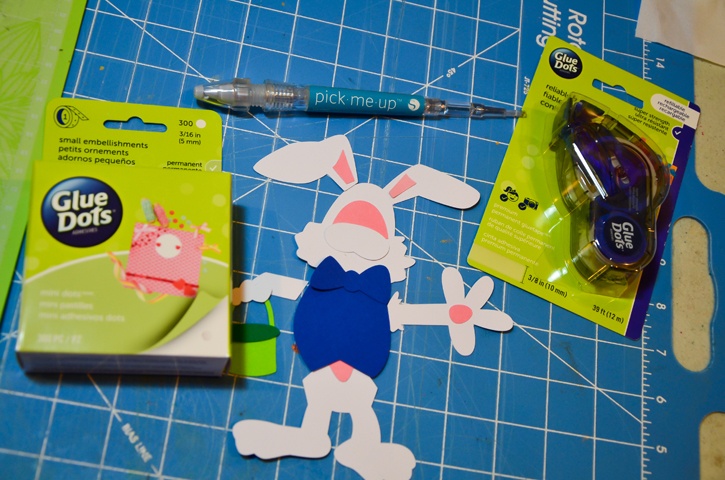
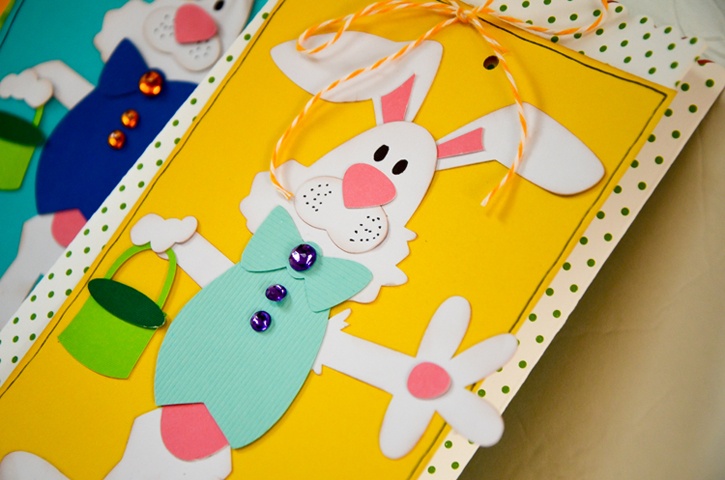
Add the eyes and freckles to the bunny using the black marker. You can also add a pen line border around the cardstock piece, using the same black marker. Use Mini Glue Dots to adhere the rhinestones onto the bow tie and shirt of the bunny for more whimsical look.
For the bag, take the 11"x17" piece of pattern paper, turn it horizontally and then score at 2 ½”, 3 ½”, 7 ½”, 8 ½”, and 11”. Turn the paper vertically and score 1” off the edge of one side of the paper.
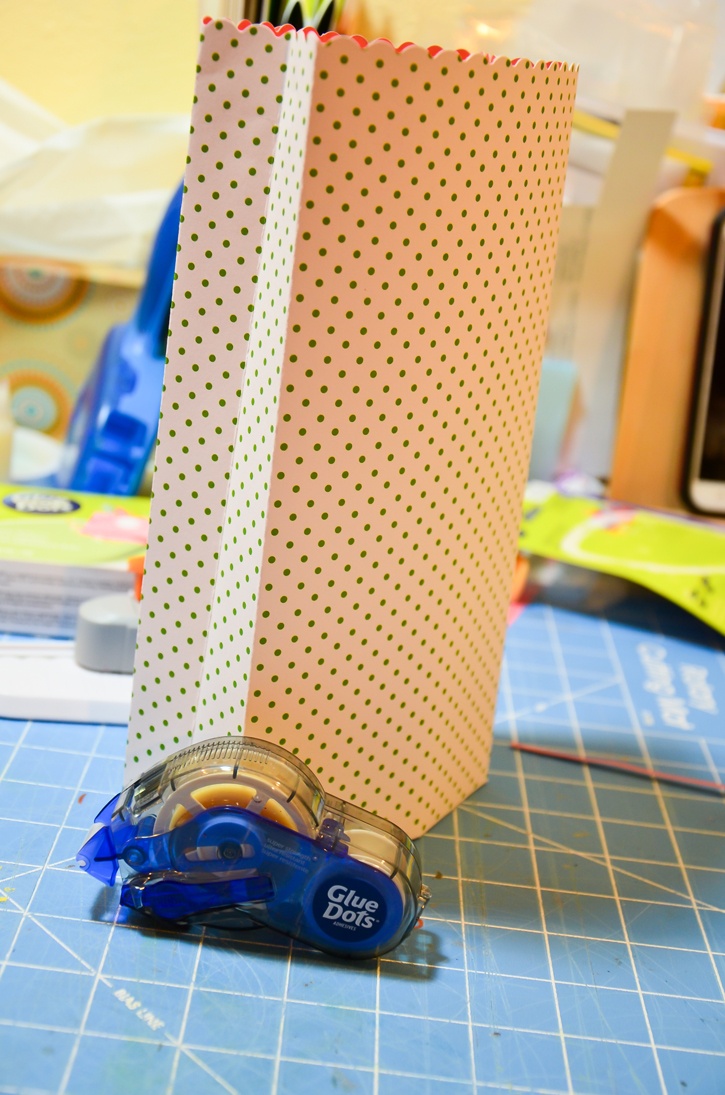
Create a border on the side where you did not place the 1” score line using a scallop border punch. Fold the papers on the score lines creating the paper bag. Use Permanent Premium GlueTape to put together the bag.
Punch two holes on the top of the bag. Thread the twine through it. Punch one hole on the top of the Easter bunny large tag and thread the twine through it.
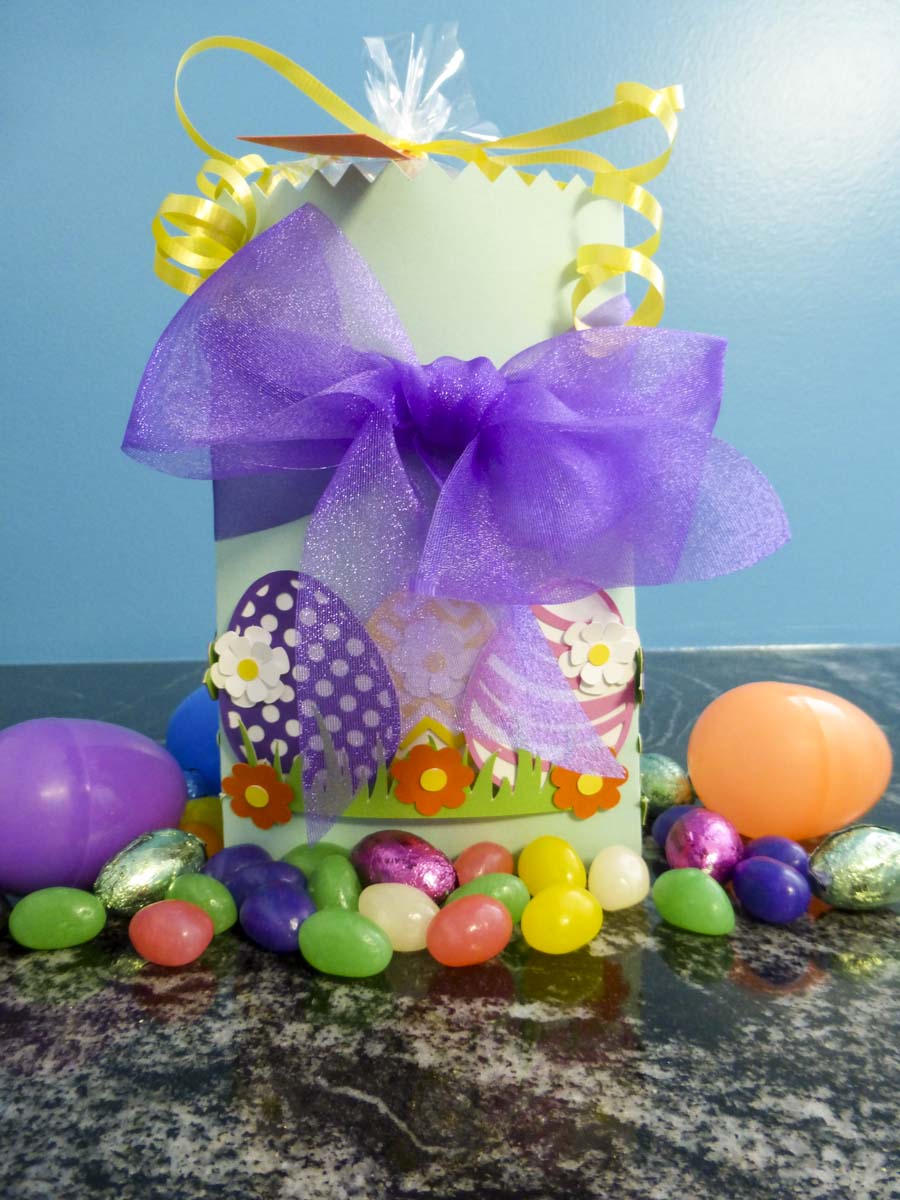
Place any treats you wish to add inside the bag and tie the twines together into a bow to close it. Repeat the steps for as many bags as you wish to create.
Don't forget to Pin this project for later!

Find NEW Premium GlueTape at retailers listed below:
Use either format of Mini Glue Dots show below to complete this project:


I’m a mom to a 10 year old boy and an 8 year old girl. Therefore my life is usually filled with learning, new discovery, bribery and driving to and from all of our activities. I have a loving and very supportive husband of 11 years. When the kids have gone to bed at night, my time is spent crafting while catching up on my favorite shows and movies. I also enjoy reading, window shopping, knitting and perusing blogs for inspirations. Three years ago we moved to Colorado from California and we are enjoying our new environment. I feel very inspired with my new home, my new scrapbook space and the mountain views. Although I’ve been doing some type of scrapbooking since grade school, I only started to scrapbook seriously after my son was born. When he was born I knew I would be staying at home with him but coming from a fast paced sales job I was afraid I would ran out of things to do during the day. Little did I know that with newborns you won’t have any time to do anything else. Anyways, after going through a basic scrapbooking class I was hooked and haven’t stopped scrapping since.


