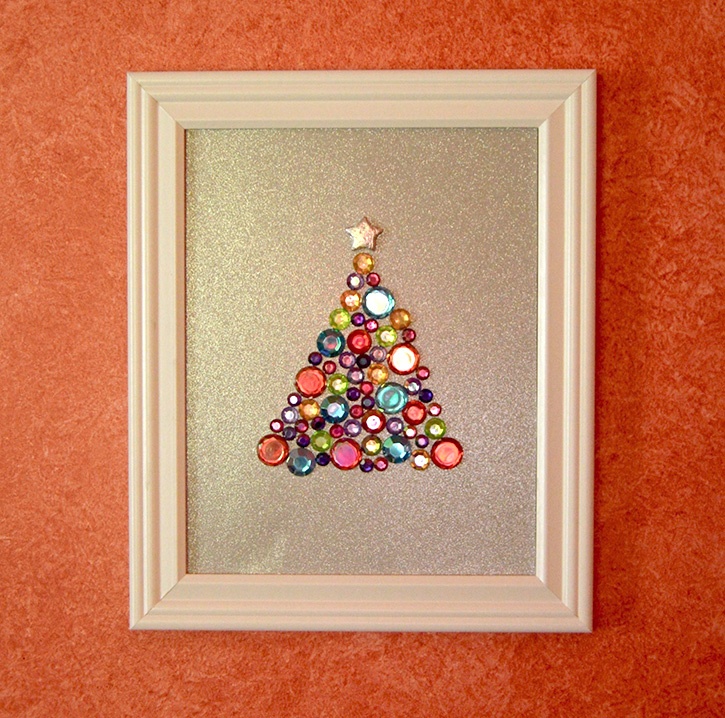
Decorate your walls with this Glittery Gem Tree. The sparkles will capture your eye. Alter the color scheme to suit your decor. Consider making a few for great house warming gifts this season.
Designer: Janet Van Lone Trieschman
Level: Quick and Easy
Time: 30 minutes
Size: 8 x 10 inches
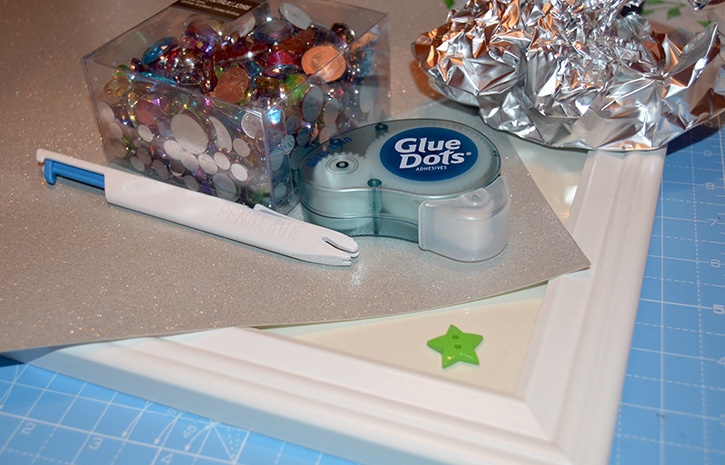
Supplies:
- Ultra-Thin Dots™
- Mini Dots™
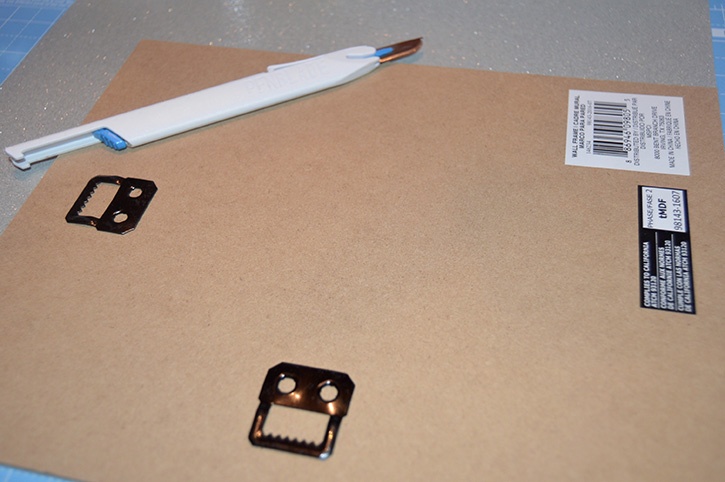
- 8" x 10" frame (minus glass)
- Scrapbook paper
- Aluminum foil
- Star shaped button
- Glitter gems
- Cutting knife
- Scrap paper for template
Directions:
Cut the scrapbooking paper to fit the size of your frame.
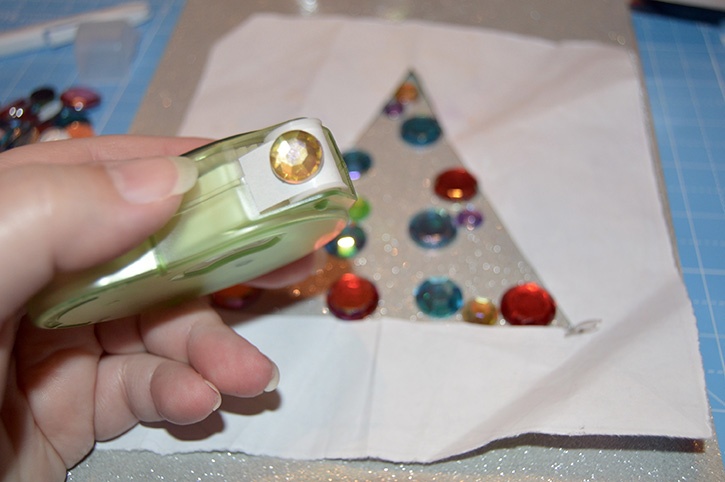
Using a scrap piece of paper, fold it in half and cut out a triangle. This is your template for where to place the Gems. Place the scrapbook paper down and align your template on top. (You could use Removable Dots to hold it in place.) Start with the large gems, balance the color placement. Use Ultra-Thin Dots to secure the Gems in place.
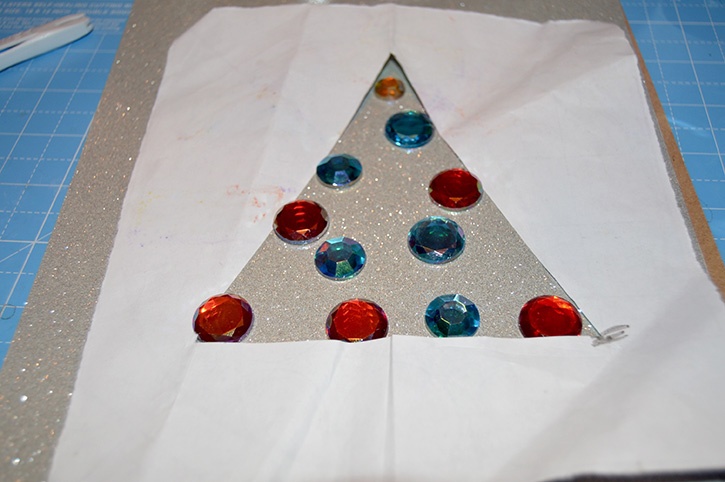
Move to the medium sized gems and place them between and around the larger gems. Once again, balance the placement of the colors. Finally, fill in the remaining open areas with the smallest gems, adhering them with Mini Dots.
Remove and discard the template. Wrap the star button with aluminum foil. 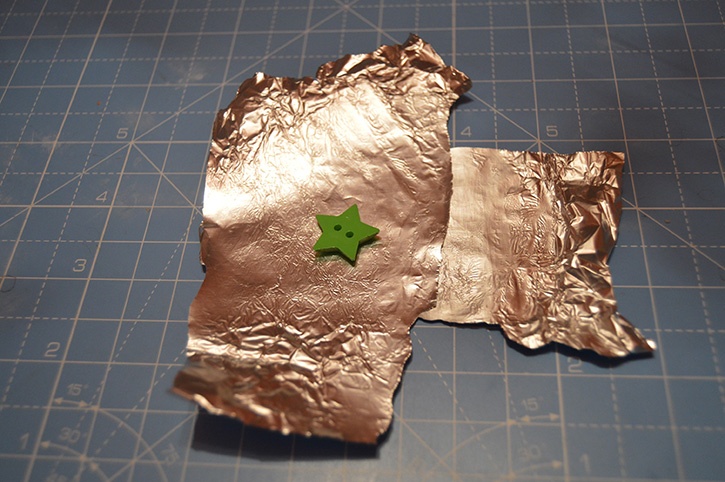 Burnish it to gain a smooth surface.
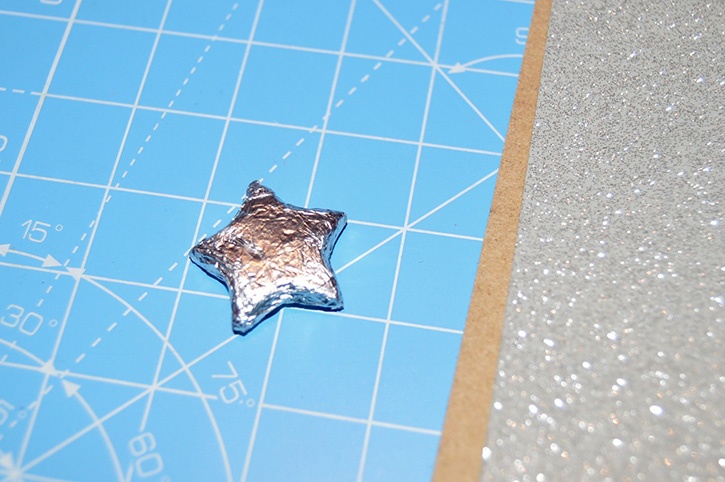
Use an Ultra Thin Dot to place it at the top of the tree.
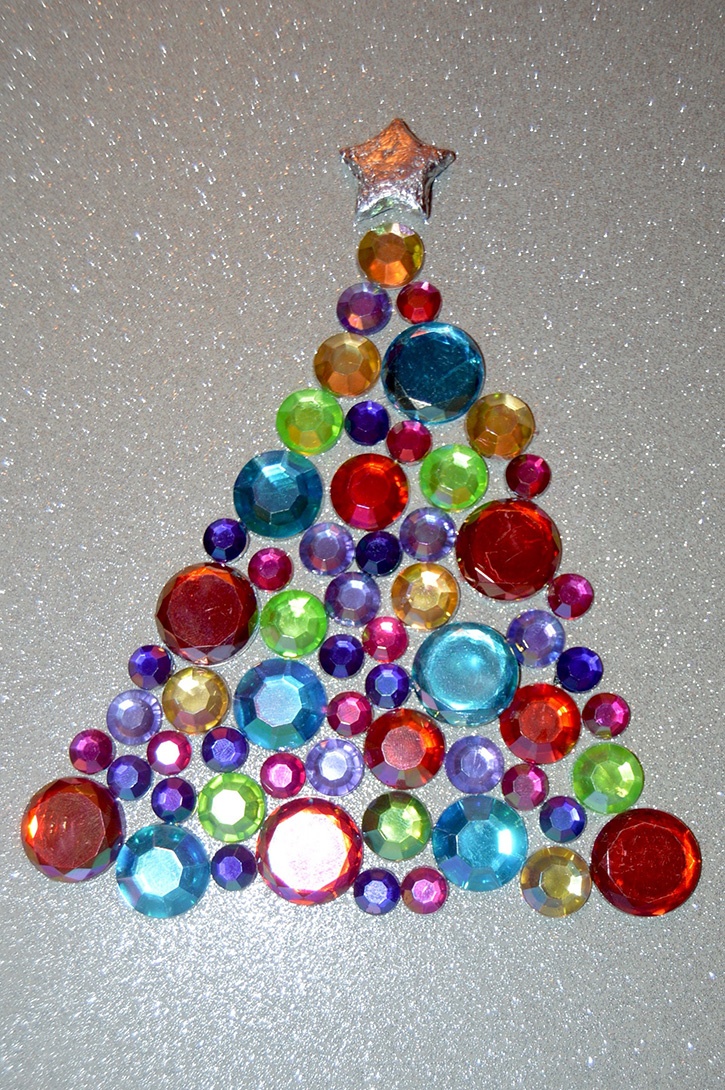
When you are satisfied with the finished tree, place your work in the frame. (Do not use the glass.) Your work is ready to be hung.
~ Janet


Janet Van Lone Trieschman nowadays is a stay at home mom who loves to create. She left a prosperous career as a college professor teaching Graphic Design to raise her family. Looking for a creative outlet, Janet started a website; Try it – Like it.


