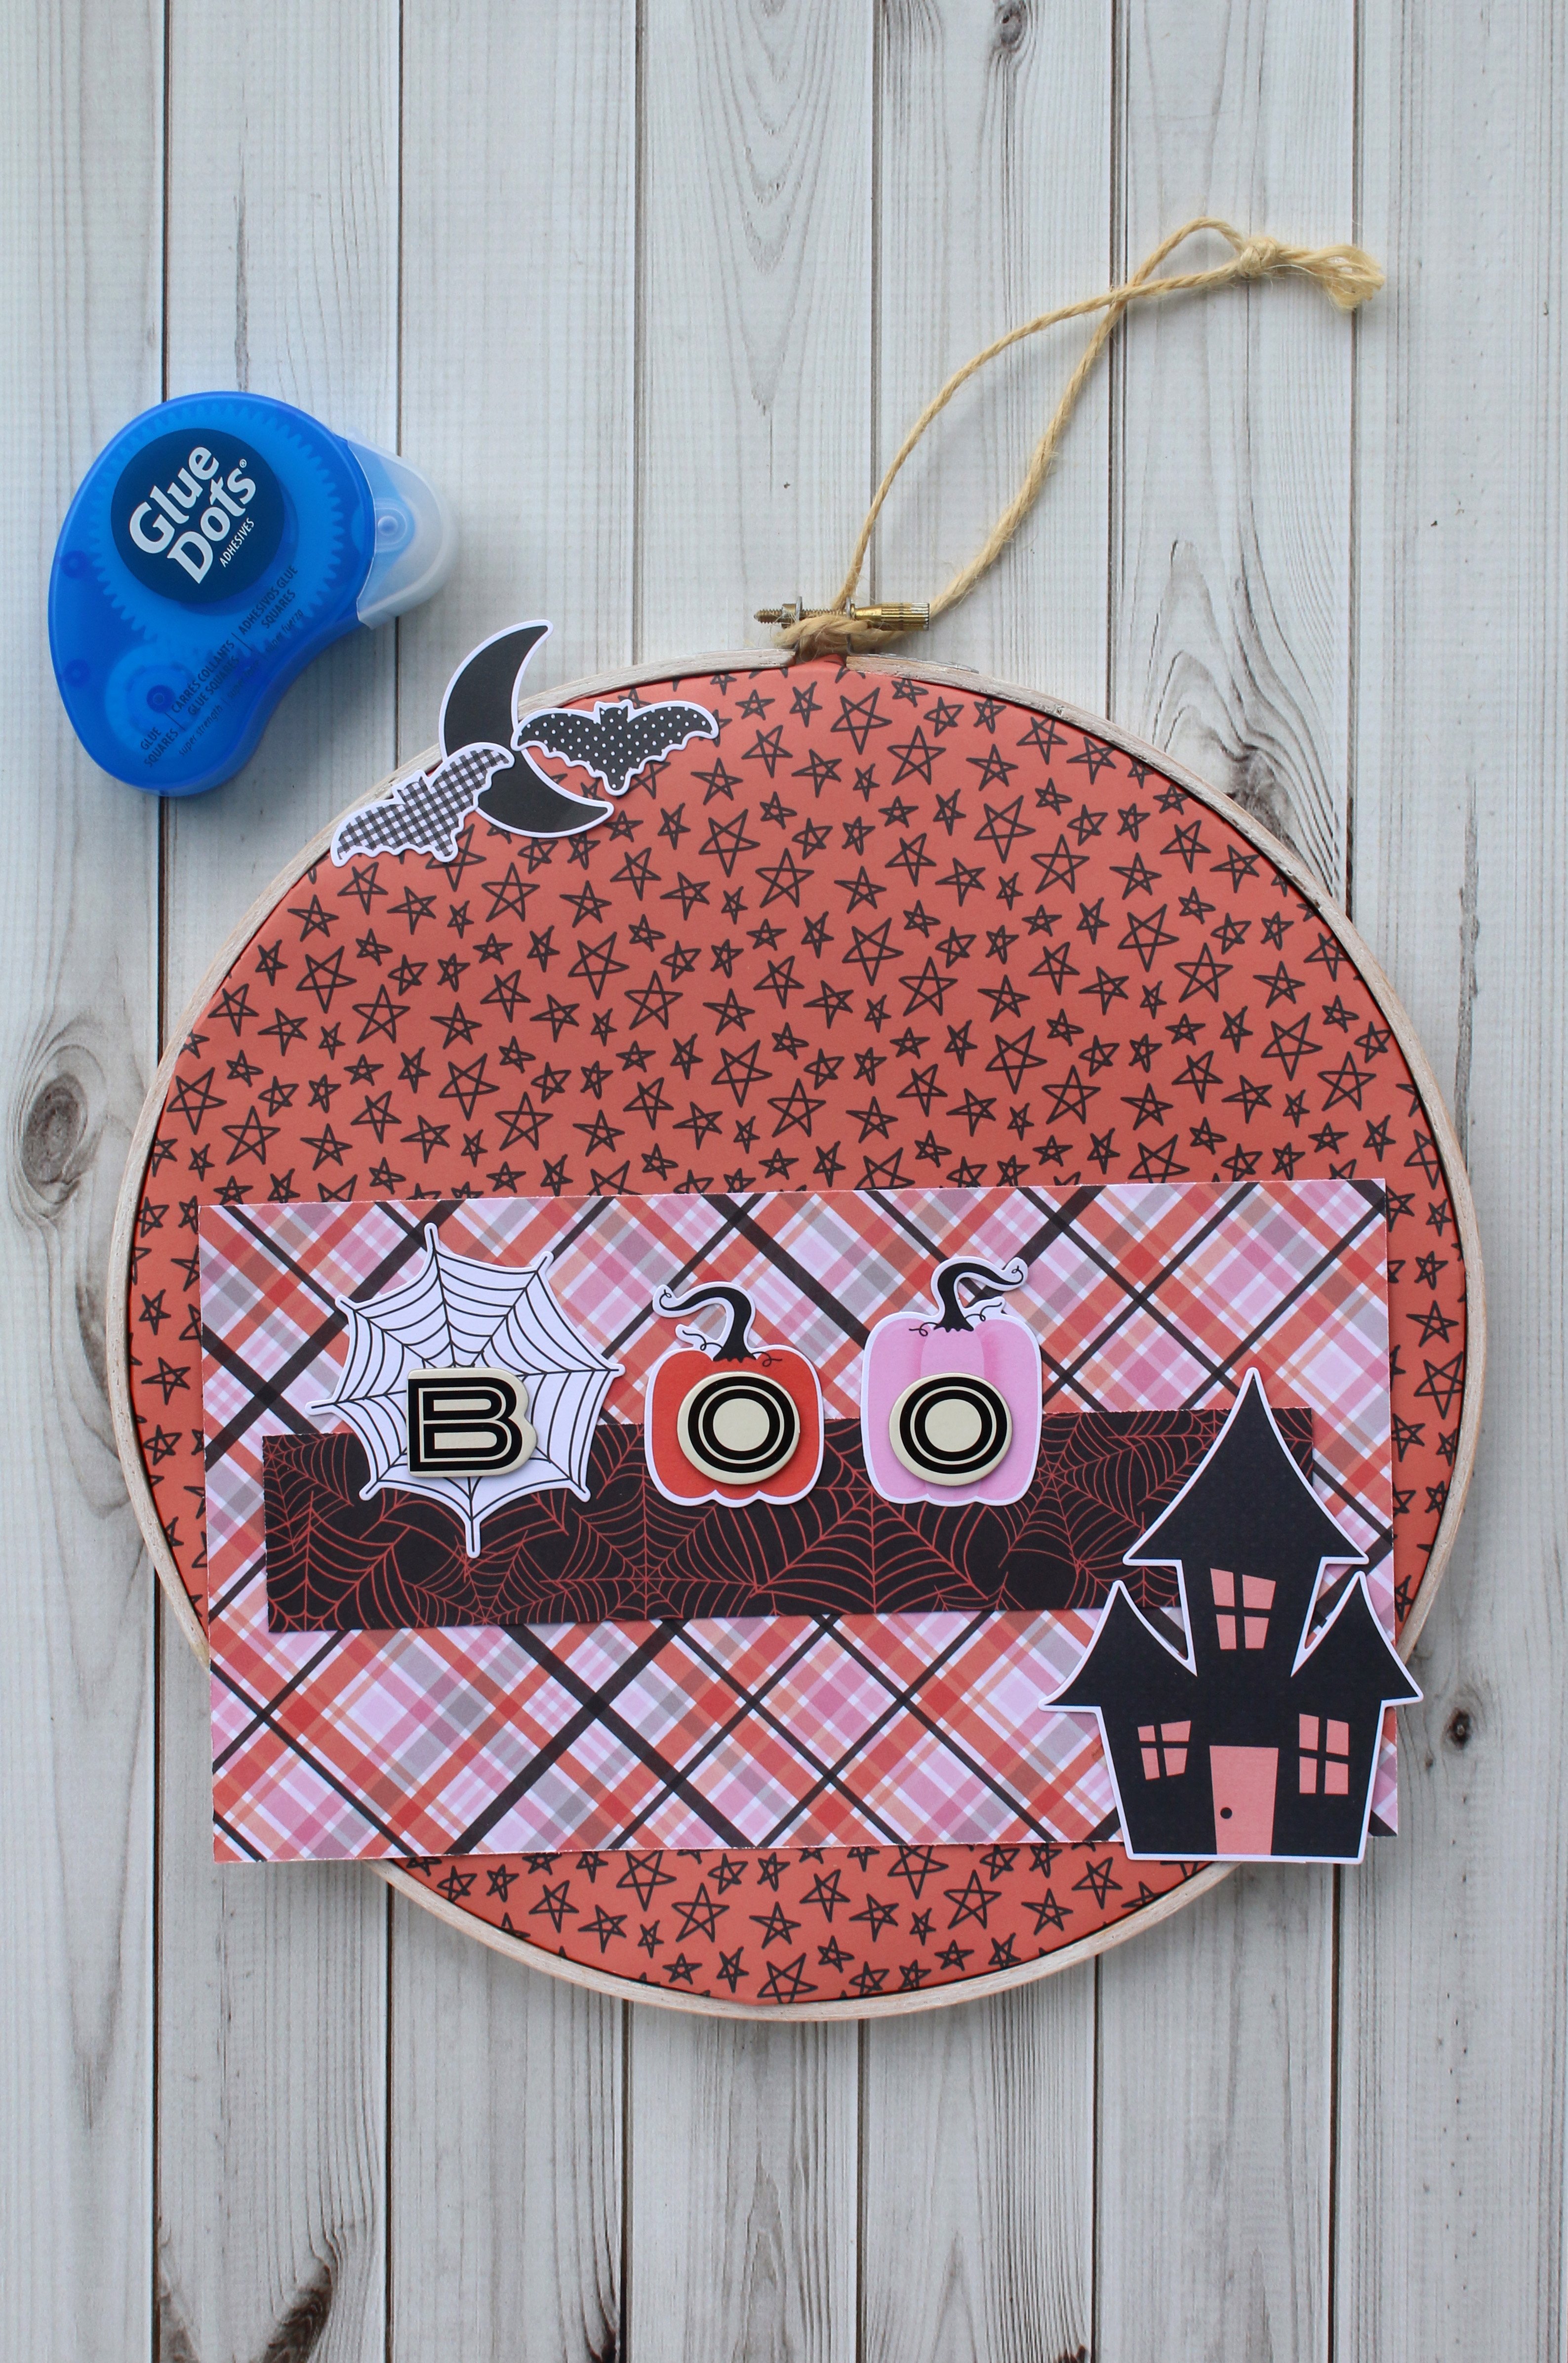
Introduce children to graphic design with a lesson in typography. Kids can design their own set of letters to create a Halloween sign and personalize it with a photo of themselves.
Made by: Danielle Hunter
Time: 25 minutes
Level: Beginner
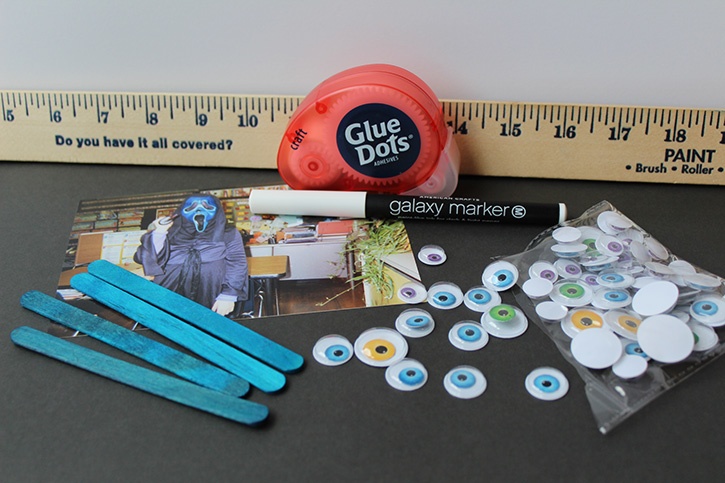
Here's what you need:
- Glue Dots® Craft Dots™
- DCWV 11" x 17" cardstock (black)
- American Crafts Galaxy Marker (white)
- Popsicle sticks
- Googly eyes
- 4" x 4" photo
- Yardstick
- Pencil
- Eraser
Here's what you do:
Before you begin, look at different fonts to get an idea of how you want your letters to look.
- Decide if you want letters to be thin, thick, short, tall, etc. Will you add stripes, polka dots, checks, etc.?
- Try different colored construction paper or markers and a variety of Halloween-themed embellishments.
Once you have decided what you want your sign to look like, use a yardstick and pencil to lightly draw lines across cardstock to establish the height of letters.
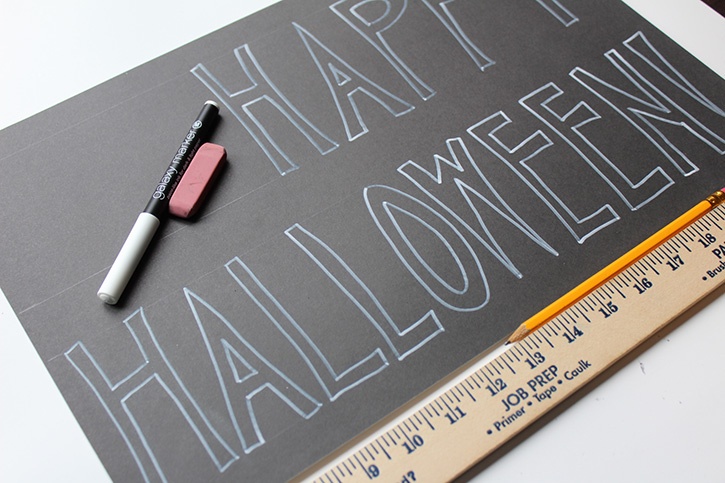
Draw letters onto cardstock with a white pen and add stripes.
Erase pencil lines.
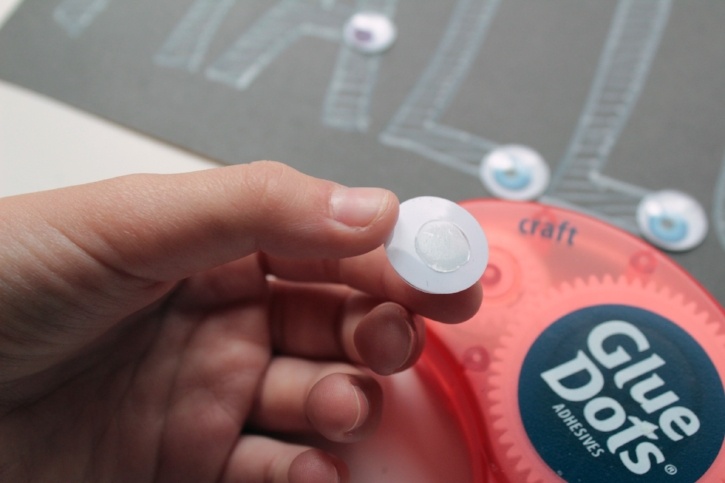
Use Craft Glue Dots to attach googly eyes to letters.

Apply Craft Glue Dots to back of photo and attach to cardstock.
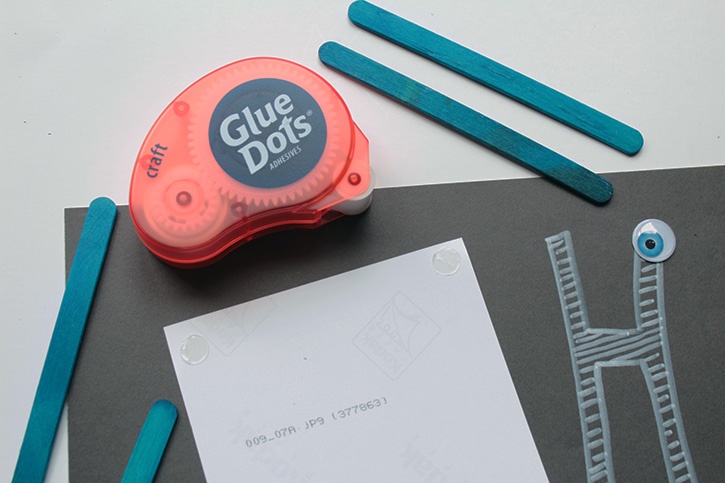
Use Craft Glue Dots to frame photo with popsicle sticks.

Happy Halloween!
~Danielle

Danielle Hunter is a multitasking mom of two creative girls. She works in human resources for a non-profit organization and is a yoga teacher in training. She lives in Northeast Ohio and has been dedicated to crafting since childhood. Danielle completed her first scrapbook at the age of four, was a scrapbooker-for-hire for several years, and has shared her knowledge in a classroom setting. She enjoys turning trash to treasure, making crafts for kids, and creating artistic projects with bold colors and fun designs. Danielle joined the very first design team for Glue Dots in 2010. Her projects have been featured in Craft Ideas and CardMaker magazines, as well as websites such as Reader’s Digest, HGTV, and Crafting a Green World.


