A friend recently started her own business and to commemorate this I wanted to create a junk journal that she could use to document her journey. Paper House® Productions and Glue Dots made it easy to create the perfect journal cover.
Made By: Jen Libert
Time: Two hours
Level: Moderate Handiness
Size: apporximately 16" X 8.5"
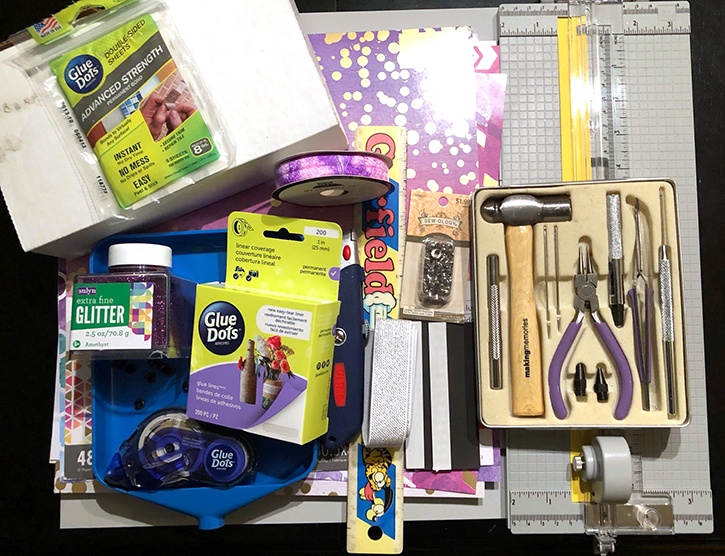
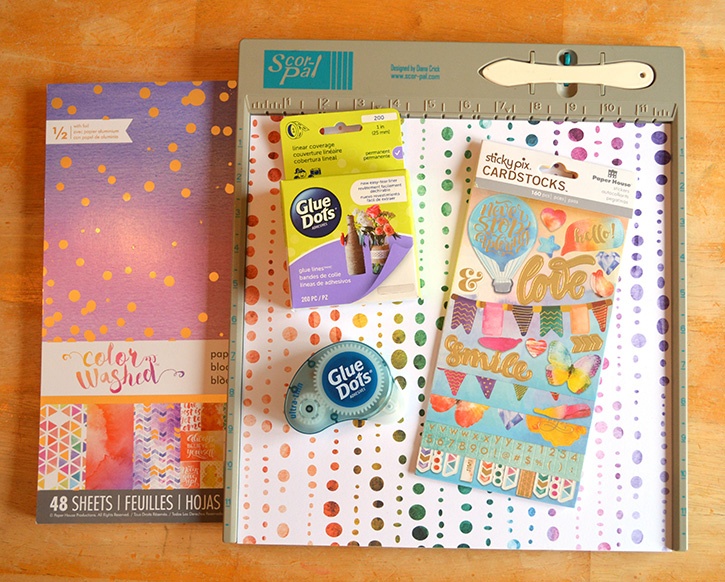
Here's what you need:
- Paper House 12" X 12" Paper Pad
- Advanced Strength Sheets
- Glue Lines™
- Premium Permanent GlueTape
- Kraft box
- Glitter
- Box cutter
- Paper cutter
- Eyelets
- Eyelet tool kit (or you can use a cropadile)
- Ruler
- 1/2" wide stretch ribbon (to close the junk journal)
- 1" wide stretch elastic for the pen holder
- Cricut or other cutter
- Self adhesive foil paper
Here's what you do:
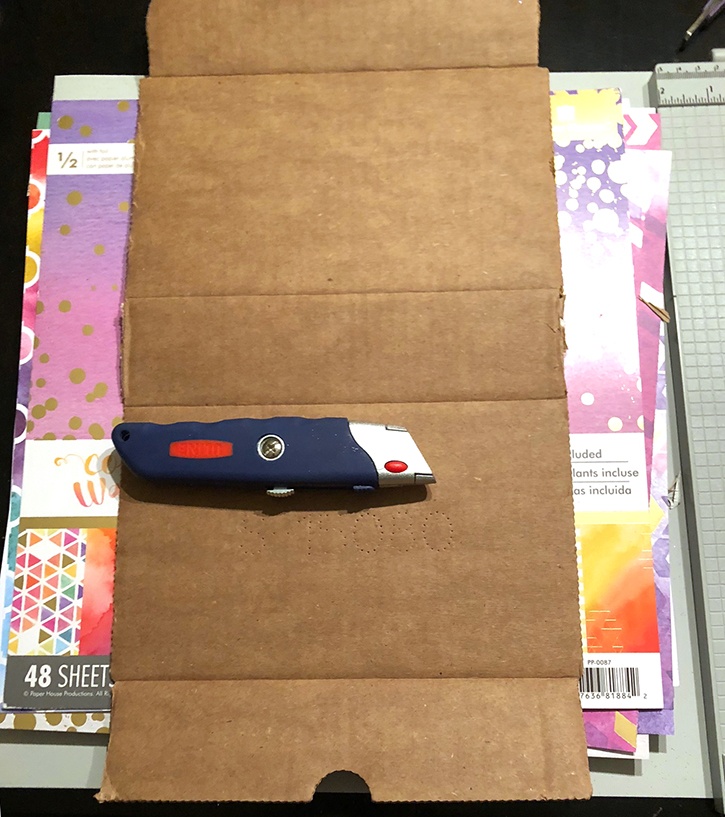
The first item of business is to trim down the kraft box to create the cover.

Unfold your kraft box, and lay it flat. To create this cover you need to keep the entire "middle" section of the box. Cut the flaps off and set them aside.
Start adding Premium Permanent GlueTape to the edges of the kraft box. You don't have to be perfect, you just want to ensure that you cover the outside edges.
There will be some tape sticking out and using the back of a fingernail you can attach it to the sides of the box. If you have some spots that are missing, just go back over it again with the tape a second or a third time.
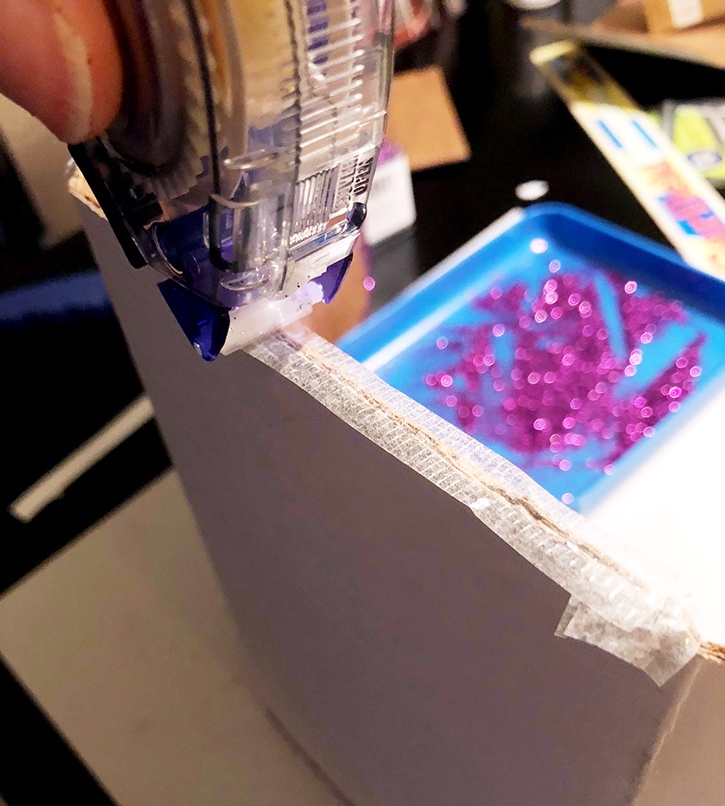
It's easier to do one panel at a time, as the Premium GlueTape is super sticky and will attach to everything around you if you're not careful. So lay down the Glue Tape on one panel. Dump some glitter into a glitter tray and dip your GlueTaped panel into the the tray.
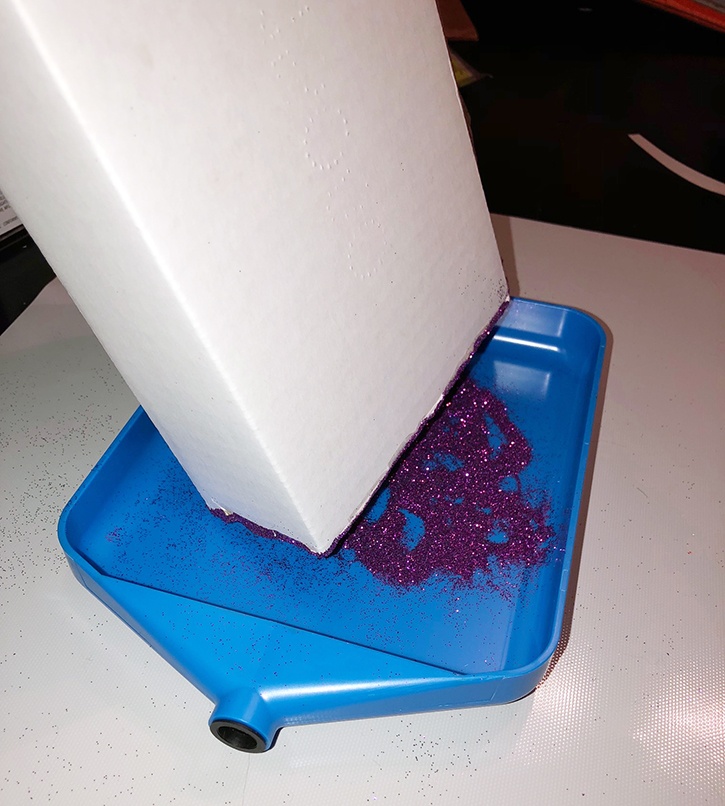
Run the edge around until it is completely covered in glitter.
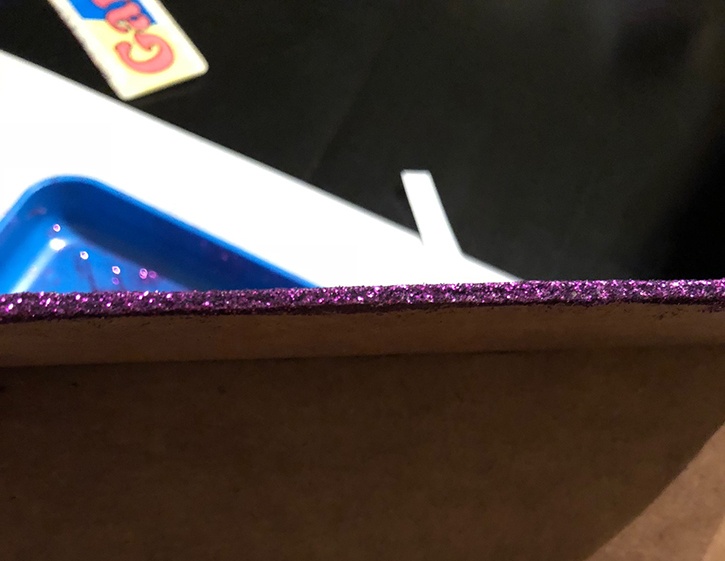
Once you hit the curve on the one edge of the closing panel, use Glue Lines to cover the edge. Using the Premium dispenser proved difficult to use in this section for me - so Glue Lines were the perfect solution. Tear of a Glue Line and place it on the edge. Rub your finger on the liner to ensure that the Glue Line sticks. Add the glitter like normal.

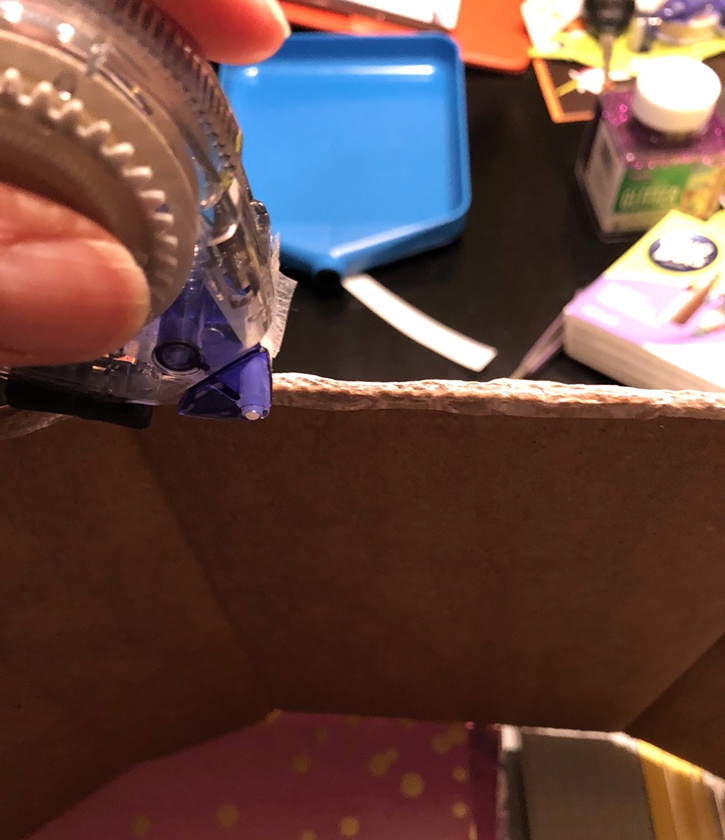
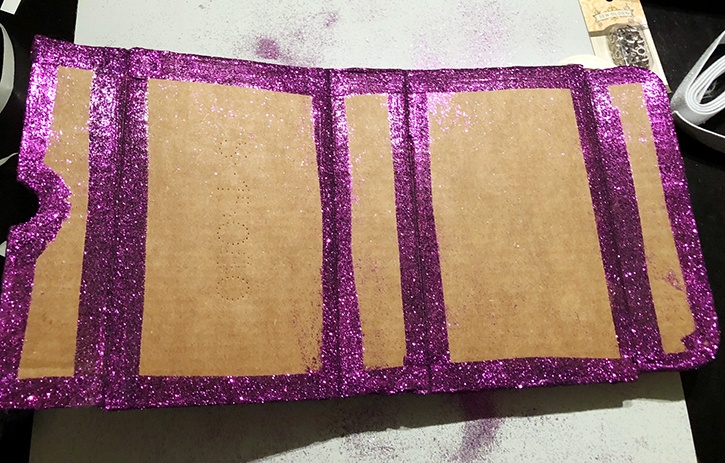
Once you have all of the outside edges covered, begin laying GlueTape around the inside edges of the kraft box. Again, you don't have to be perfect, just make sure you have enough glitter to cover all of the edges. The center sections will be covered with paper panels.
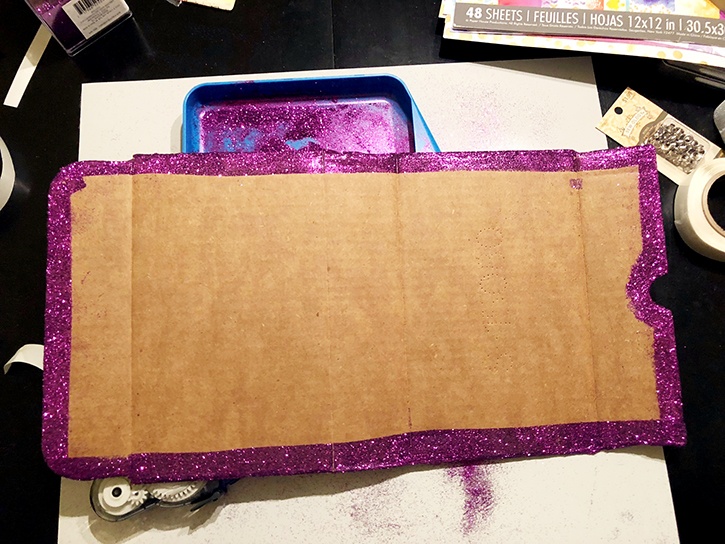
Once you've covered the outside edges lay more adhesive down along the inside center lines of the box.
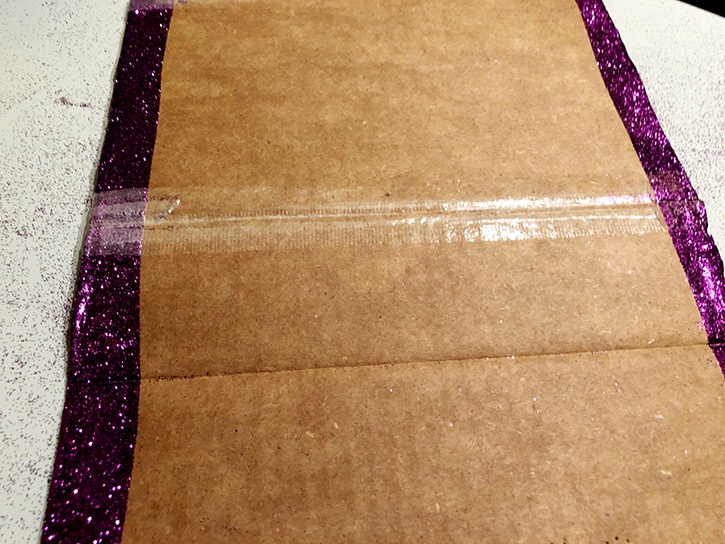
Again, cover over the adhesive with glitter. All of the edges and lines on the inside of the kraft box should be completely covered in glitter.
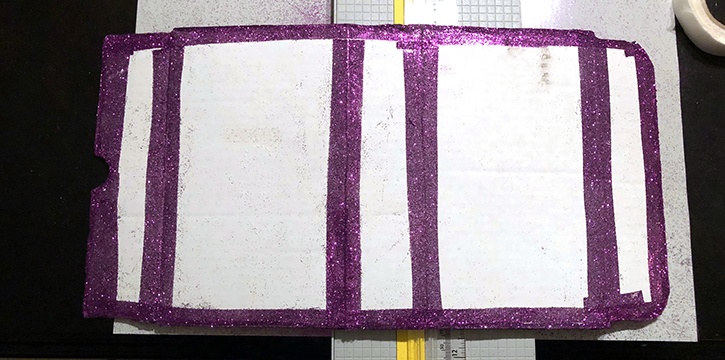
Flip the box over and repeat the entire process on the other side of the kraft box.
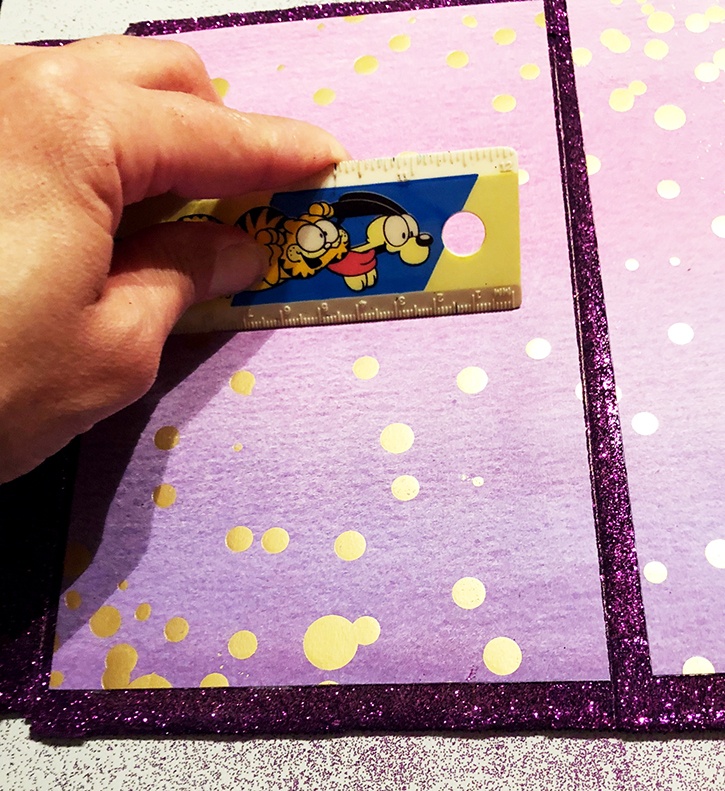
Now that your cover's edges have been covered with glitter, begin measuring out the different panels of the cover. For the inside and outside cover and back, I cut out 5" X 8.25" panels of the Paper House paper. For the center spine, I cut out the same height, but only about 1" wide. Lay the pieces of paper down to make sure that they will line up where you want them.
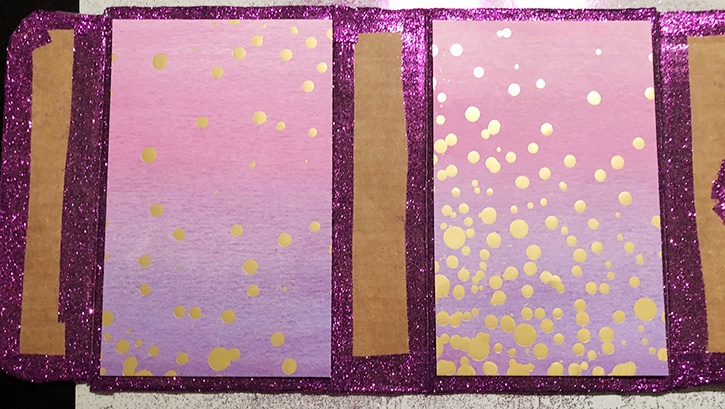
Once you are sure that you have the right sizes, that will line up correctly, begin attaching the paper panel pieces using your Permanent GlueTape dispenser.
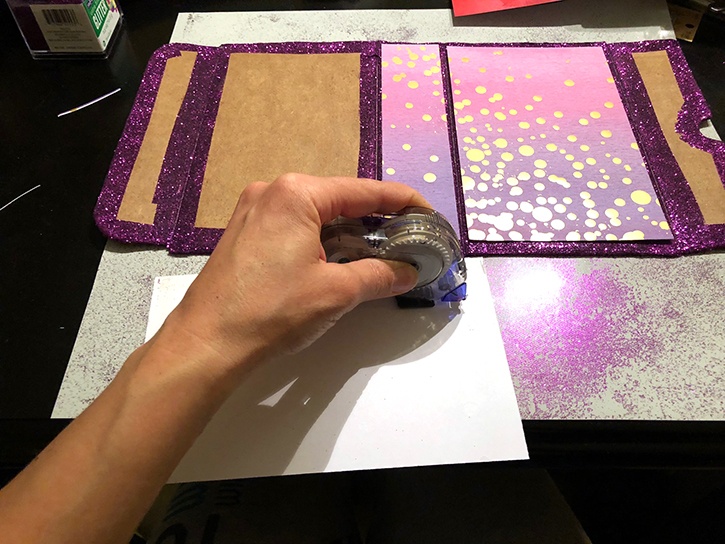
Carefully attach the panels and using either a ruler or a boning tool, smooth out the paper by applying a little bit of pressure, which also ensures the adhesive attaches to the box. (Side note - Yes this is my Garfield ruler - I love this thing and use it all the time!)
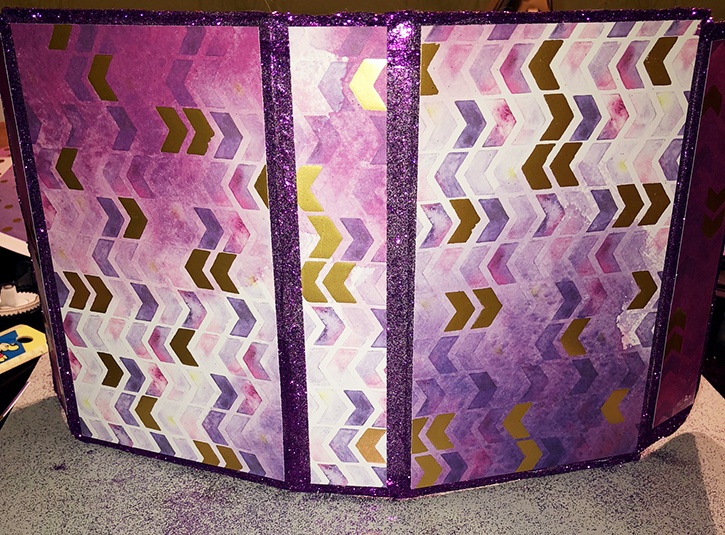
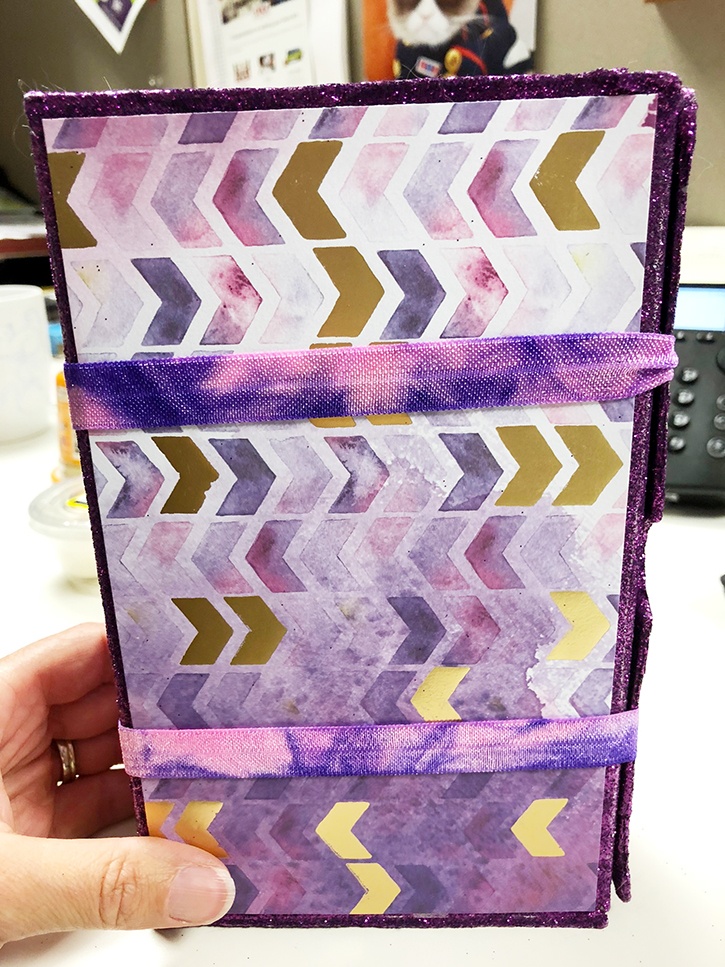
Measure out your other panel pieces so that they will fit on the last two folding panels. Repeat the process of attaching. Flip the box over and re-do the whole process all over again, using a different pattern from the Paper House papers. Once complete the book cover should look the same as the image below.
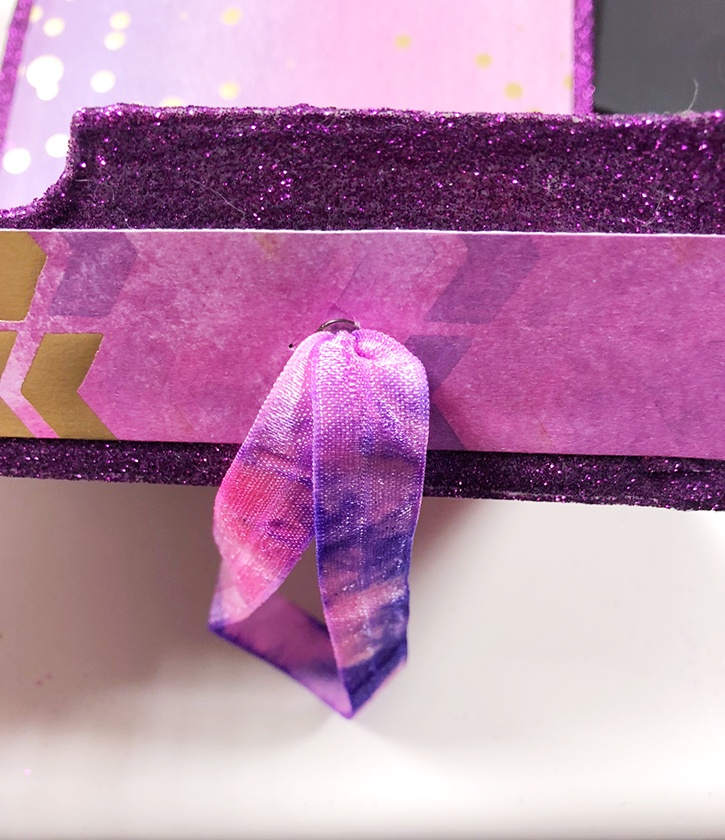
Once your junk journal is covered with all of the glitter and Paper House paper panels, begin making the book cover closure. With your tool kit, punch two holes along the outside of the closing panel (for this kraft box that is the panel with the half circle), each approximately 2.5" from the edges of the book cover and in the center of the panel. (see below)
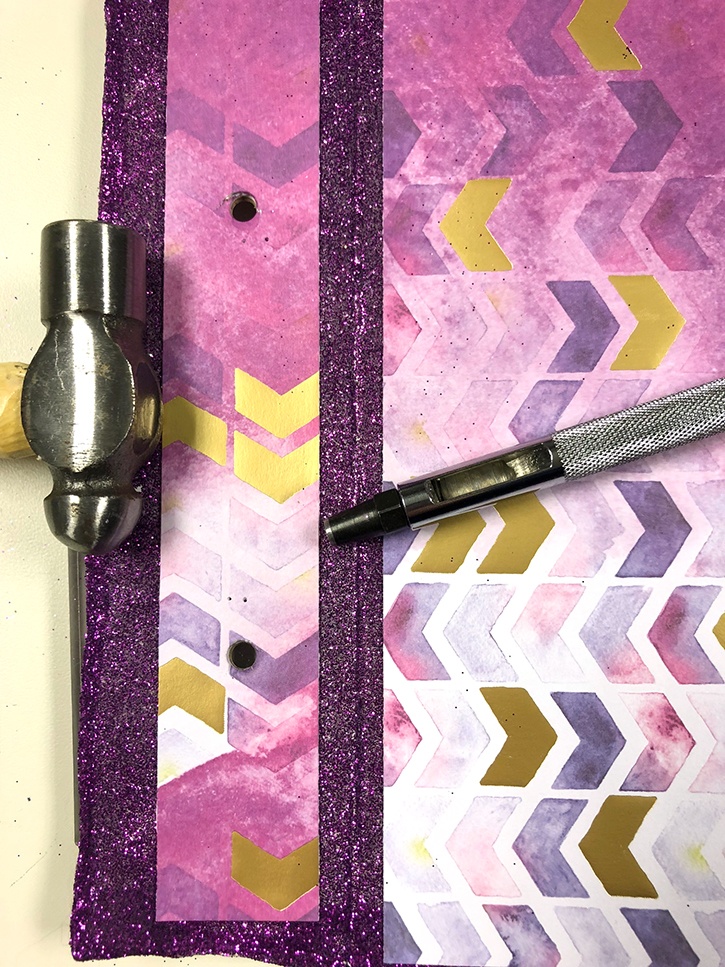
You will need to give it a few good wacks to get the hole all the way through. Once done, use your eyelet tool to close the eyelets onto the panel. Then, using a stretchy ribbon, measure out how much you will need to keep the journal closed. Push both ends of the ribbon through the eyelet and tie knots.
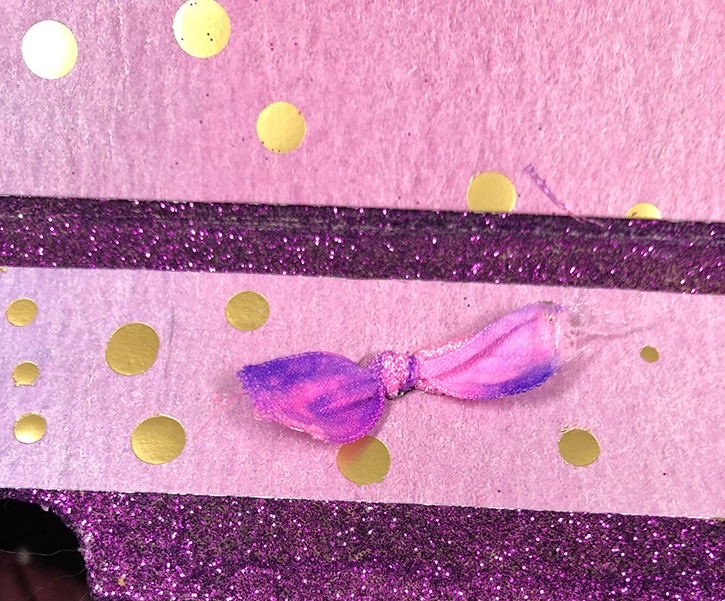
You should end up with two loops that will keep the cover closed.
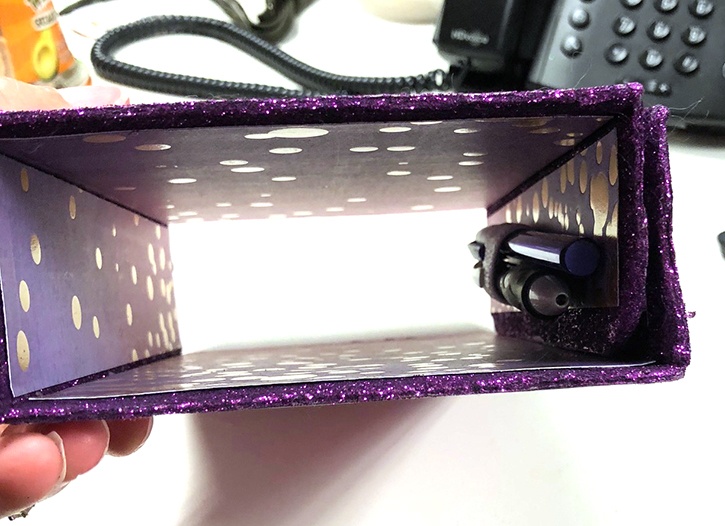
Cut a strip of the 1" ribbon to make the pen holder. Make sure that it is long enough to hold your pen of choice in place.
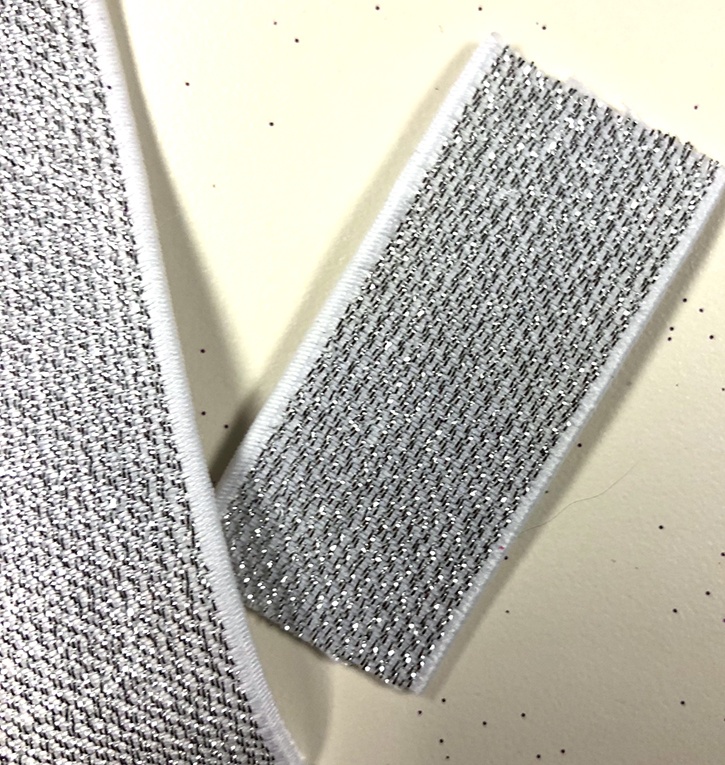
Cut some small strips of the Advanced Strength Glue Dots sheets that will cover the two edges of your ribbon. Peel of the clear layer and attach the cut sheet to both ends of the ribbon.
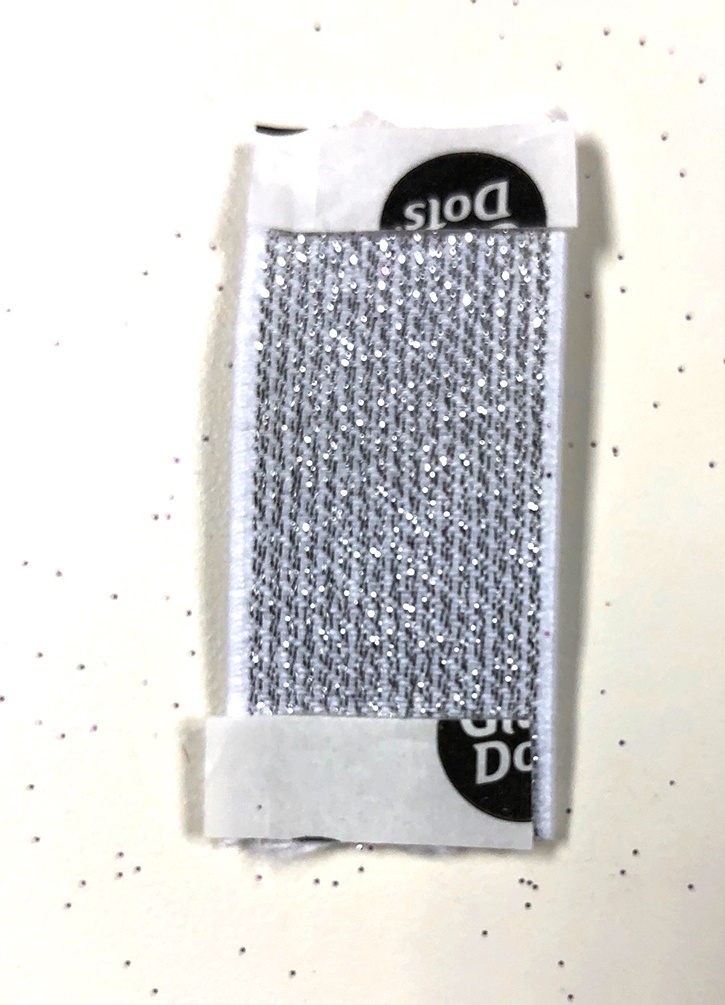
Peel away the adhesive cover and then make a loop and attach it to the inside by applying pressure so that the adhesive holds.
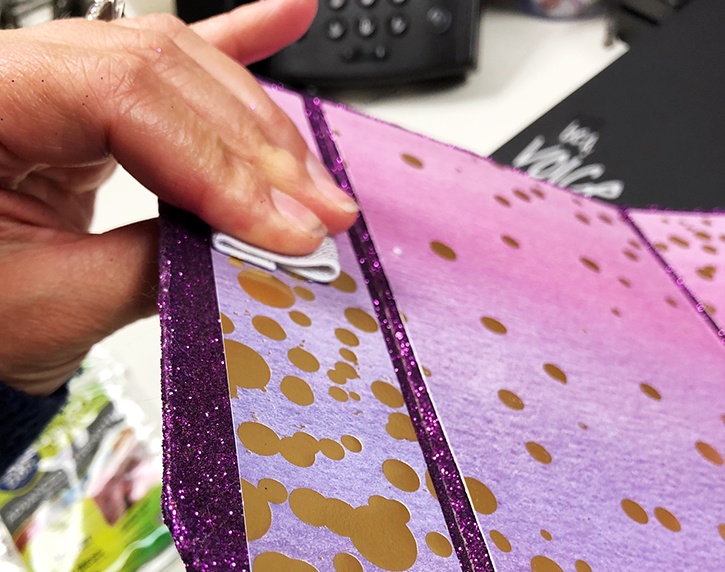
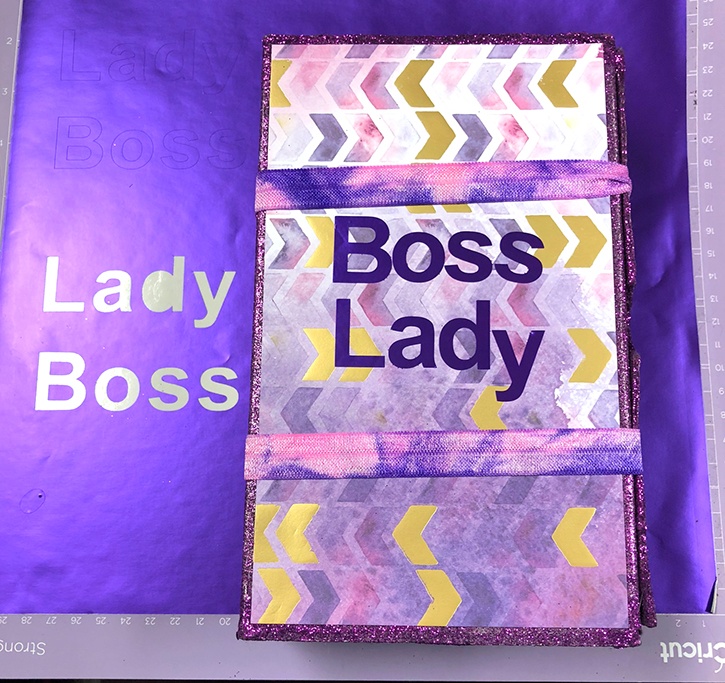
Your junk journal cover is officially complete. If you would like to add a little something extra to the cover, use your cricut to cut out a specific image or phrase and then attach it to the cover.
Your junk journal is now ready for you to attach your signatures, be sure to watch for future blog posts, where I will be sharing the signatures that I have made for this Junk Journal, and how I attach them.
Helpful Junk Journal tips:
- If you sprinkle embossing powder onto the GlueTape you can create a different type of an edge if you would prefer using something other than sparkly glitter.
- Washi tape can work around the edges as well. I found it a bit difficult to use on round edges, but if you're a washi pro, you could definitely use that instead of the glitter if you want to avoid the glitter hanging around your craft space.
- Make sure when you measure out the sizes of your signatures, that you leave enough room for the pens on the inside of the cover.
- I made my pen holder big enough to hold two pens, as I know that some of my signature pages will required different ink colors for journaling.
- Make this journal cover your own by adding some personal touches.
While this project may seem tedious to some, I found it very therapeutic. And, yes - you will have a lot of glitter! It was the perfect project for a rainy weekend and will make a great gift for a great friend. Hope you enjoy!
~Jen Libert