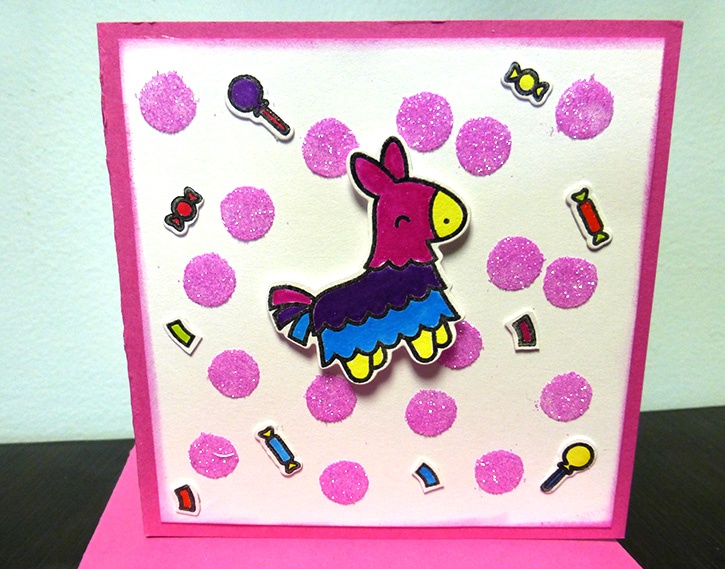
This piñata birthday card is so cute, and easy to put together with bright colors from Marvy Uchida and Glue Dots®! Add some fun glitter and a little note inside and you’ll have a sweet card to wish someone a smashing birthday!
Made by: Amanda Tibbitts
Level: Moderate Handiness
Time: 1 hour
Size: 4” x 4” Card and envelope
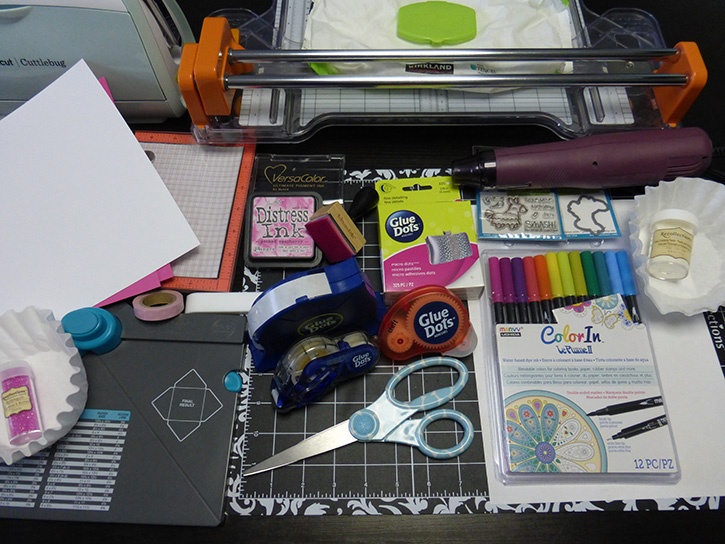
Here's what you need:
- Micro Dots™
- Pop-Up Dots™
- Craft Dots™
- Premium Permanent GlueTape
- “Year Seven” Lawn Fawn Stamp and Die Set
- Versa Color Black Pigment Ink
- Distress Ink in Picked Raspberry, and blending tool
- Marvy Uchida Color In LePlumme II Double Ended Markers
- Recollections Clear Detail Embossing Powder
- Recollections Bubble Gum Glitter
- 2 110lb Pink Cardstock (May only use one for this project!)
- 1 110lb White Cardstock
- Coffee Filters
- Baby Wipes
- Washi Tape
- Marvy Embossing Heat Tool
- Envelope Punch Board
- Scissors
- Craft Mat and scratch paper
- Mini MISTI or acrylic block
- Cuttlebug or any manual die cut machine
- Bone Folder
- Paper Trimmer
Here's what you do:
Cut the pink cardstock to 8” x 4” for the card base. Also Cut an envelope base to 6 7/8” x 6 7/8”.
Cut the white cardstock down to two 3 ¾” x 3 ¾” squares. Trim part of the left over white to fit in the MISTI.
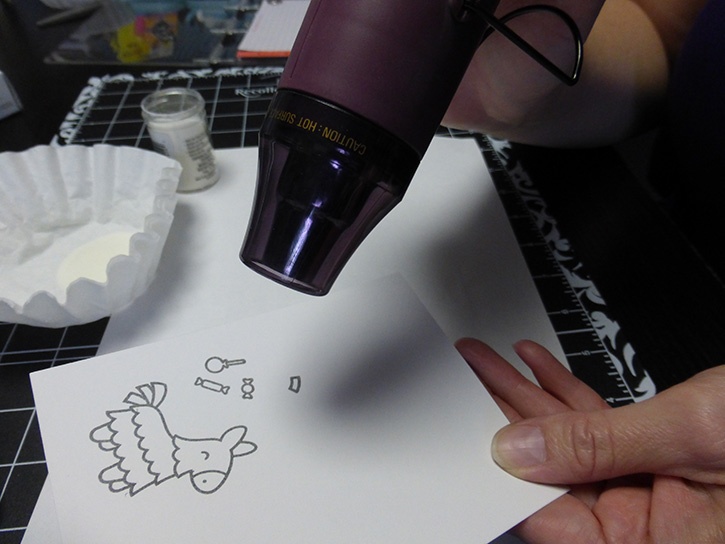
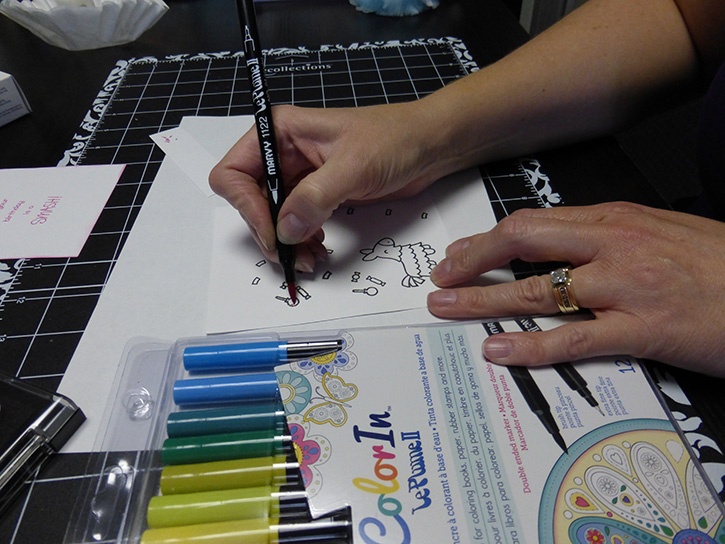
With the black ink, stamp the piñata, candy, and a few different pieces of confetti.

Sprinkle some clear embossing powder over the stamped images over a coffee filter. Heat until shiny and melted with the embossing heat tool.
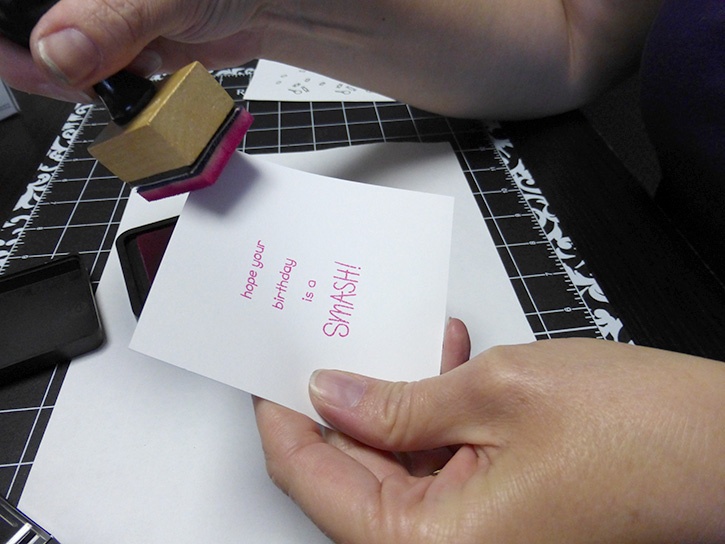
Use the distress ink to stamp the inside sentiment.
Choose the colors you want to use from the Marvy Markers and begin coloring all of your stamped and embossed images.
Once they have been colored, using a strip of washi tape and the Cuttlebug cut out the piñata and candy with the coordinating dies. The confetti pieces will have to be cut out with the scissors.
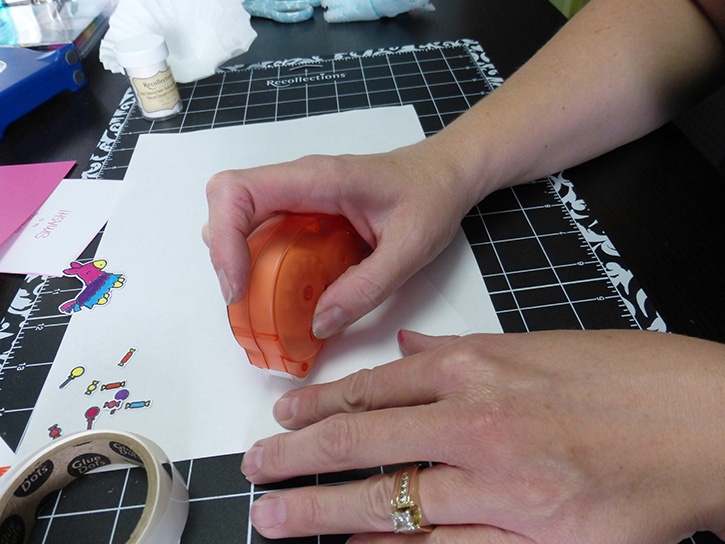
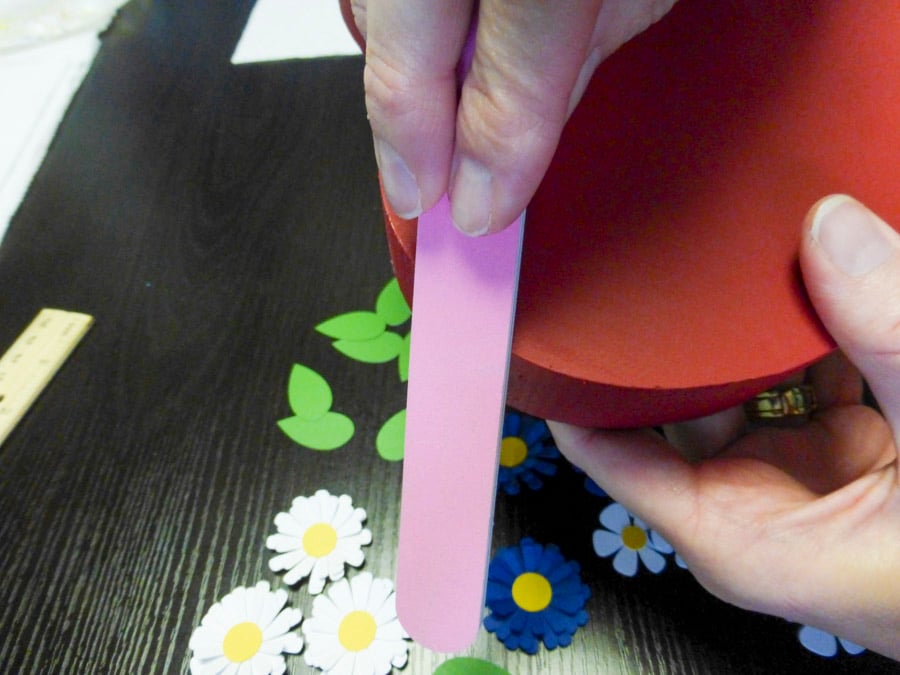
With one of the 3 ¾” squares, add a random pattern of Craft Dots on the front of it.
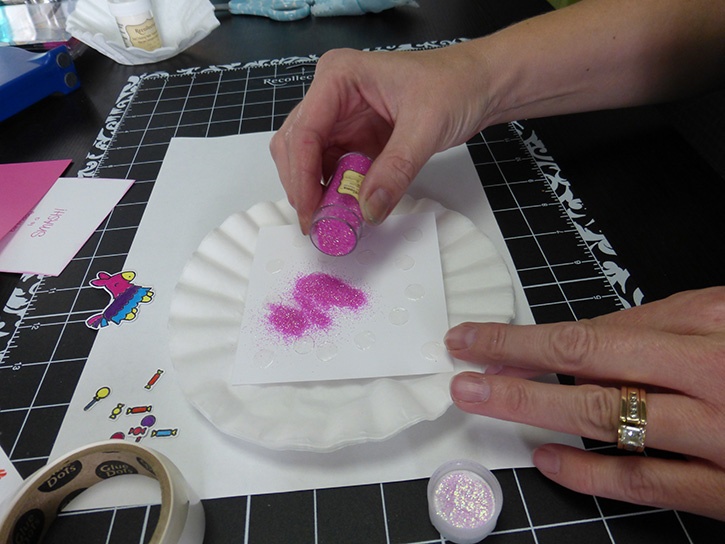
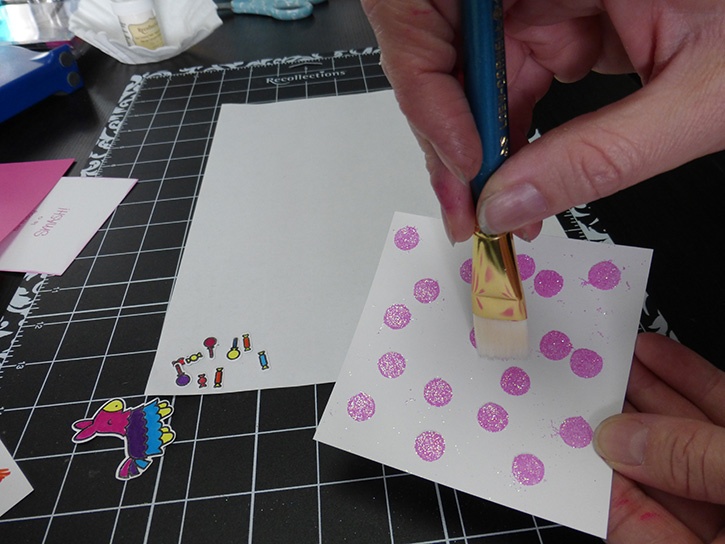
Once you have a pattern you like, place in a coffee filter and dump some Bubblegum glitter over the top. Don’t’ be shy!
Then, using a clean filter, press the glitter into the Glue Dots.
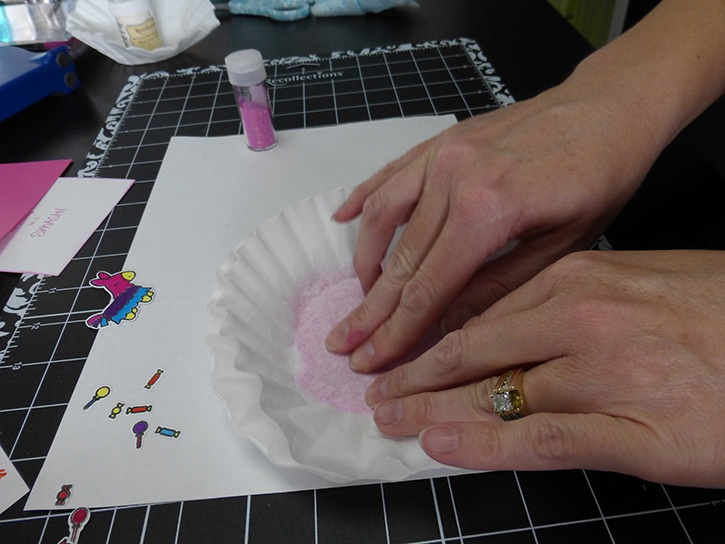
Once you’ve got them all glittered, dump the excess back into the container. At this point, you may need a dry paintbrush to help move some of the glitter that is hanging around.
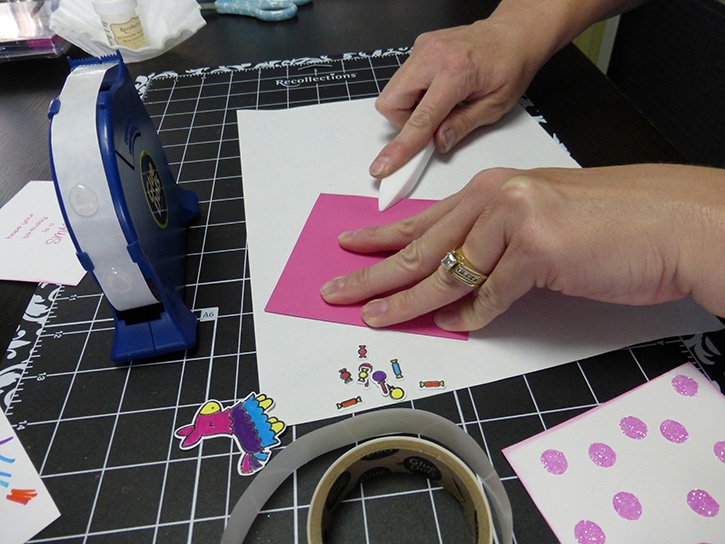
Fold the 8” x 4” cardstock in half and burnish it with the bone folder.
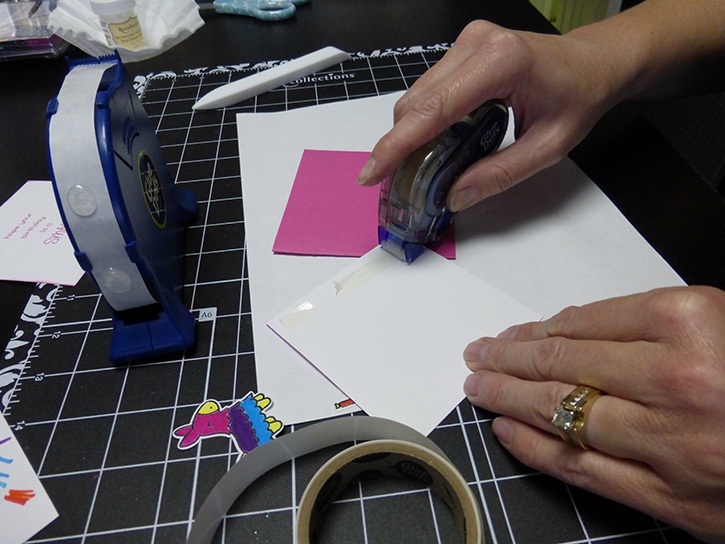
 Then with the Premium Permanent GlueTape, glue the glitter piece to the front of the card.
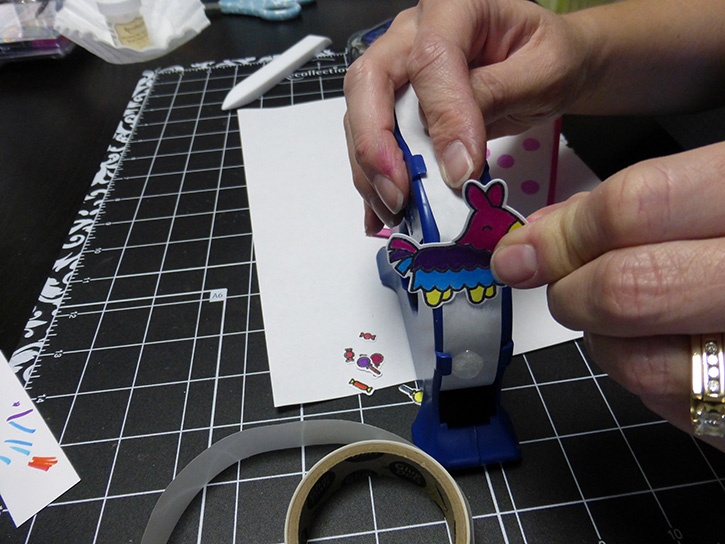
 With the piñata and Pop-Up Dots add the piñata die cut to the front of the glitter piece.
 Randomly glue some candy and confetti to the card with the Micro Dots.
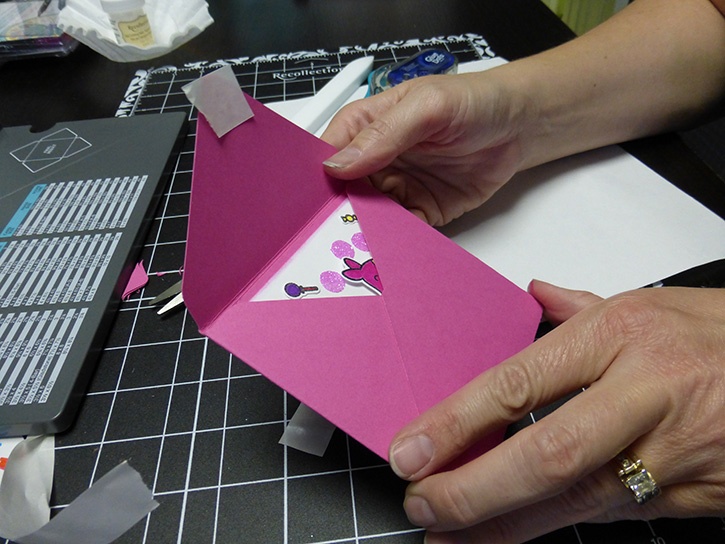
 Glue the inside sentiment piece to the card with GlueTape and add some left over candy and confetti.
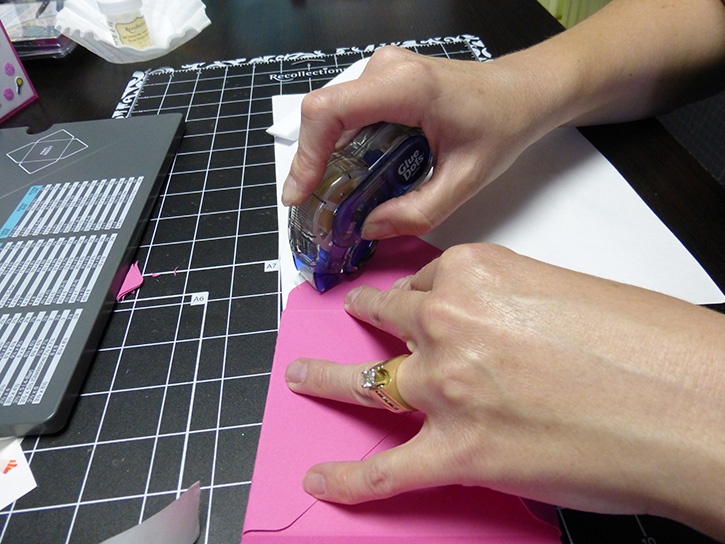
Following the directions on the Envelope Punch Board, make the envelope with the 6 7/8” x 6 7/8” square. Once it’s punched and scored, fold the sides, adhering 2 of them with GlueTape.
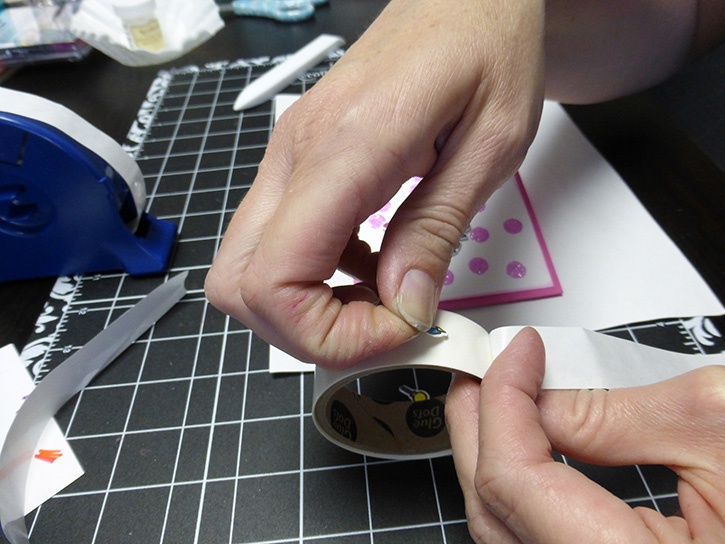
 Add 3 micro dots to the flap and tear or cut some extra micro roll release paper to lie across them until you’re ready to use your card.
The Marvy Markers are so fun to use, and they have a brush type tip and a pen type tip. Have fun filling out your birthday card, and the recipient is sure to have a SMASH reading this cute card!
~Amanda

I began crafting in 1996 and simply fell in love with making my own cards. Long live snail mail! Crafting isn’t just a hobby for me, but a way of life… Teacher gifts, posters, scrapbooks, wood crafts? Yes, please! I have been married to my cute husband for 16 years and he definitely inspires me to try new things and enjoy the little things. As a stay home Mom, my time is spent raising my two girls, and raising the bar for my gift giving!


