Surprise someone with a pretty paper tote made with paper from Die Cuts with a View and Ultra-Thin Glue Dots.
Made by: Kim Rippere
Time: 20 minutes
Level: Intermediate
Size: 7 x 3.5 x 2.25 inches, approximately
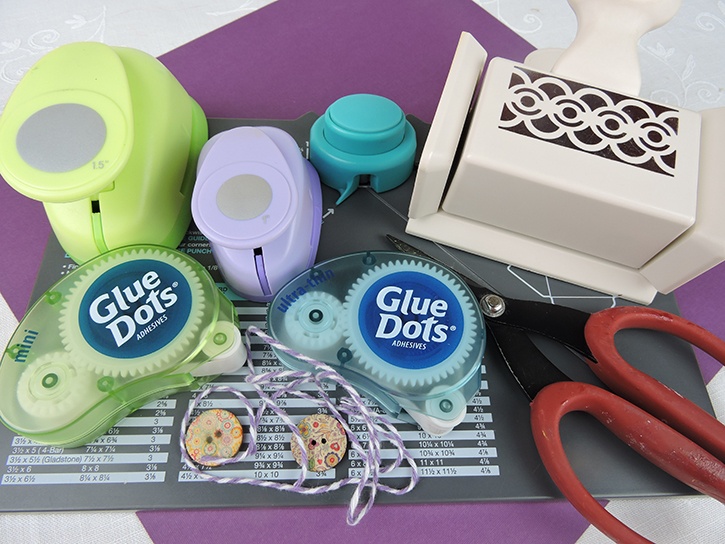
Here's what you need:
- Ultra-Thin Glue Dots®
- DCWV - Flipside purple/lavender
- Buttons
- Baker's twine
- Envelope punch board
- Circle punches
- Edge punch
Here's what you do:
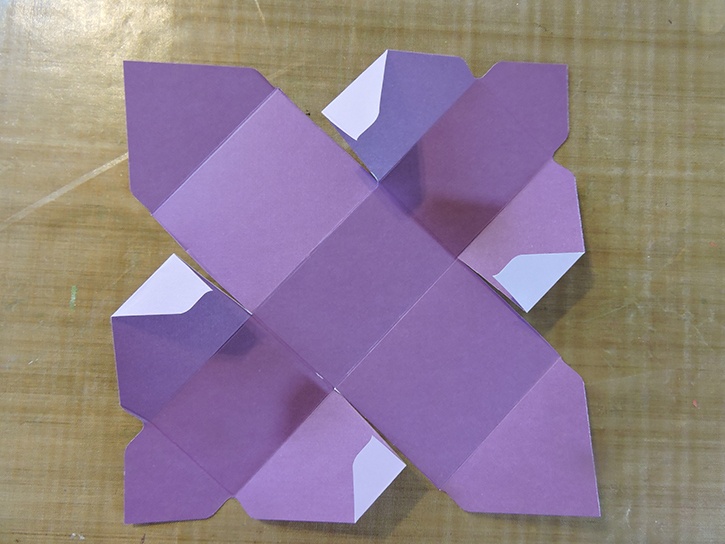
To make the Tote base, cut a 9-inch square from paper, using the Envelope Punch Board score and punch one side at 1 7/8" and 6". Rotate the paper 90º, line up scores with guide and score/punch. Do this for the remaining two sides.
To prepare the tote for assembly, cut along the score lines to make the two larger sides (as shown). Reinforce the folds. On the ends of the two smaller flaps, fold in at 1-inch, adhere with Ultra-Thin Glue Dots. Make sure you fold it so it will show when assembled; if it isn't, just press it in the other direction. Fold down the top of the wings and adhere with Ultra-Thin Glue Dots.
To assemble the tote, apply Ultra-Thin Glue Dots near the 1-inch fold on a wing (as shown), stand up one of the larger sides, take a wing (with 1-inch folded out) and line up the cut edge with the bottom of the tote and press together. Do this for all the sides.

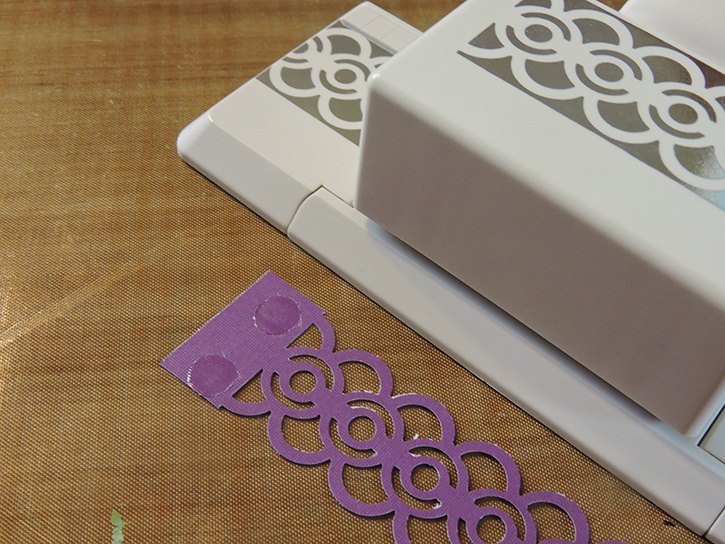
To make the handle, cut a strip of paper 1.25 x 12 inches. Using an edge punch, punch the entire length of paper, leaving about 1/2-inch unpunched at either end. Apply Ultra-Thin Glue Dots to the unpunched part (making sure to double check to ensure the colors are facing the direction you want). Press into the top of the short side of the tote.
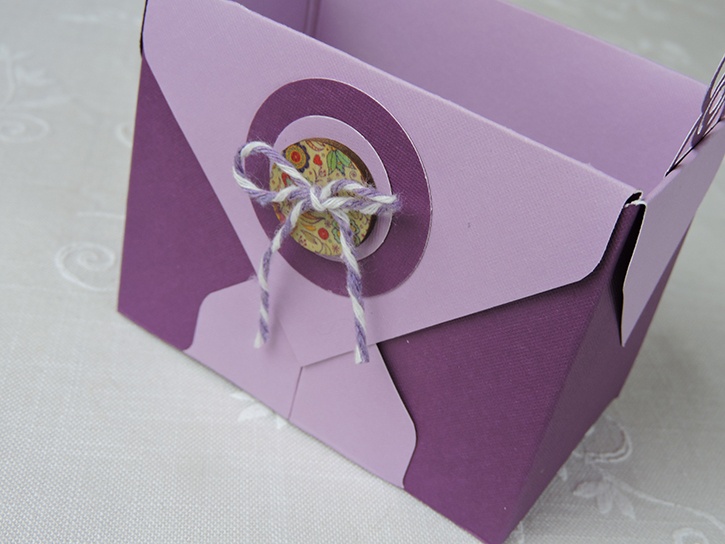
To make the embellishments, punch a 1.5 inch and a 1-inch circle from paper. Using Ultra-Thin Glue Dots, layer circles, button, and add baker's twine bow.

I live with my partner (Edward), 2 indoor cats, 2 outdoor feral cats I am luring, and a dog in the far southwest corner of Georgia. I have been creating for my whole life, from quilts, to locker hooking, to interior decorating, to paper crafting! The list was just growing and growing. I decided that I need to focus on something and choose paper crafting…which has now grown into card making, quilling, mixed media, artist trading cards, altered art, and swapping! lol.


