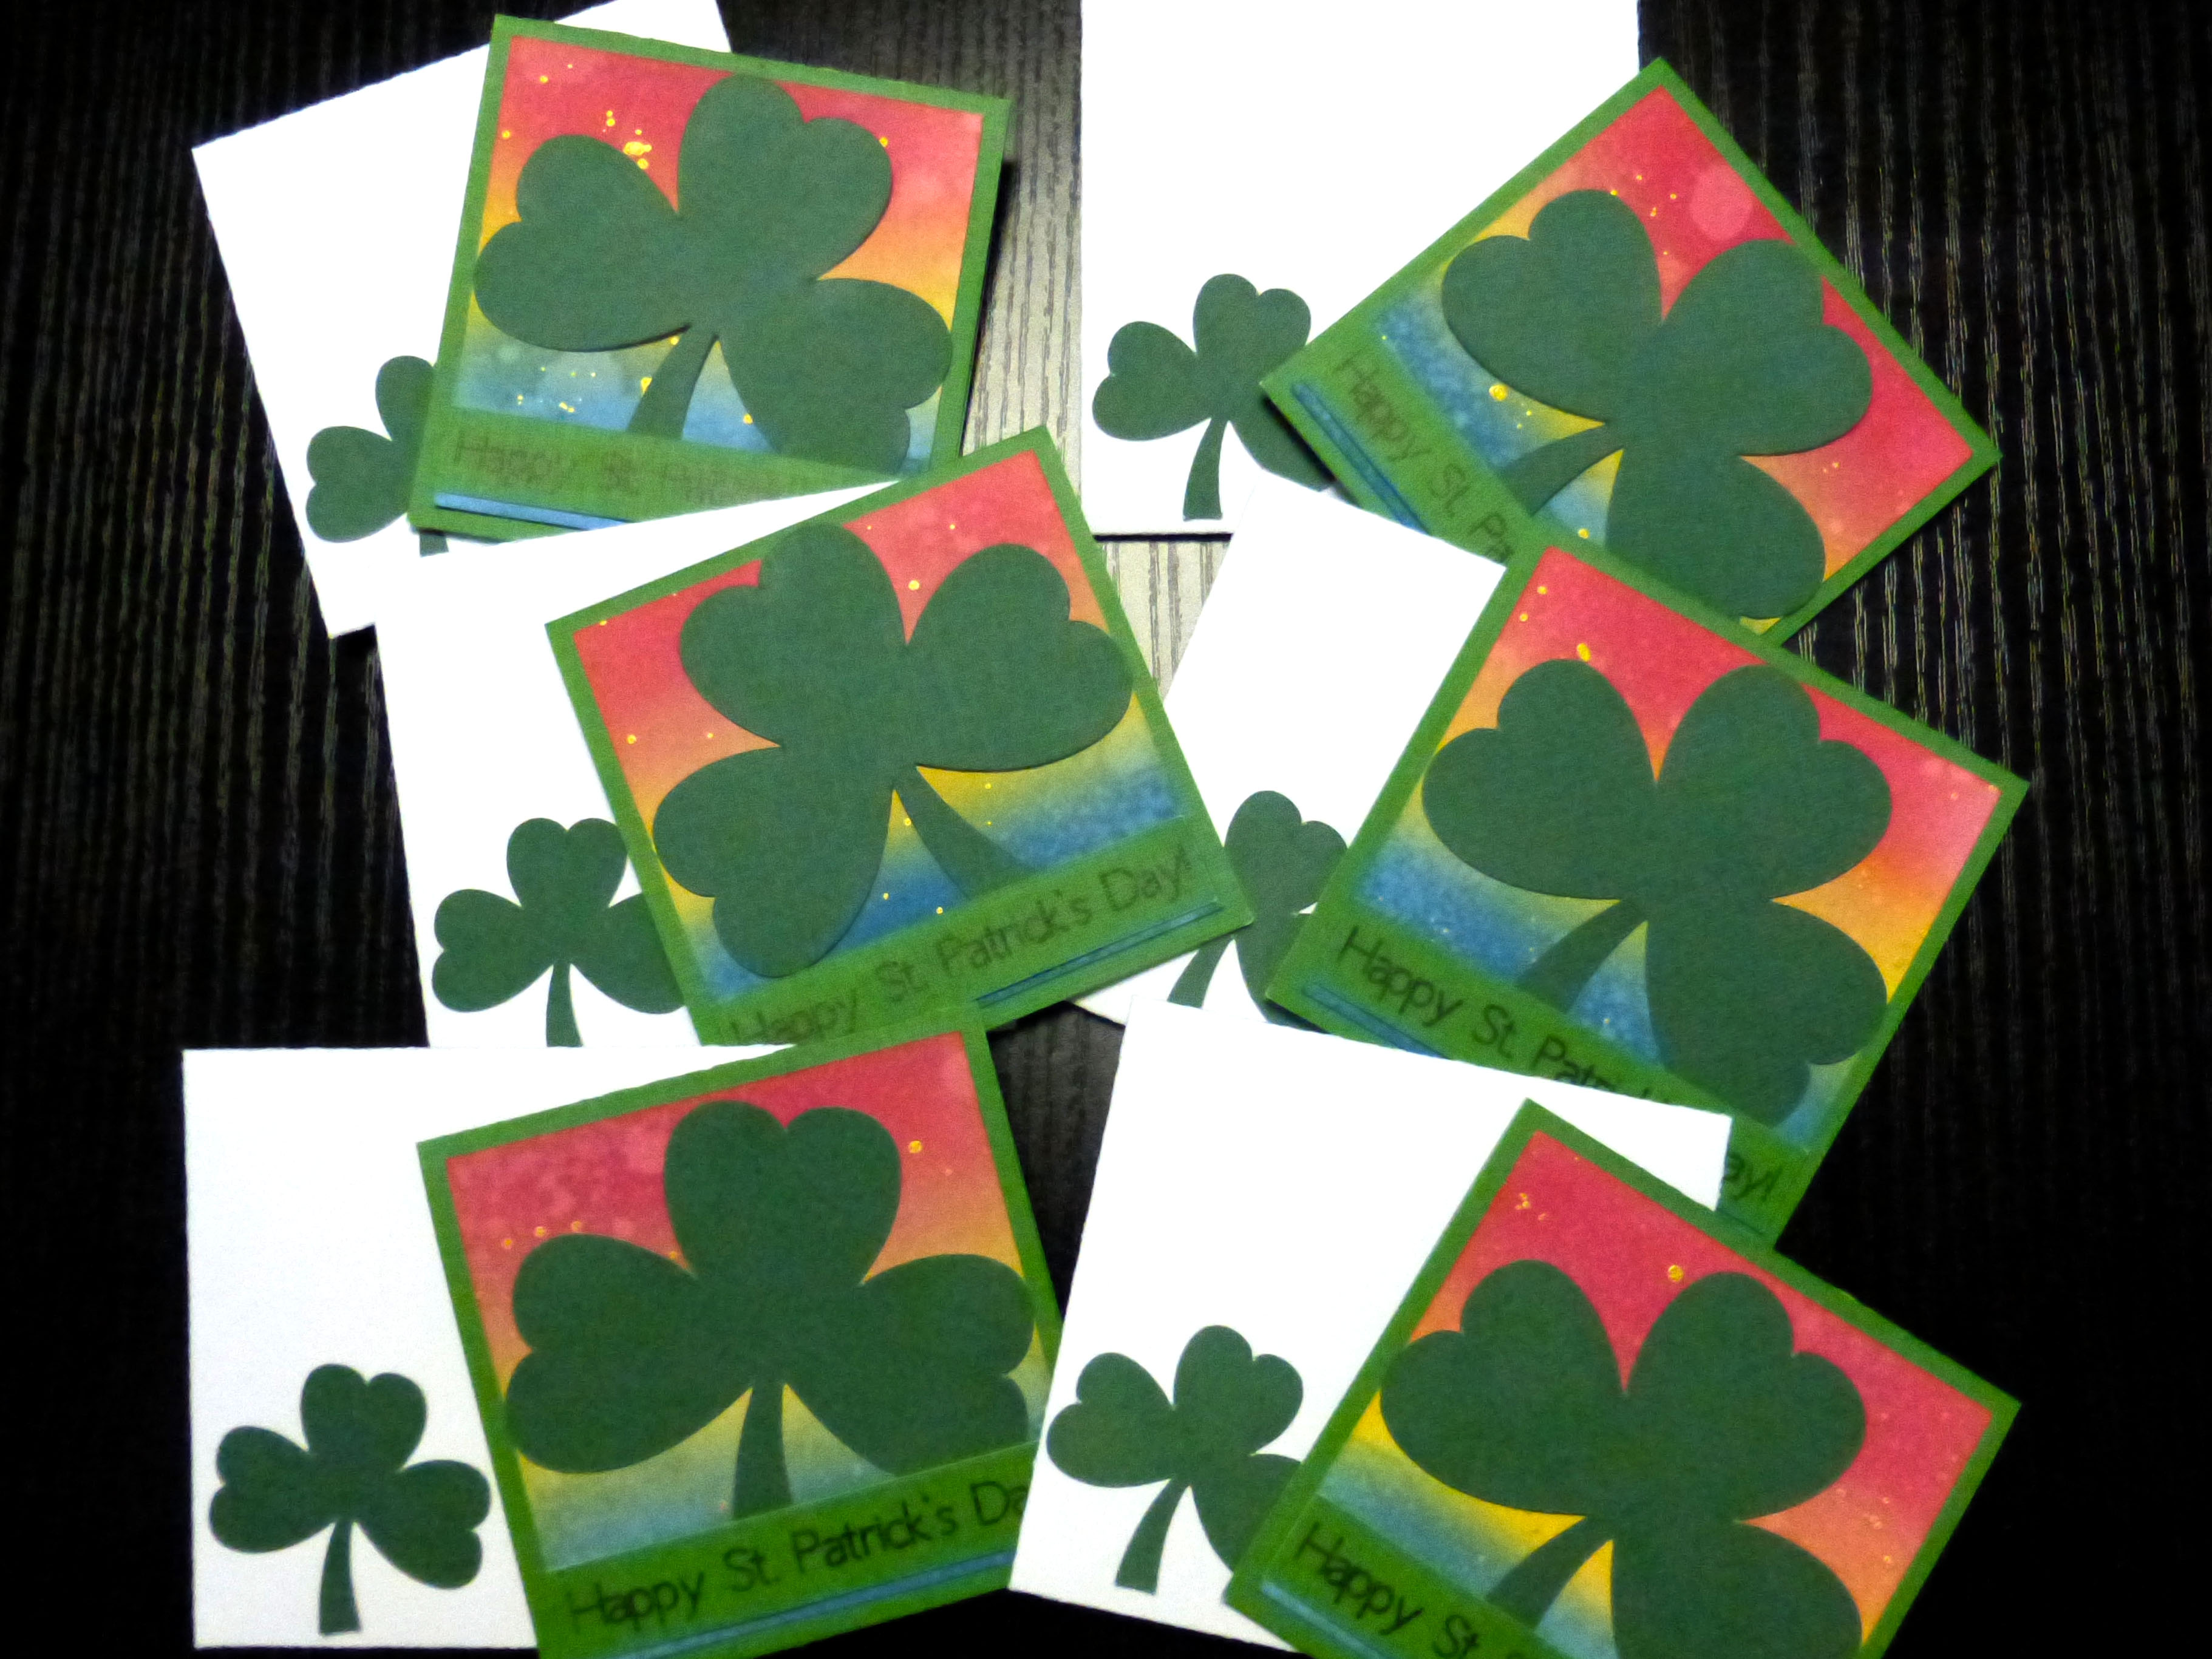
St. Patrick's Day is a glorious day and a very beloved holiday in our house. I've already begun listening to The Irish Rovers, The Cheiftans, The Clancy Brothers and also one of my favorites, the Dropkick Murphys...there's no end to Irish festivity in our house!
There's magic to be found everywhere as March rushes in, like the wee gifts I put together for St. Patrick's Day. Glue Dots definitely helped me make a beautiful gift bag, worthy of my Irish Princess, Mackenzie Margaret Catherine. Today, I'm sharing with you how I created this bag step-by-step with you. ❤
Made by: Shannon Morgan
Time: 30-45 mins
Skill: Advanced Beginner
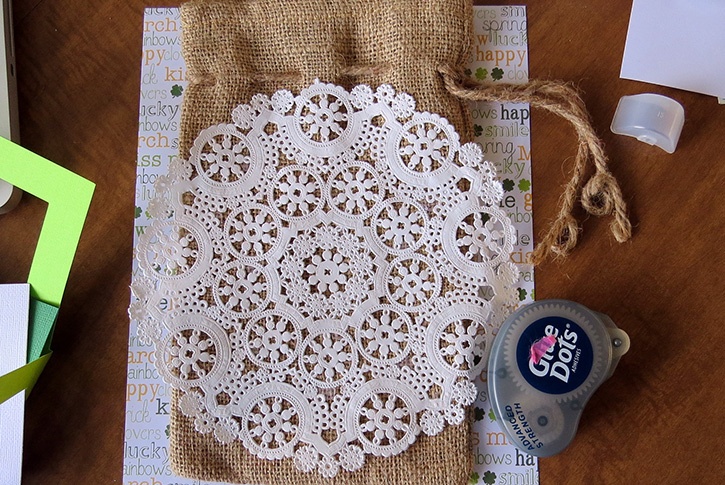
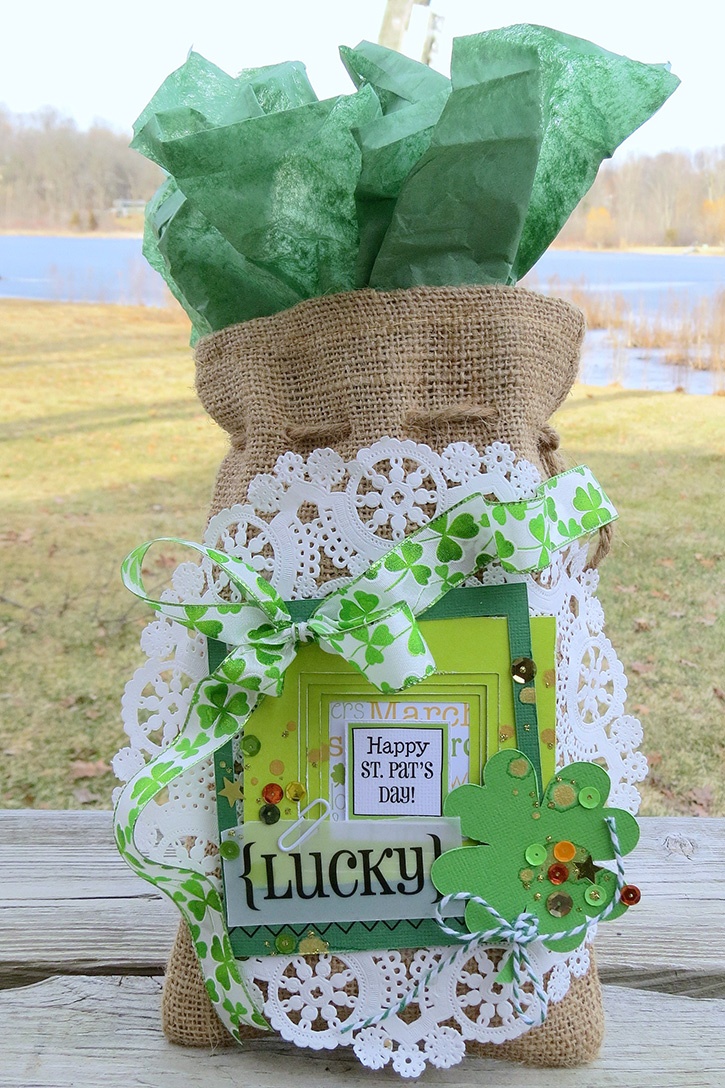
Size: Burlap Gift Bag with doily overlap measures 10.5” H X 7.5” W
Here's what you need:
- Permanent Glue Dots®
- Mini Glue Dots®
- Glue Dots® Advanced Strength Dispenser
- Pop Up Glue Dots®
- DCWV Textured Cardstock Jewel Tones (green)
- DCWV Year Round 8.5”X11” Stack
- Vellum
- 5 Clover Shamrock Set Cut File
- Polaroid Heart Cream and Sugar Cut File
- 4 Flap Nesting Window Card - Square Cut File
- SRM Stickers Quick Card/Lucky
- SRM Sticker Stitches/Black
- Doily from stash
- St. Patrick’s ribbon from stash
- Sequins from stash
- Baker’s Twine (SRM Stickers Peapod)
- Paper clip from stash
- Heidi Swapp Color Shine - Gold Lame
- Stickles Gold Glitter Glue
Here's what you do:
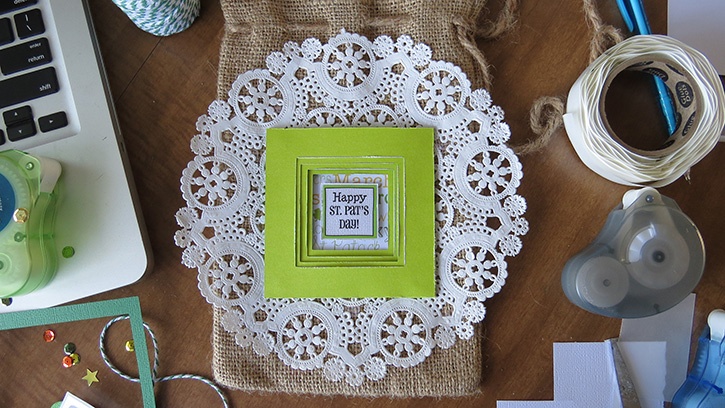
First step in your project process is adhering that doily to the burlap bag, guess what?!?! Glue Dots Advanced Strength makes this an easy job! You're also thinking, man, a paper doily! Those are so delicate! No worries, Glue Dots Advanced Strength are up for the job, adhering that doily without tearing or ripping. I added the dots to the burlap bag first, and then pressed the doily to the burlap.
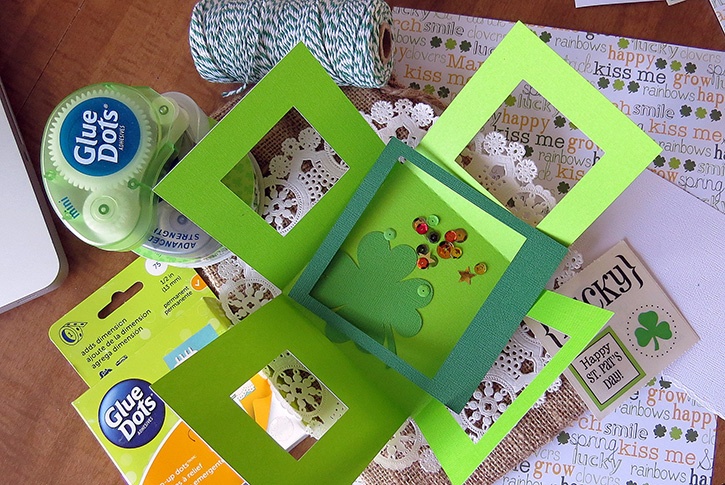
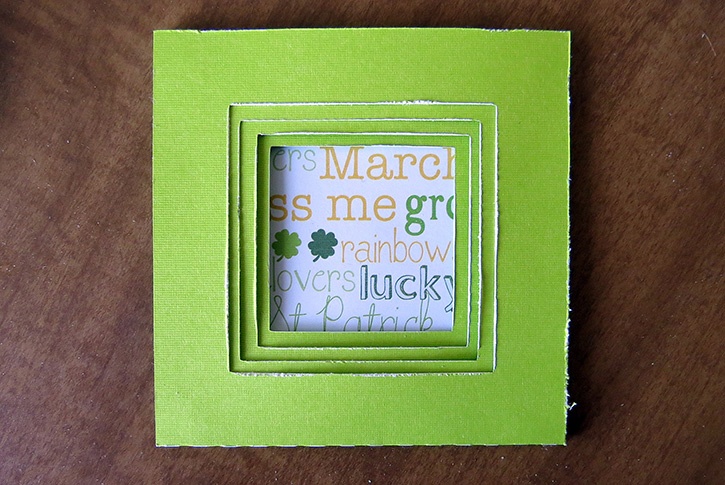
The next step in your process is taking your cut file (4 Flap Nesting Window Card - Square) and setting it in front of you. You're going to adhere the inner square using your Permanent Glue Dots.
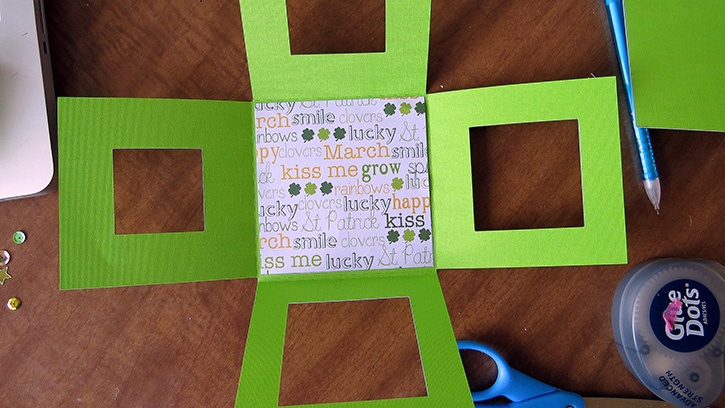
You'll want to adhere each flap from widest to thinnest. I used Permanent Glue Dots for this. Your folded flaps should look like the picture below.
There's a perfect little square, just right for a sentiment. I have that sentiment, "Happy St. Pat's Day" (SRM Stickers Quick Card/Lucky). You will want to use Pop Up Glue Dots to make the sentiment stand out. These dots are perfect for dimension.
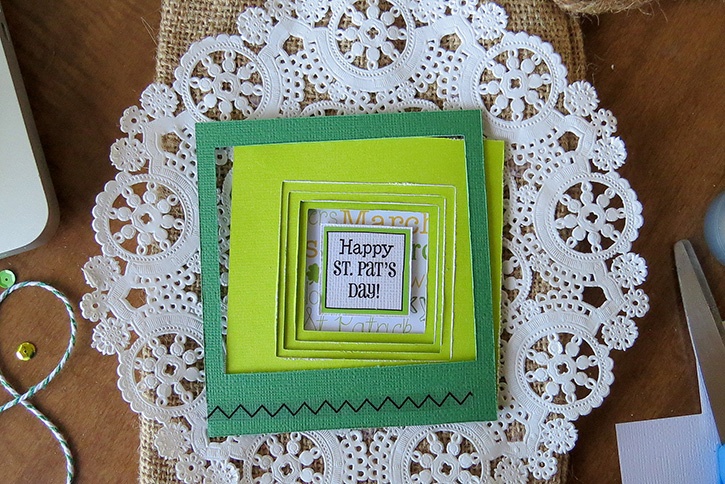
After adhering your square to the doily (again using Permanent Glue Dots), you're going to grab your polaroid frame file (Polaroid Heart Cream and Sugar) and set the heart aside and save for another project or card. Using the dimensional dots again, add dots to each corner (use scissors to trim in half and layer). Press the frame slightly off center as pictured. You can then add the sticker stitch to the bottom left of the frame.
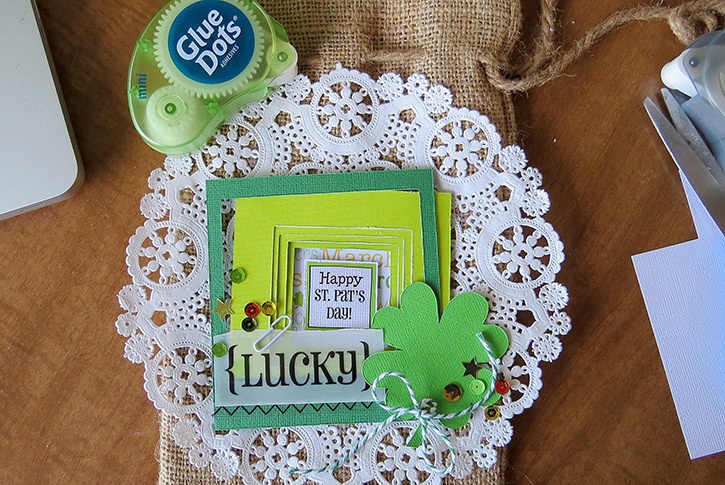
Now it's time to add the final touches, I added a shamrock (5 Clover Shamrock Set) to the lower right corner. The "LUCKY" is a sticker on vellum and then adhered with Permanent Glue Dots. Using Mini Glue Dots, place sequins on the project in a perfectly random way, what I mean by this is make it look as if the sequins naturally fell that way. You may have to toss the sequins in the air and see how they fall, or you may just have an eye for it. Cut a length of baker's twine and wrap it around the shamrock stem, tie a bow and use some additional Mini Glue Dots to tack down the ends of the bow. Tuck a paper clip onto the "LUCKY" and you're almost done!
Cut a fairly long length of St. Patrick's Day ribbon, I found this ribbon in my stash. I tied a bow and used a Permanent Glue Dots to adhere it to the square as shown. I then used more dots to create the "folds". You can create your own flowy ribbon, by manipulating the ribbon the way you'd like and use your dots to tack it down to the burlap bag or doily, depending on how the ribbon lays.
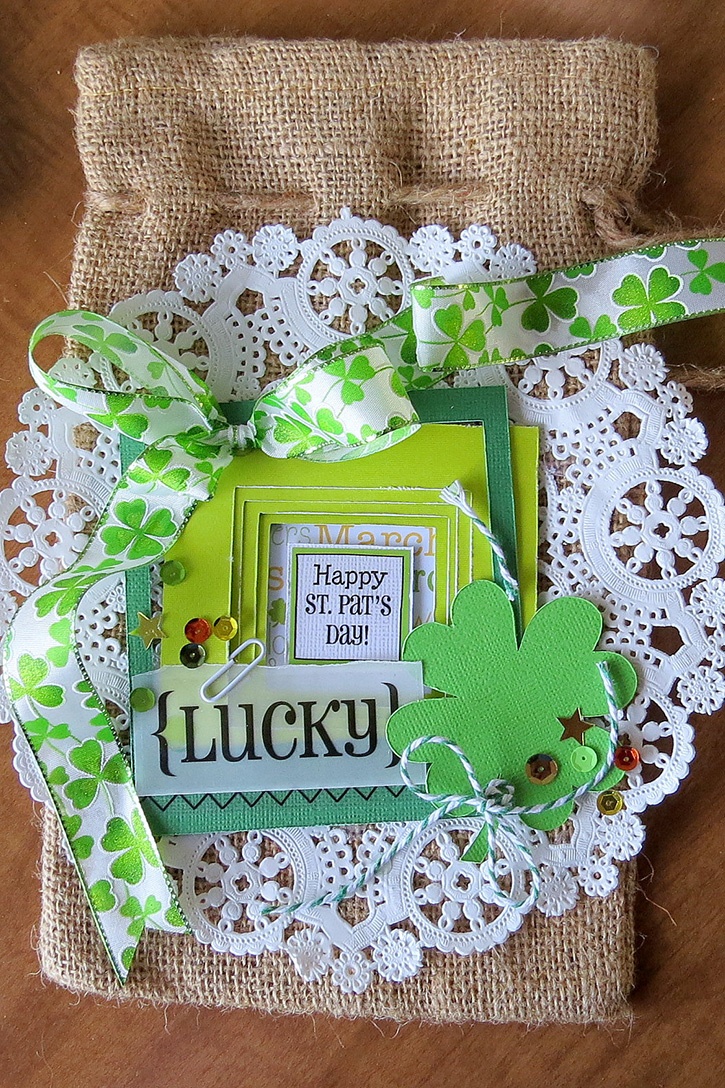
Here's the completed gift bag, it's going to be a great way to share some St. Paddy's Day cheer.
Thank you for letting me share with you!