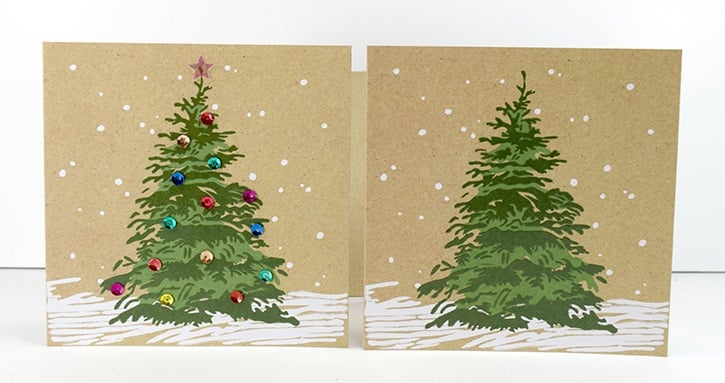
Don't you love the first snow? It's always magical and makes me think back to playing in the snow as a child. I love snowflakes, so today I have a winter snowflake card that you can easily make from things you have around your house.

Designed by: Robyn
Time: 20 minutes
Level: Quick and Easy
Size: 5" x 5"
Materials:
- Craft Dots™
- Glue Squares®
- Scissors
- Sponge
- Colored paper and cardstock
- white cardstock
- printer paper
- Used dryer sheet
- Glitter
- Ribbon, string, or twine
- Ink
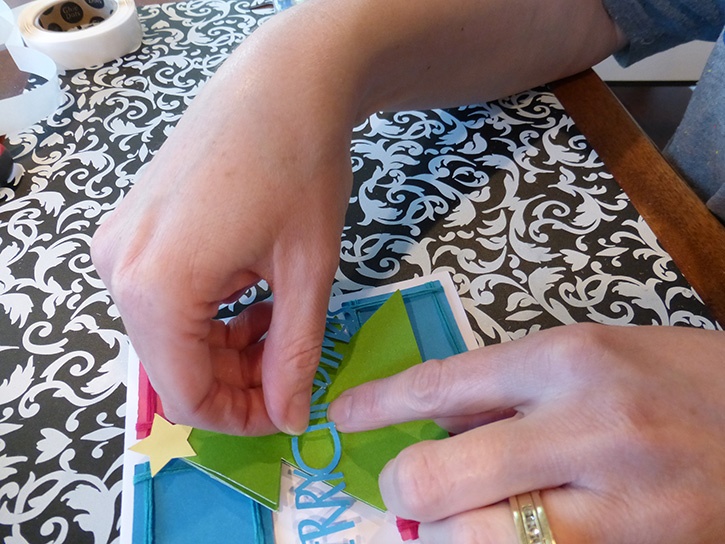
Directions: Using some regular printer paper, cut out a snowflake.
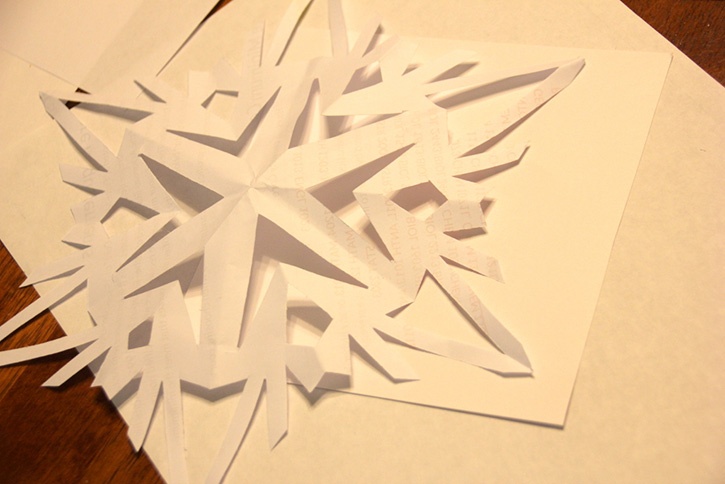
Place your cutout snowflake onto your white cardstock. You can use removable Glue Dots to keep the snowflake in place. Next, take your sponge and dab it in an inkpad, then dab around the snowflake. 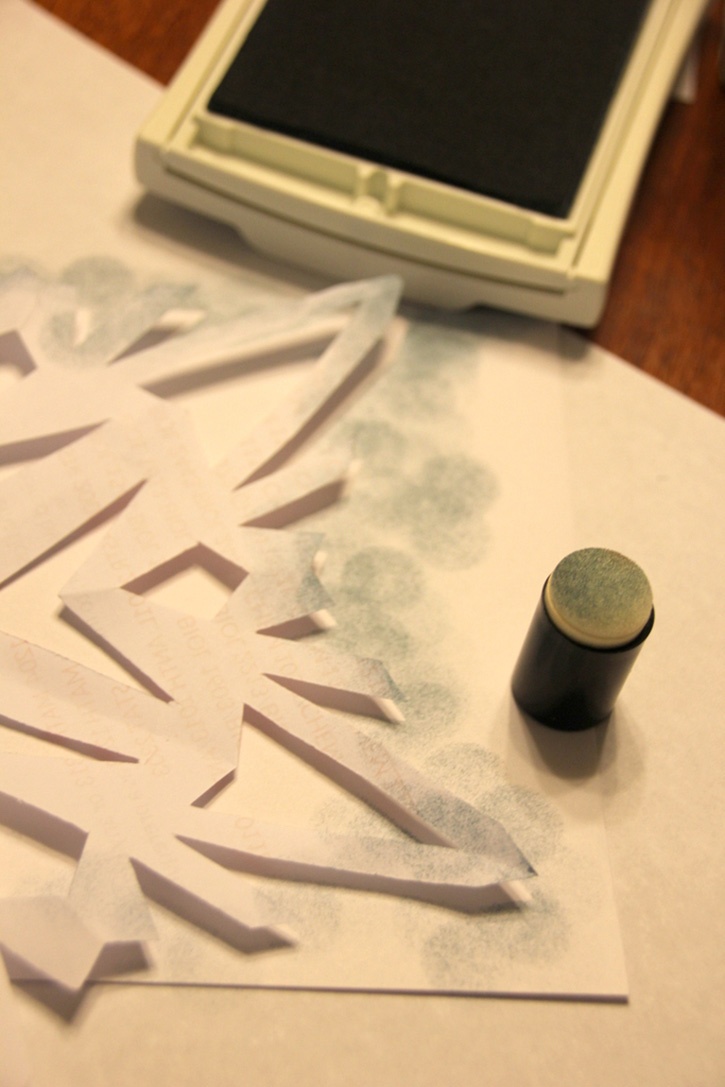
I used a lot of colors giving it a more colorful, almost tie-dyed, look.
Tip: You can use watercolors, crayons, or really any coloring medium to do this step if you don't have ink...just add some color around the snowflake.
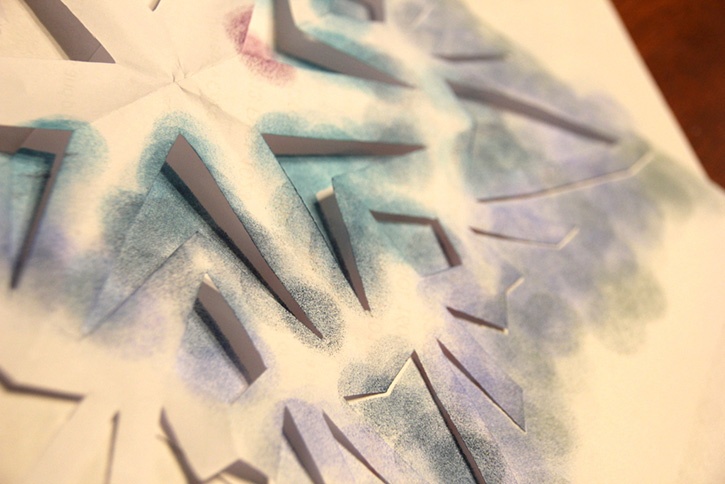
Take your used dryer sheet and cover the front of the snowflake, using your Craft Dots to adhere the dryer sheet around the back of the cardstock.

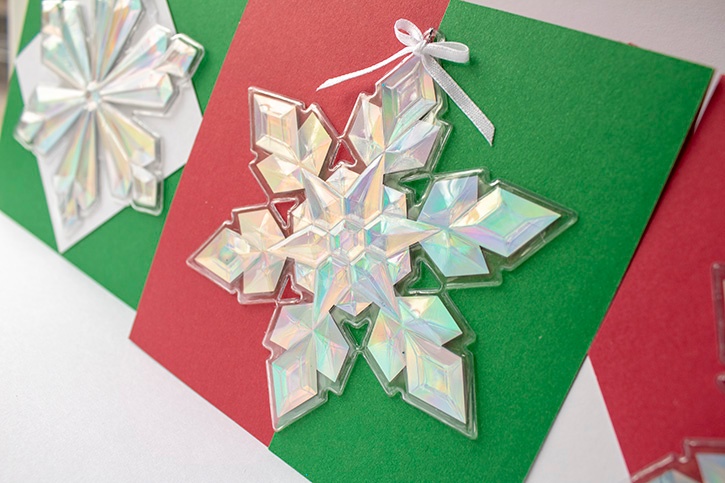
Add Permanent Glue Squares (or any permanent Glue Dot pattern) to the front of the snowflake (on top of the dryer sheet) and sprinkle with glitter.
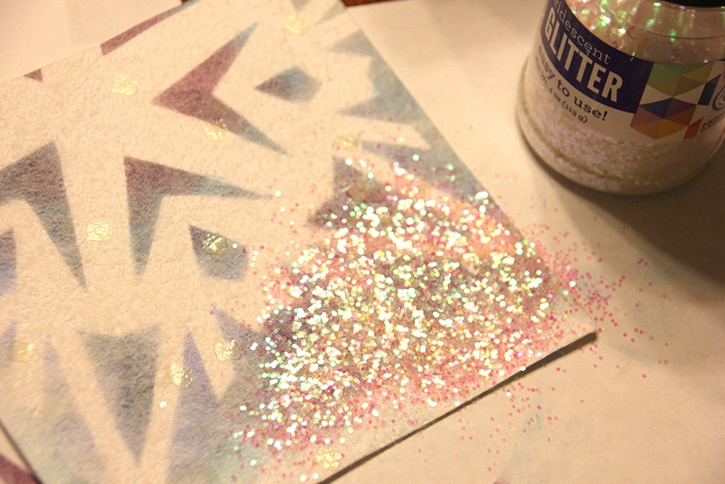
Shake off your excess glitter and then frame the snowflake by layering it onto a different colored cardstock.
Add a final touch by placing a bow at the top of the card.
I love the way this came out. So pretty and yet still colorful and fun! AND the best part is that every time you make this card, it will be unique with every snowflake that you cut out.
~ Robyn

Hi! I’m Robyn and blog over at Create it. Go! I live in beautiful Northwest Arkansas and love being outside. I’m a mom to five fun, crazy kiddos that I love, ranging in age from 16 down to 4. And I’m a wife to a man that I love laughing wtih! I love to create. I love papercrafting, working with wood, upcycles, repuposes, and DIY’s, crafting anything in general, trying out new recipes, sewing, photography, you name it! I also like to pick up a good book and ignore those dishes and laundry that never seem to go away. haha My life is never boring and can almost always use some re-balancing and simplifying. It’s not perfect, but I love it!


