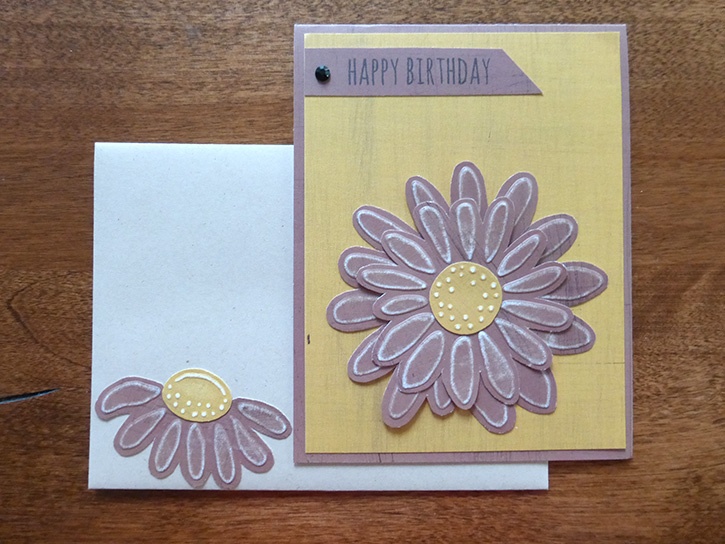
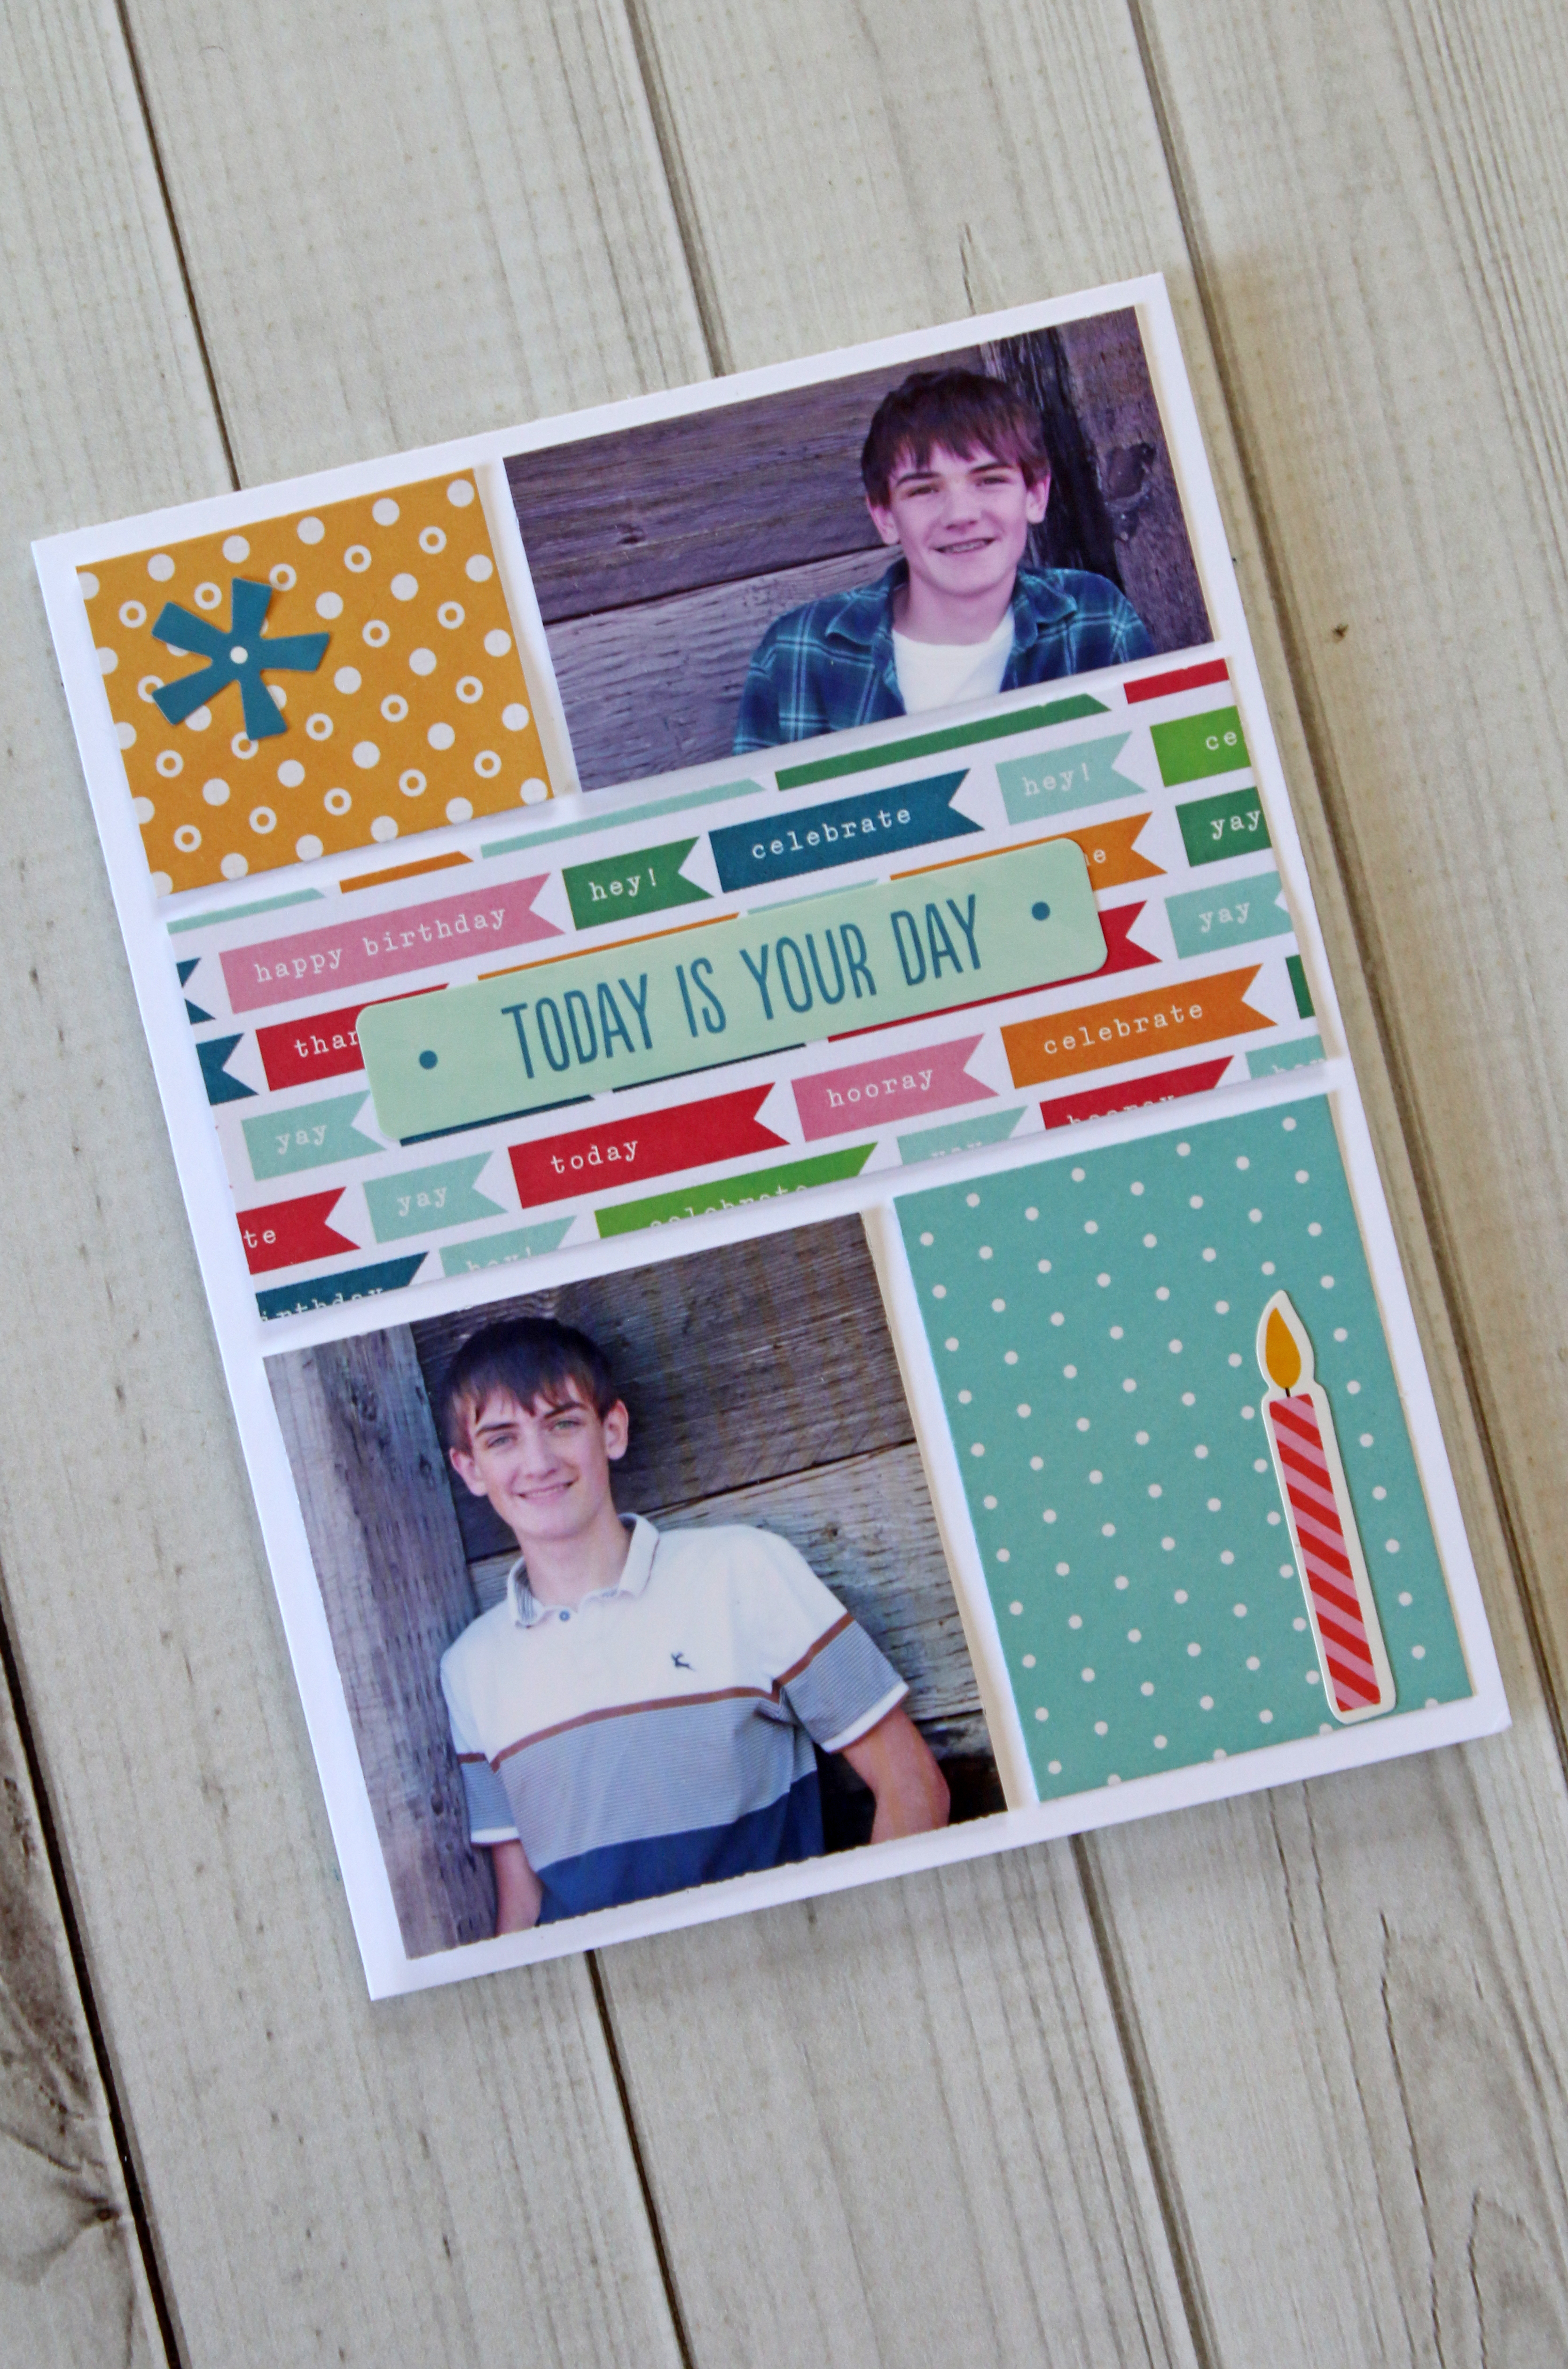
This cute card is fairly easy to put together, and it can be made in all sorts of colors!
Made by: Amanda Tibbitts
Level: Intermediate
Size: A2 Card
Time: 40 Minutes
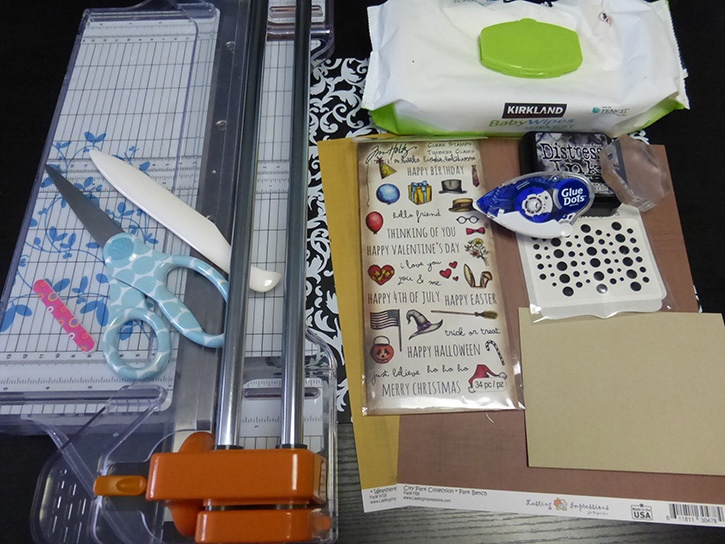
Here's what you need:
- Permanent GlueTape
- 1 sheet of Lasting Impressions Park Bench White Core Cardstock along with 1 sheet of their Weathered Sunflower White Core Cardstock
- A2 Desert Storm Envelope
- Tim Holtz Acrylic Stamp Set
- Acrylic block
- Baby wipes/stamp cleaner
- Black Soot Distress Ink
- Self-adhesive gems
- Craft mat
- Lasting Impressions Brass Embossing Template M16
- Embossing stylus
- Light table or window
- Paper trimmer
- Scissors
- Bone folder
- Nail file/sandpaper
Here's what you do:
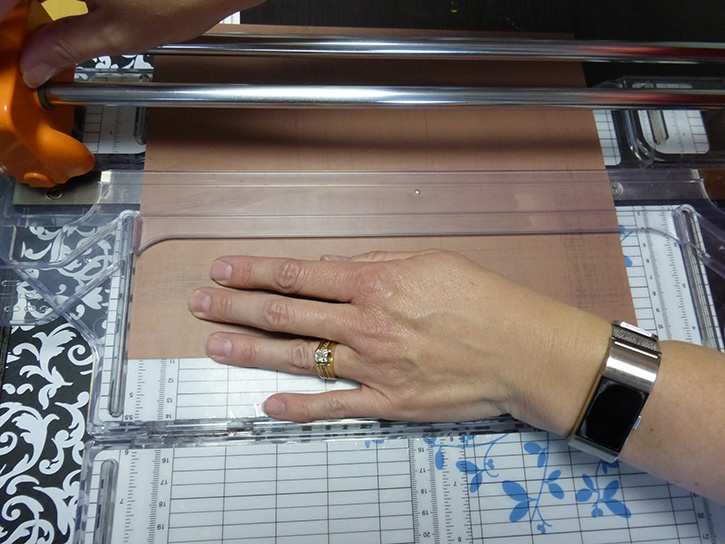
Create the card base by trimming down your Park Bench color paper to 4 ¼” by 11” and use the bone folder to crease in the middle. Cut the Weathered Sunflower paper to 4” x 5 ¼” to use as your mat.
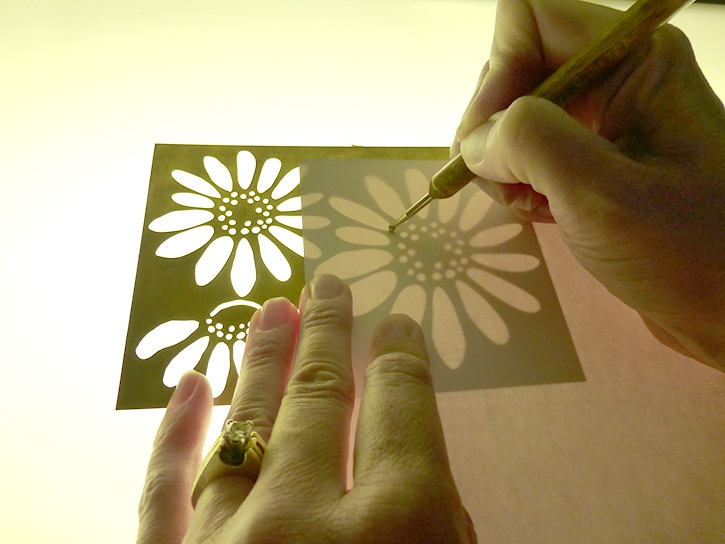
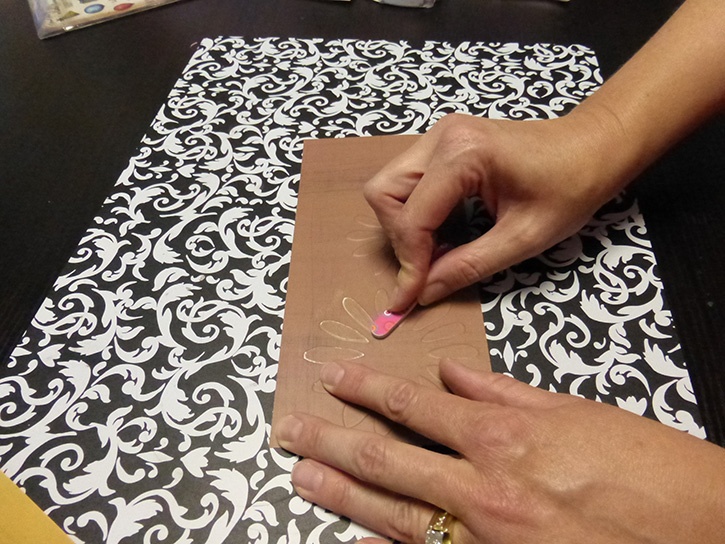
With your light table or window and the stylus, along with the brass template, emboss your flower on the reverse side of the Park Bench paper. Create the centers of the flowers by embossing them onto the Weathered Sunflower cardstock.
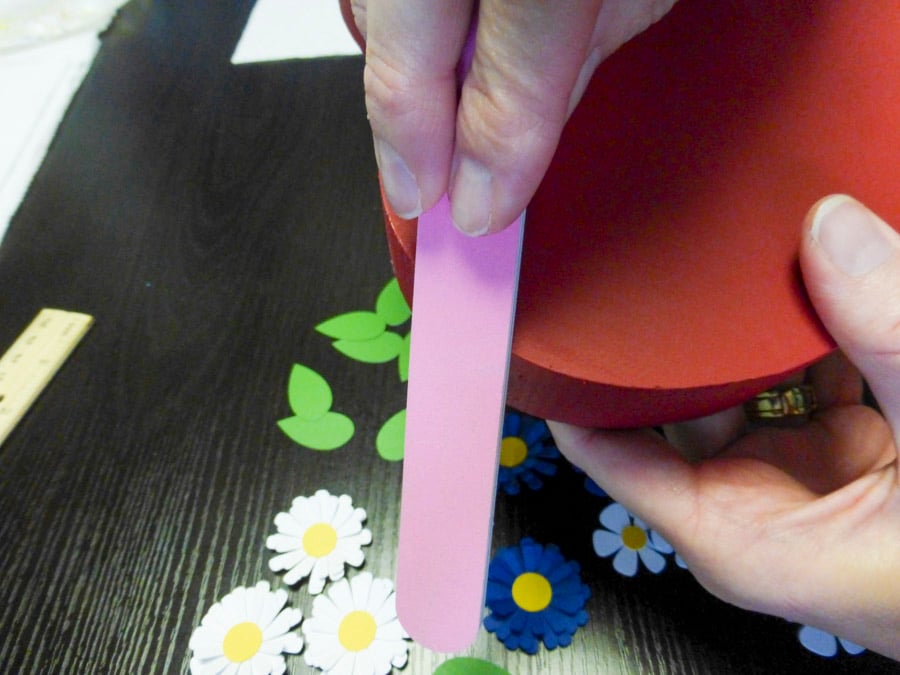
With the sand paper or nail file, lightly rub off some of the color from each flower and middle, leaving a white edge. This step is called “scuffing”.
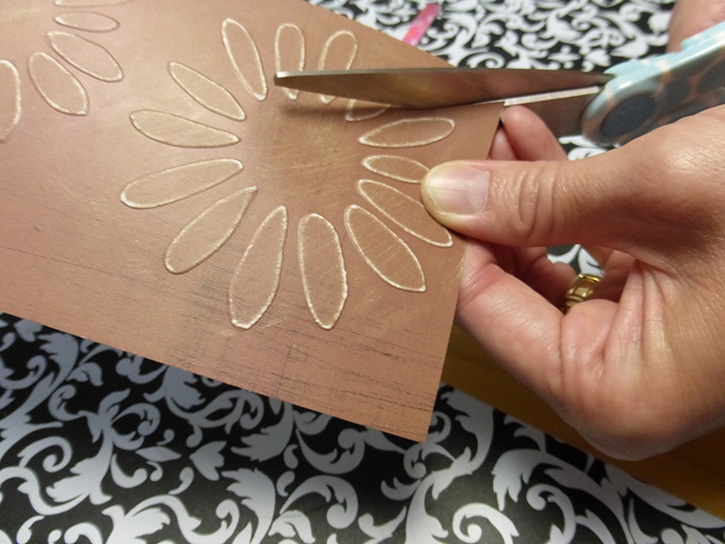
Using scissors, cut out your embossed flowers. Be sure to leave a small edge around the petals.
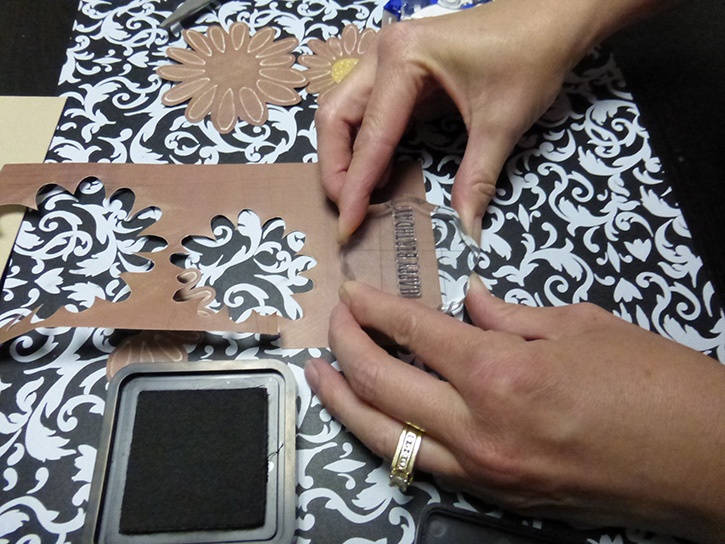
With the Tim Holtz acrylic stamps, stamp your sentiment on the Park Bench paper with the Black Soot Distress Ink.
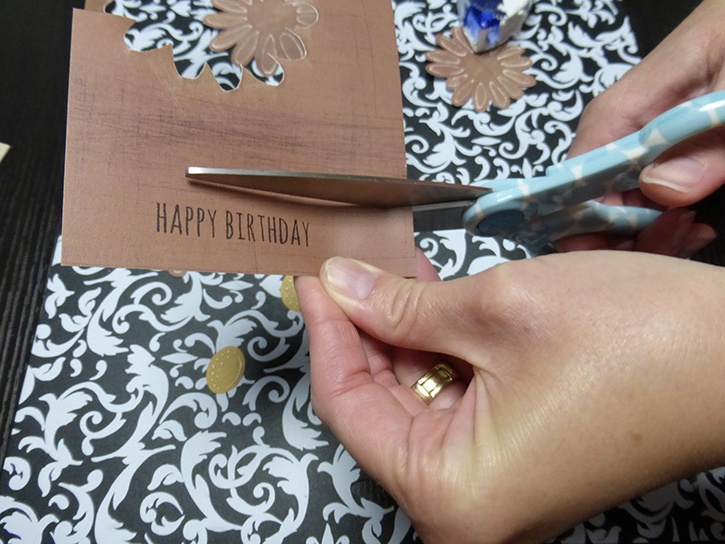
Allow it to dry for a minute and then cut it out with the scissors making a stylish cut along one end. Use the tape runner to add this to your card front.
Using the GlueTape, add adhesive to the back of the centers of both flowers. Glue the 2 flowers together, offsetting one on top just a hair to make one, fuller flower. Glue the center of the now larger flower to the front of the card. 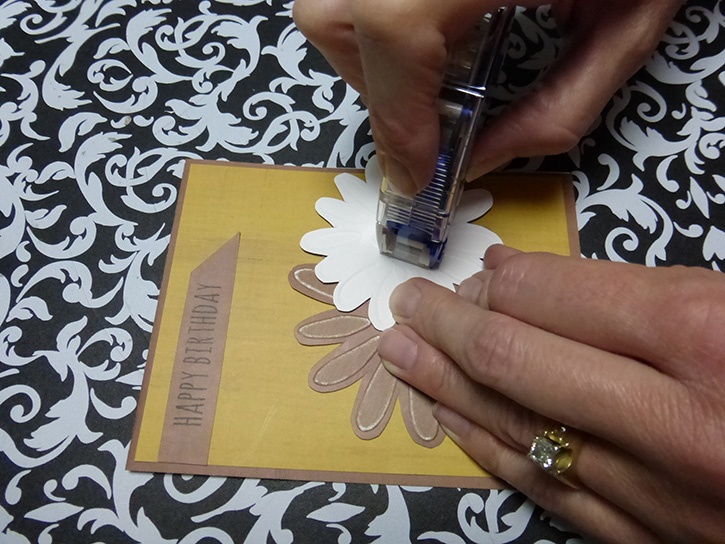
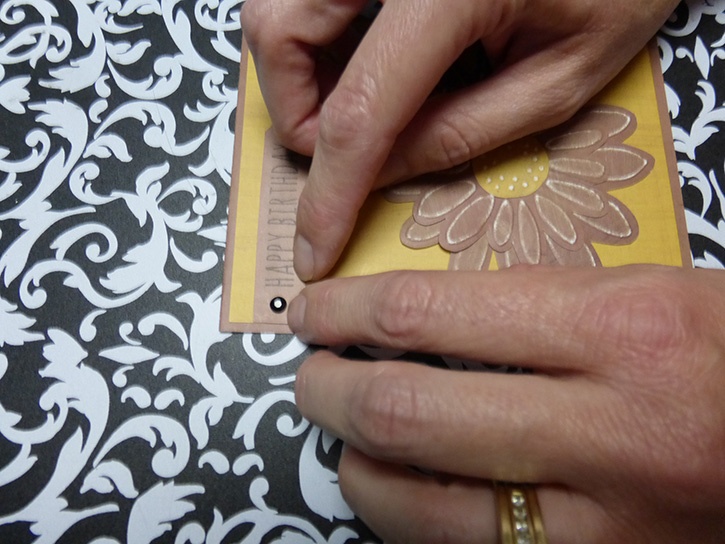
Use one small self-adhesive gem on the sentiment banner.
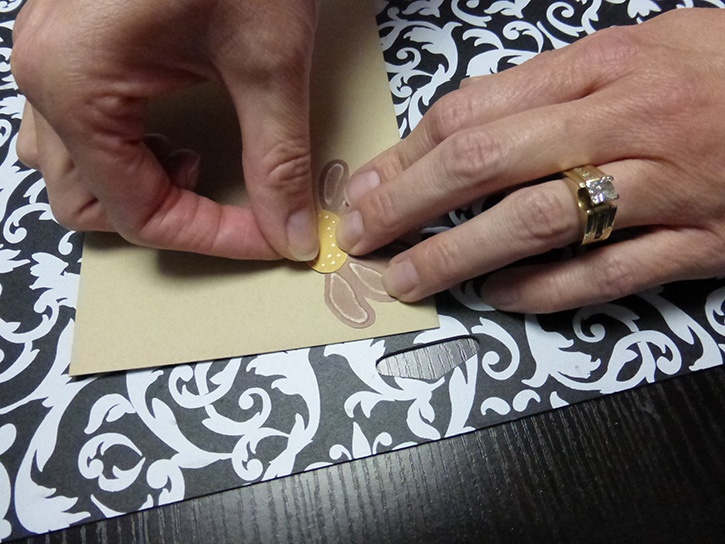
 Repeating the steps above, use the GlueTape to add one flower (I did a half-flower) to the envelope. Now your card is ready to be given to someone special!
~ Amanda


I began crafting in 1996 and simply fell in love with making my own cards. Long live snail mail! Crafting isn’t just a hobby for me, but a way of life… Teacher gifts, posters, scrapbooks, wood crafts? Yes, please! I have been married to my cute husband for 16 years and he definitely inspires me to try new things and enjoy the little things. As a stay home Mom, my time is spent raising my two girls, and raising the bar for my gift giving!


