Brighten up any room with these hanging flowers! Kids can practice fine motor skills and create something beautiful at the same time.
%20copy.jpg?width=725&name=Hanging%20Flowers%20Kids%20Craft%20finished%20(2)%20copy.jpg)
Designed by: Danielle Hunter
Time: 1 hour
Level: Quick and Easy
Size: 3 x 3” (each flower)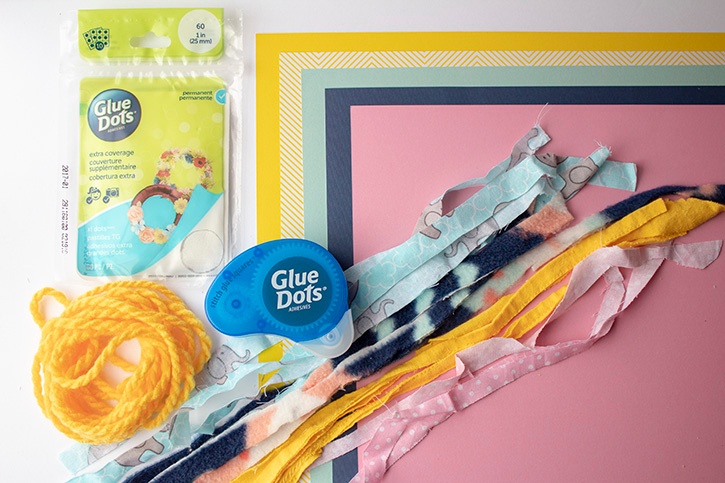
Here's what you need:
- XL Dots™
- Glue Squares®
- 1” circle punch
- 3x3” flower die cut or template
- Scissors
- 12 1’ long strips of fabric scraps
- Cardstock (assorted colors to match fabric)
- Yarn
Here's what you do:
Cut out 12 of each of the following: flowers; 1 ½ x ½”cardstock strips; and 1" circles.
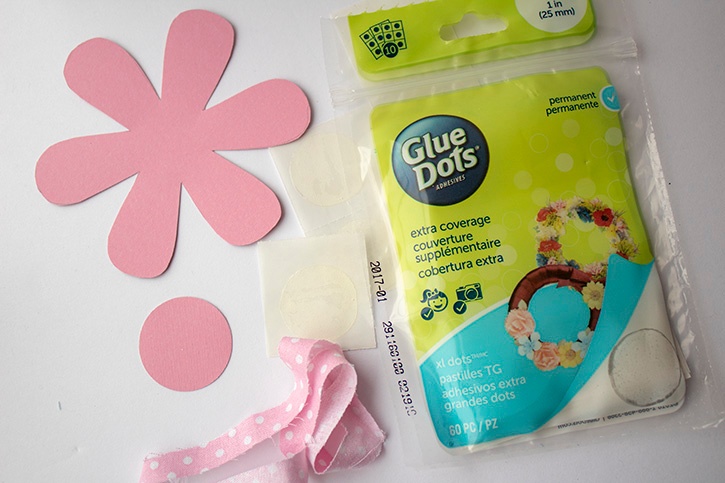
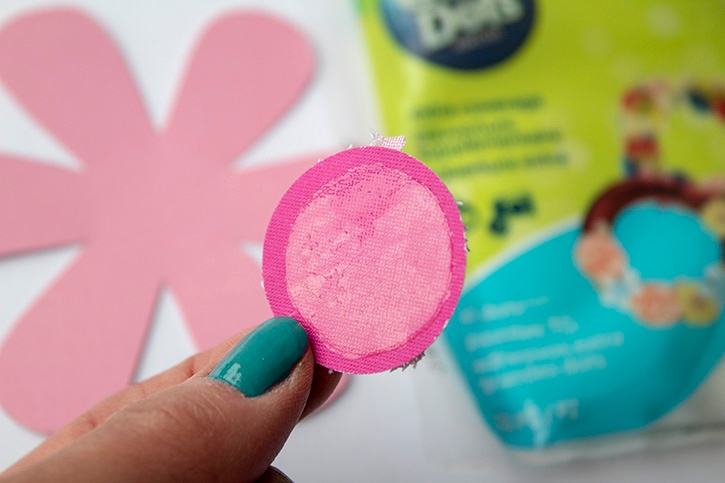
Create a knot at the end of a fabric strip and place in center of XL Dot. 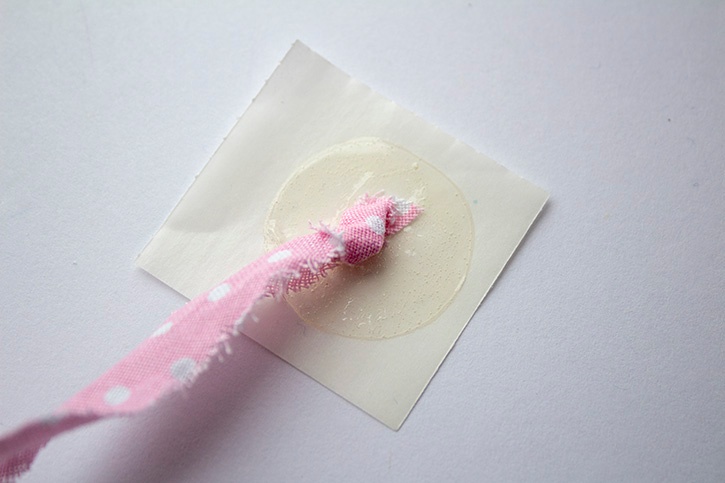 Twist and adhere strip around knot until entire XL Dot is covered with fabric.
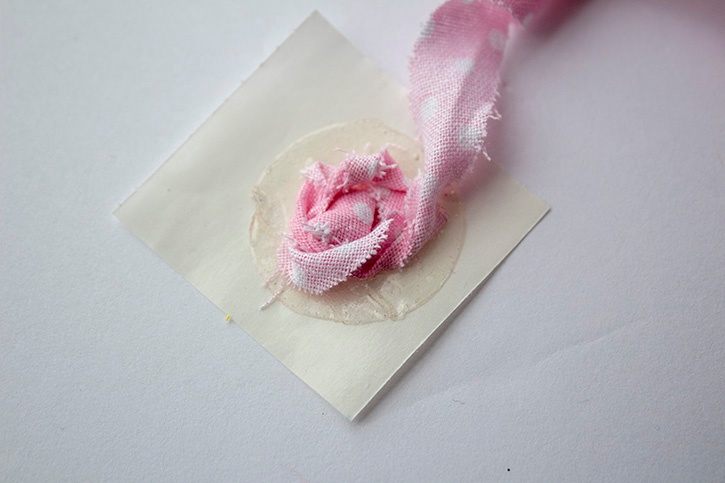
Remove backing from XL Dot and attach to 1” circle. Apply a second XL Dot to the back of the circle.
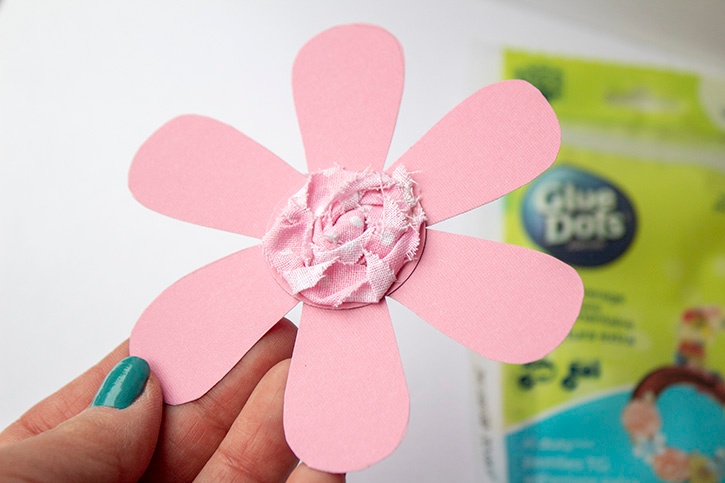
Attach your fabric flower to center of your large paper flower.
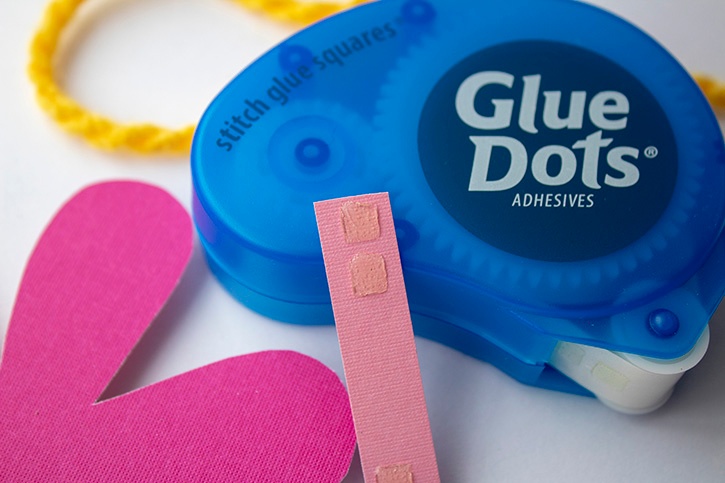
Create a hanging loop for the back of each flower by applying 2 Glue Squares to each end of the 1 ½ x ½” cardstock strip and then attaching it to the back of flower.
Insert a 3’ long piece of yarn through the loop and tie a knot.
Repeat Steps 2-5 for each flower.
%20copy.jpg?width=725&name=Hanging%20Flowers%20Kids%20Craft%20finished%20close-up%20(2)%20copy.jpg)
Group flowers together and knot them together. Hang as desired.
~Danielle

Danielle Hunter is a multitasking mom of two creative girls. She works in human resources for a non-profit organization and is a yoga teacher in training. She lives in Northeast Ohio and has been dedicated to crafting since childhood. Danielle completed her first scrapbook at the age of four, was a scrapbooker-for-hire for several years, and has shared her knowledge in a classroom setting. She enjoys turning trash to treasure, making crafts for kids, and creating artistic projects with bold colors and fun designs. Danielle joined the very first design team for Glue Dots in 2010. Her projects have been featured in Craft Ideas and CardMaker magazines, as well as websites such as Reader’s Digest, HGTV, and Crafting a Green World.


