Reusable Monogrammed Birthday Party Favor Bags
Posted on May 20, 2017 6:53:00 AM by Grace TolmanBirthdays are a special day in our home and birthday parties are even a bigger deal. So when I was thinking about how to celebrate my daughter’s upcoming birthday party, I decided to create some DIY favor bags that are not only monogrammed but can be used by the girls long after the party has ended. If you don’t want to take the time to sew it, you can always purchase some canvas bags at the local craft store.
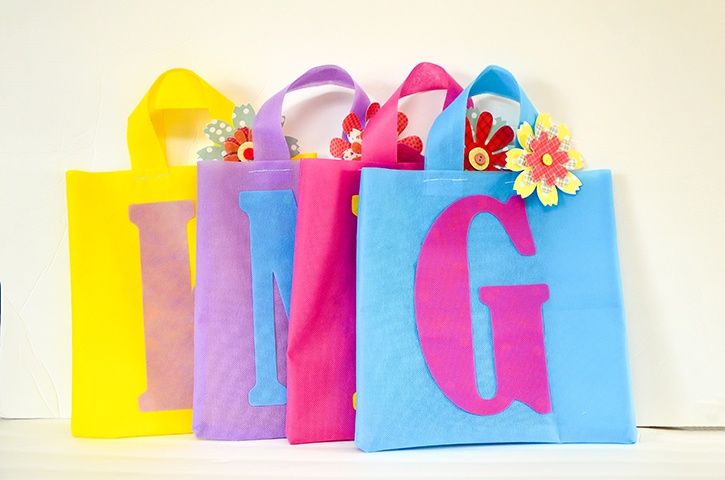
Made by: Grace Tolman
Time: Approximately 1 hour (including sewing)
Level: Intermediate
Size: 15 ½” x 11” x ¼”
Here's what you need:
- Glue Dots® Advanced Strength Dot N Go®
- Mini Glue Dots®
- Oly*Fun Fabric materials - Yellow, Pink, Blue, Purple
- Fabric flowers and buttons from We R Memory Keepers
- Hair clips
- Sewing Thread
- Die cut machine
- Type font (I used Bernard MT Condensed)
- Sewing Machine
- Scissors
Here's what you do:
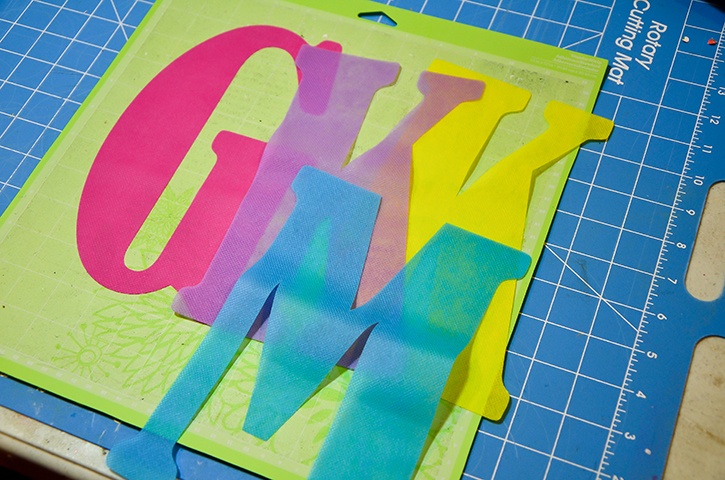
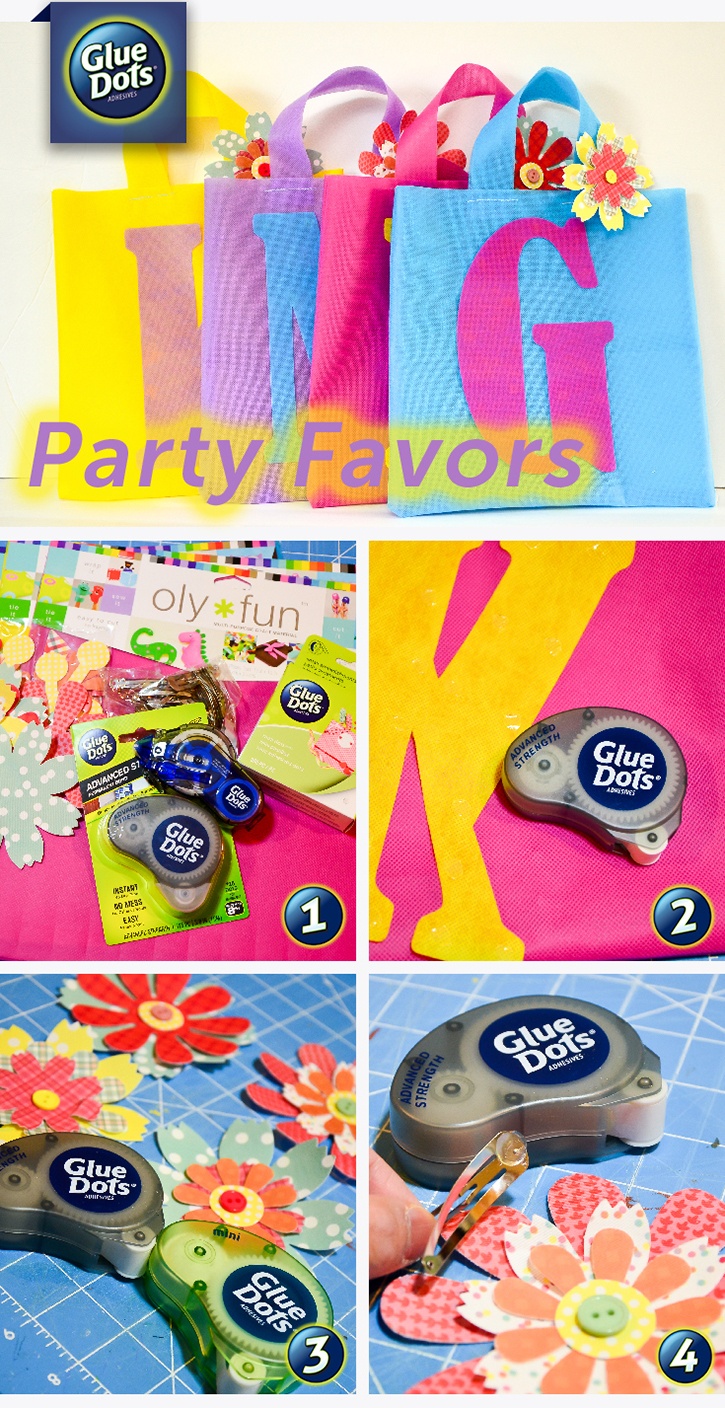
Using the Cameo die cut machine, cut out the initials that you want to use. I used the Bernard MT Condensed font because I wanted a block and simple style font. Mine was sized to about 9 ½” x 5 ½” in size. Note: The fabric was fairly thin so I didn’t need any special blade for cutting.
I did, however, cut the image twice to make sure it was cut all the way through. Please check with your machine manual as to the specific settings to cut your craft material.
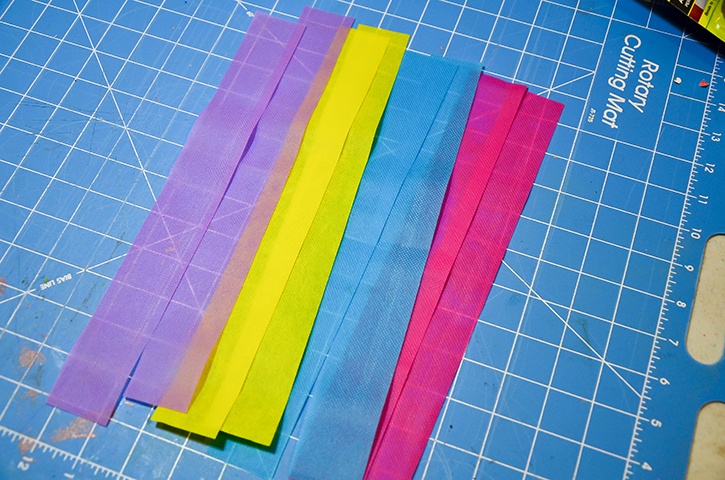
Cut the materials to make the bag. I started off with 2 12" x 12" pieces of the fabric (for the bag) and 2 12" x 1 ½” strips for the handles.
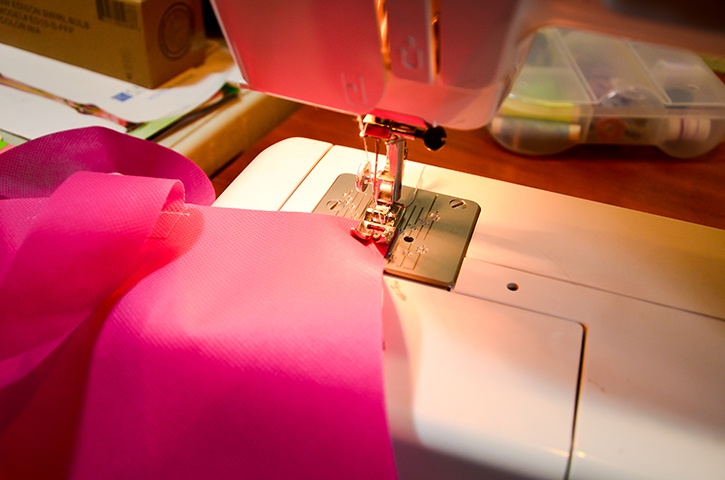
Pin the handles to each of the fabric squares and then sew to the center top of the panel. Repeat process for all the bags.
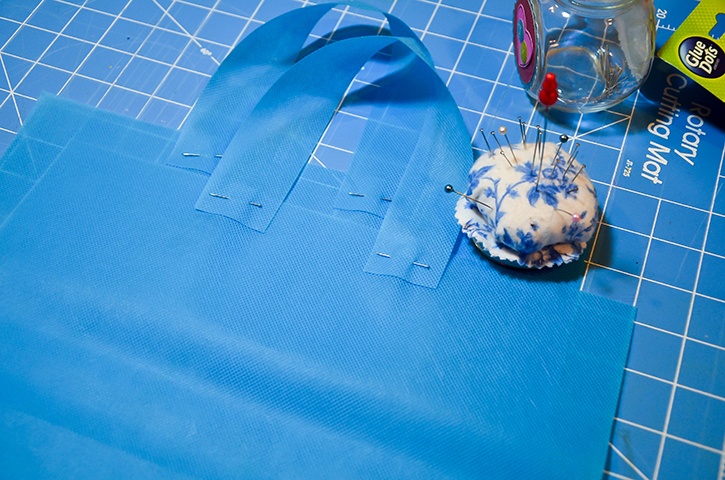
Pin the opposite sides of the fabric panels and then sew three sides. Turn it inside out to create the bag.
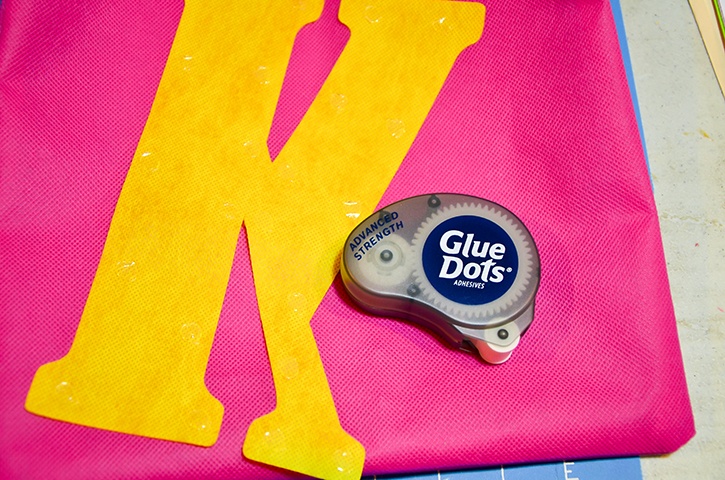
Adhere the monograms onto the center of the bag front using Advanced Strength adhesive.
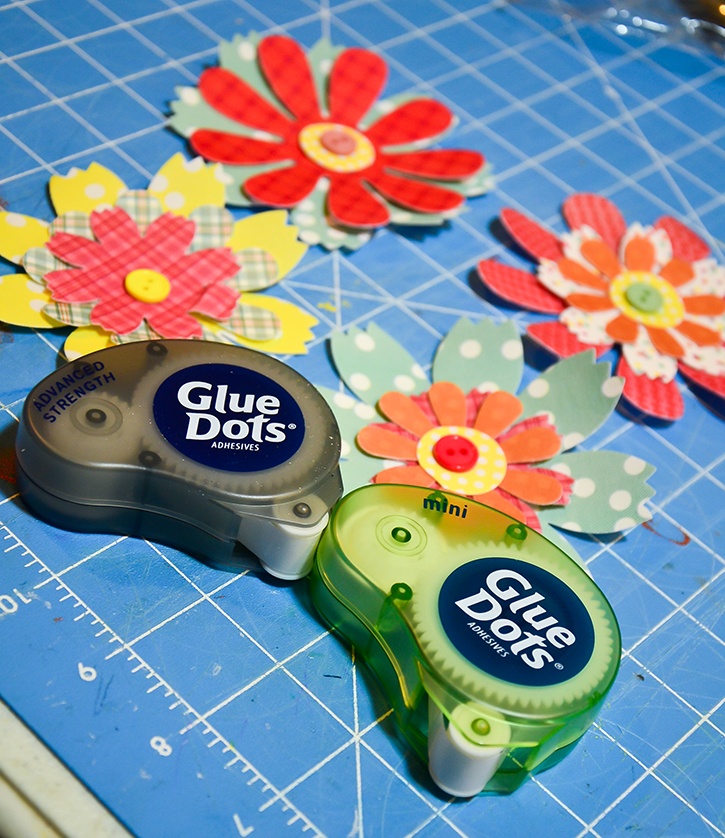
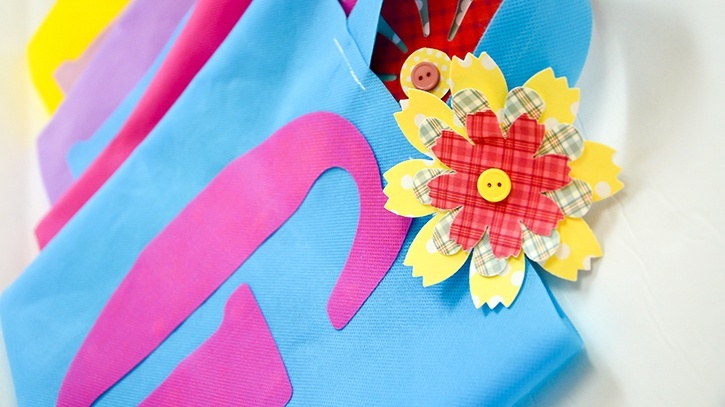
To make the extra flower clip, layer fabric flowers over each other. Adhere the layers using Advanced Strength and Mini Dots adhesive. Adhere a button in the center of the flowers with Mini Glue Dots.
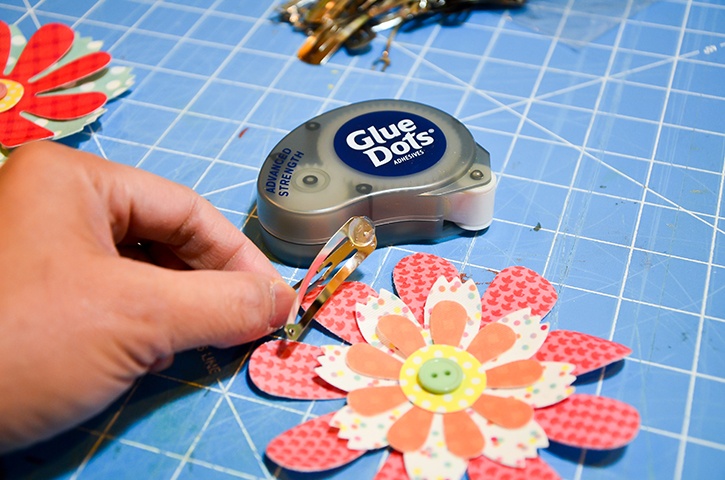
Add one adhesive to the back side of the hair clip and adhere the flower onto it.
Clip the flower to the top of the bag.
Save this idea for your next party or event!

I’m a mom to a 10 year old boy and an 8 year old girl. Therefore my life is usually filled with learning, new discovery, bribery and driving to and from all of our activities. I have a loving and very supportive husband of 11 years. When the kids have gone to bed at night, my time is spent crafting while catching up on my favorite shows and movies. I also enjoy reading, window shopping, knitting and perusing blogs for inspirations. Three years ago we moved to Colorado from California and we are enjoying our new environment. I feel very inspired with my new home, my new scrapbook space and the mountain views. Although I’ve been doing some type of scrapbooking since grade school, I only started to scrapbook seriously after my son was born. When he was born I knew I would be staying at home with him but coming from a fast paced sales job I was afraid I would ran out of things to do during the day. Little did I know that with newborns you won’t have any time to do anything else. Anyways, after going through a basic scrapbooking class I was hooked and haven’t stopped scrapping since.


