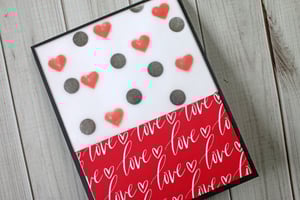
Adding vellum to a card adds a soft, pretty finish to it. However, figuring out where to hide the adhesive is always a challenge. With new Adhesive Shapes from Glue Dots® adhesive goes from being hidden to becoming the star of the show!
MADE BY: SAMANTHA TAYLOR | TIME: 20 MINUTES
LEVEL: BEGINNER | SIZE: 4 ¼” x 5 ½” (A2 Card)
Supplies:
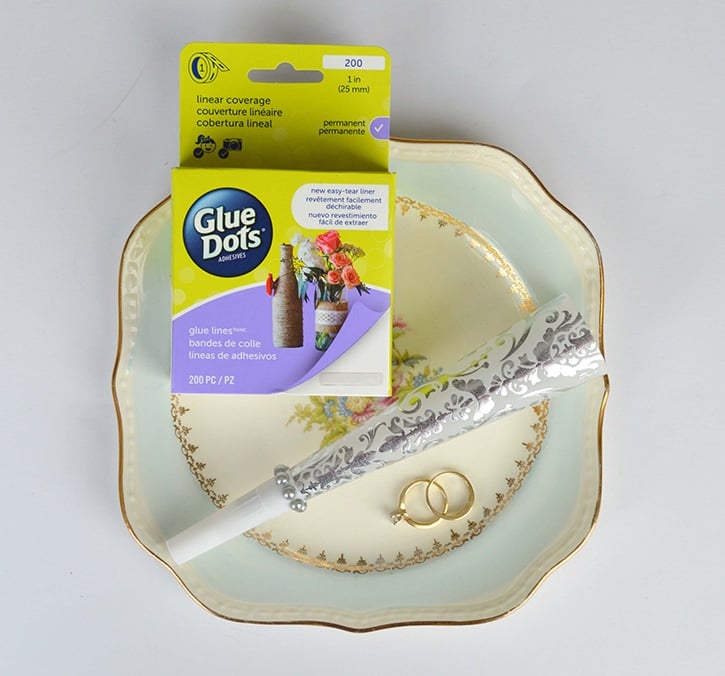
- Glue Dots® Adhesive Hearts
- Permanent Dots™ Dot N’ Go®
- Black A2 Card Base (4 ½” x 5 ½”)
- White Card Stock Layer Measuring 4” x 5 ¼”
- Love Themed Patterned Paper Layer Measuring 4” x 2 ¼”
- Vellum With Silver Polka Dots Measuring 4” x 3”
- Die Cut or Sticker Sentiment
Directions:
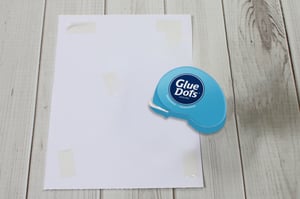
- Use Permanent Dots™ Glue Dots® to attach the white card stock layer to the black card base.
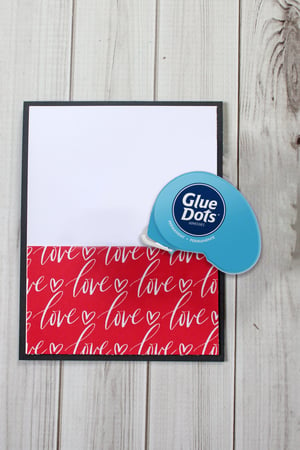
- Use Permanent Dots™ Glue Dots® to attach the love themed patterned paper to the bottom of the card.
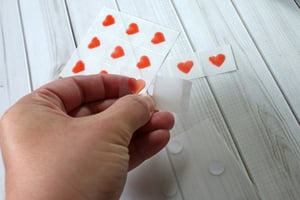
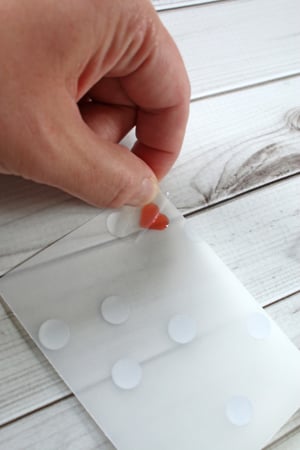
- Peel the liner off an Adhesive Heart. Place the heart on the back side of the vellum. Repeat until you have as many Adhesive Hearts as you’d like on the vellum.
- Place the vellum, heart side down, onto your card base using the Adhesive Hearts to secure the vellum in place.
- Add a sentiment die cut or sticker. Use Permanent Dots™ Glue Dots® to hold it in place.
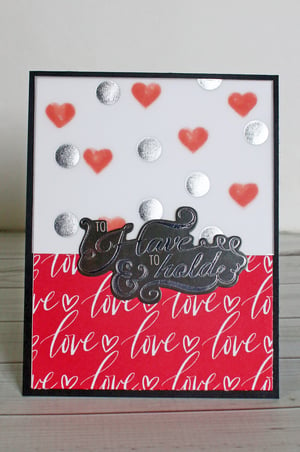
Switch out your patterned paper and sentiment to create an anniversary, Valentine’s Day, or thinking of you card. Use colored vellum to change color of the Adhesive Hearts.
.jpg)

My name is Samantha Taylor and I have a passion for combining crafting and creativity to beautify life. I live in a small town in rural Iowa with my husband and 2 boys (all 3 of whom you’ll see featured in my projects). I’m a paper crafting fanatic who also loves photography. I enjoy making lay outs, cards, mini albums and home decor items, party decorations, and crafting with my kids. My favorite thing about crafting is getting to connect with so many people all over the world who also love creating pretty things and preserving memories. You can find more from me at www.taylorstamped.blogspot.com. I am so excited to share with you my love for the many uses of Glue Dots®!


