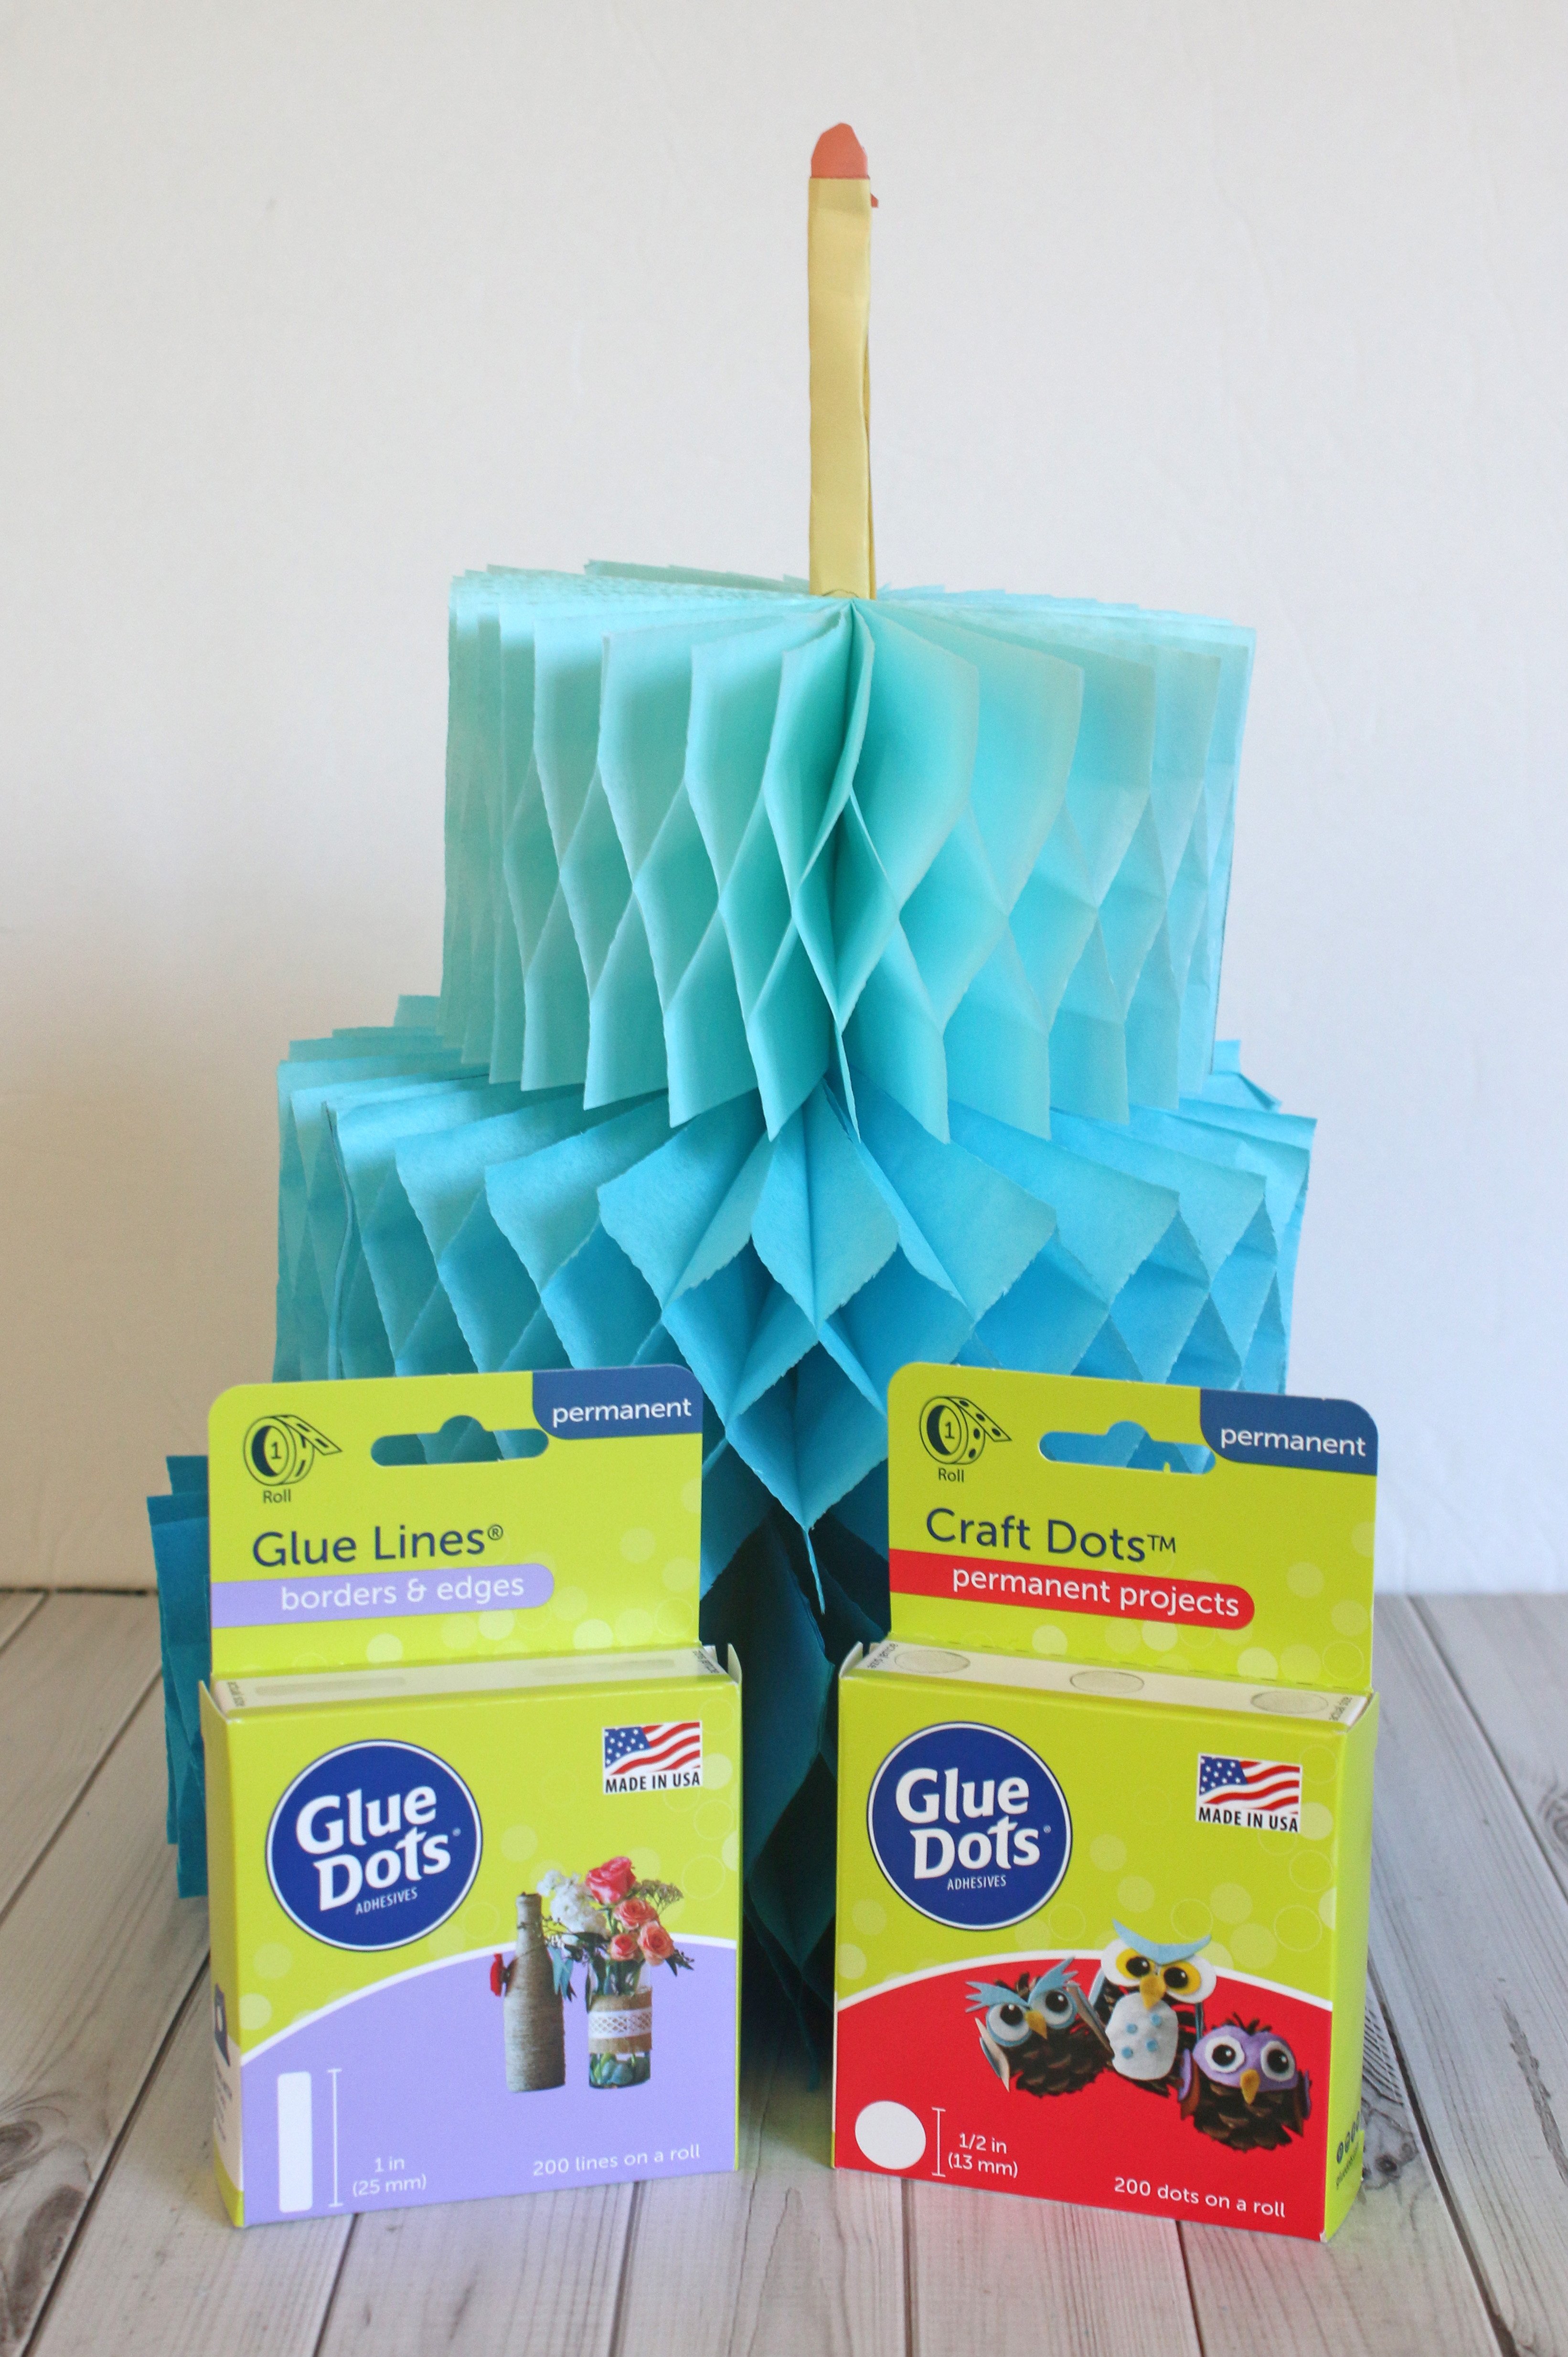
I love how stamps these days offer some fun ways to say traditional greetings like “Happy Birthday!” In this card, I brought color through using colored markers. Glue Dots® makes it easy to put this card together and it is durable for any paper types, whether that is cardstock or pattern paper.
%20copy.jpg?width=725&name=whisking%20birthday%20card%20(9)%20copy.jpg)
Designed by: Grace Tolman
Time: Approximately 40 minutes (Including coloring time)
Level: Moderate Handiness
Size: A2 card size (4 ¼ x 5 ½)
%20copy.jpg?width=725&name=whisking%20birthday%20card%20(1)%20copy.jpg)
Here's what you need:
- Premium Permanent GlueTape
- Pop-Up Dots™
- Black ink pad
- VersaMark ink pad
- Black embossing powder
- Nuvo Crystal Drops - Gloss Simply White
- Nuvo Shimmer pen
- Whimsy Stamps®- Card Builder Window Die cuts
- CuttleBug die cut machine
- Paper trimmer
- Scissors
- White cardstock
- Lawn Fawn® Pattern papers- Let’s Polka in the Meadow, 6" x 6" paper pad
- Art Impressions Stamp - Whisk It Set
- Spectrum Noir Markers
Here's what you do:
Cut an 8 ½" x 11” piece of white cardstock in half horizontally, using a paper trimmer. This will give you two
5 ½" x 8 ½”. Fold one of the pieces in half, so you get a 4 ¼" x 5 ½" to make your card base.
Create the stitched 3" x 4” block with the other white half of the white cardstock using the Whimsy card builder die cut set.
Stamp the image onto the die cut piece with black ink. Color in the image using the Spectrum Noir markers.
%20copy.jpg?width=725&name=whisking%20birthday%20card%20(2)%20copy.jpg)
To add some more depth to the image, add some Nuvo Crystal Drops to the lady’s apron and add some shimmer to her shoes, hat, dress, and cupcakes with the Nuvo Shimmer Pen. Set aside to dry.
%20copy.jpg?width=725&name=whisking%20birthday%20card%20(3)%20copy.jpg)
Meanwhile, stamp the card sentiment using the VersaMark ink pad. Heat emboss the sentiment after applying some black embossing powder.
Die cut the sentiment with a label die.
%20copy.jpg?width=725&name=whisking%20birthday%20card%20(4)%20copy.jpg)
Create the rectangle background using a piece of the pink dot paper from the Let’s Polka 6" x 6" paper pad and the largest rectangle die from the Whimsy die cut set. Adhere it to the front of the card using Premium Permanent GlueTape. Once the colored panel is dry, add Premium Permanent Glue Tape to the back and adhere to the center of the card. %20copy.jpg?width=725&name=whisking%20birthday%20card%20(5)%20copy.jpg)
Add Pop-Up Dots to the back of the sentiment label that you cut out with the die cutting machine and place it on the bottom left side of the card.
%20copy.jpg?width=725&name=whisking%20birthday%20card%20(6)%20copy.jpg)
~ Grace

I’m a mom to a 10 year old boy and an 8 year old girl. Therefore my life is usually filled with learning, new discovery, bribery and driving to and from all of our activities. I have a loving and very supportive husband of 11 years. When the kids have gone to bed at night, my time is spent crafting while catching up on my favorite shows and movies. I also enjoy reading, window shopping, knitting and perusing blogs for inspirations. Three years ago we moved to Colorado from California and we are enjoying our new environment. I feel very inspired with my new home, my new scrapbook space and the mountain views. Although I’ve been doing some type of scrapbooking since grade school, I only started to scrapbook seriously after my son was born. When he was born I knew I would be staying at home with him but coming from a fast paced sales job I was afraid I would ran out of things to do during the day. Little did I know that with newborns you won’t have any time to do anything else. Anyways, after going through a basic scrapbooking class I was hooked and haven’t stopped scrapping since.


