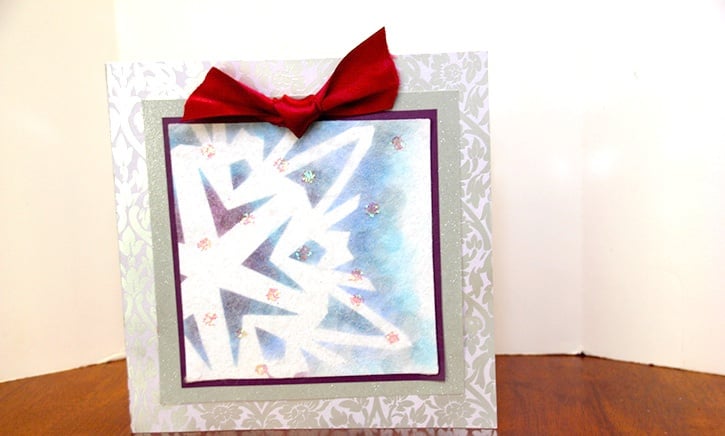
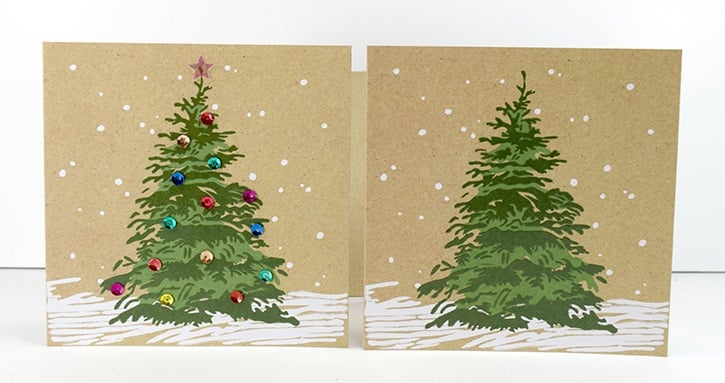
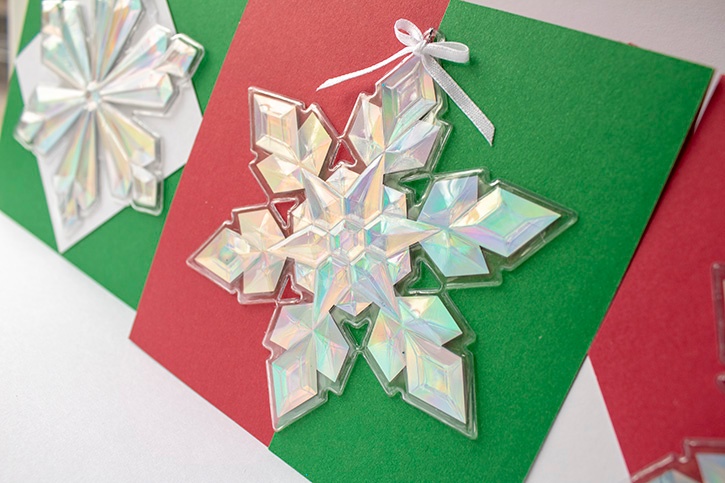
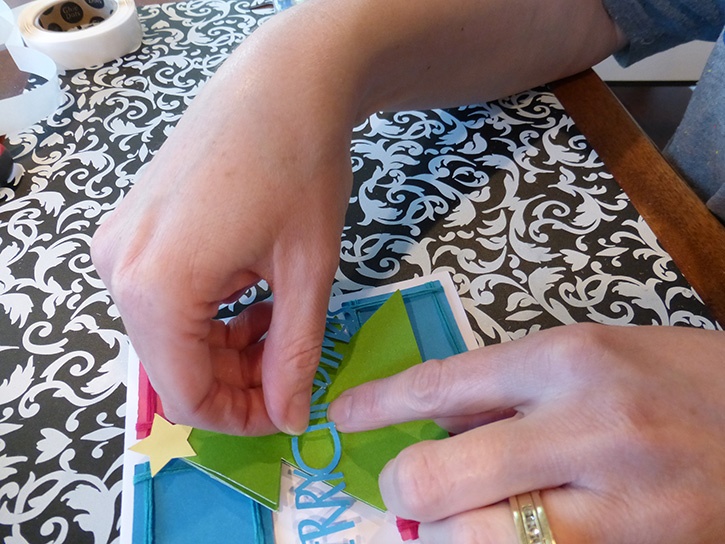
Make a cute z-fold note set for Christmas! Use coordinated paper pieces, kraft cardstock and Permanent GlueTape™ to make a Merry Christmas note card set for someone special as a gift or keep the set for yourself! Make coordinated envelopes with We R Memory Keepers Envelope Punch Board to complete the set!
Made By: Amanda Tibbitts
Time: 45 mins to 1 hour
Level: Intermediate
Finished Size: 6 - 3"x 6" Z-Fold Note cards and envelopes
Here's what you need:
- Glue Dots® Permanent GlueTape™
- Glue Dots® Mini Dots™
- DCWV Glitter Neutral Cardstock Stack
- DCWV Luxe Lodge Premium Stack
- Kraft Cardstock
- A strip of liner from a Glue Dots® roll
- Washi Tape
- Tiny adhesive gems
- Water based dye ink in chocolate
- Sizzix Stephanie Barnard Framelits with Stamps
- Art-C Stamp & Cut Holiday Set
- Baby wipes or stamp cleaner
- Paper Trimmer
- Score Board
- MISTI Stamp positioner
- We R Memory Keepers Envelope Punch Board
- Cuttlebug or other die cut machine
- Scissors
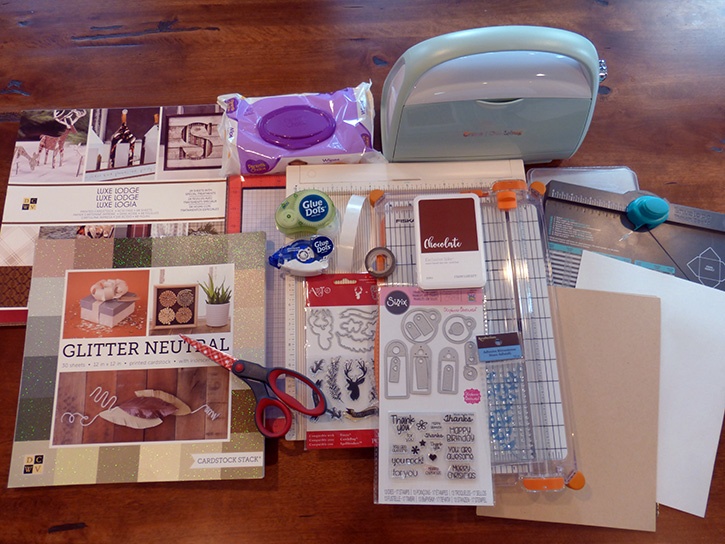
Here's what you do:
With the Kraft cardstock and the paper trimmer cut down your cards to 6" x 3". Use the score board and score each one at 3" and ¾" on the left side.
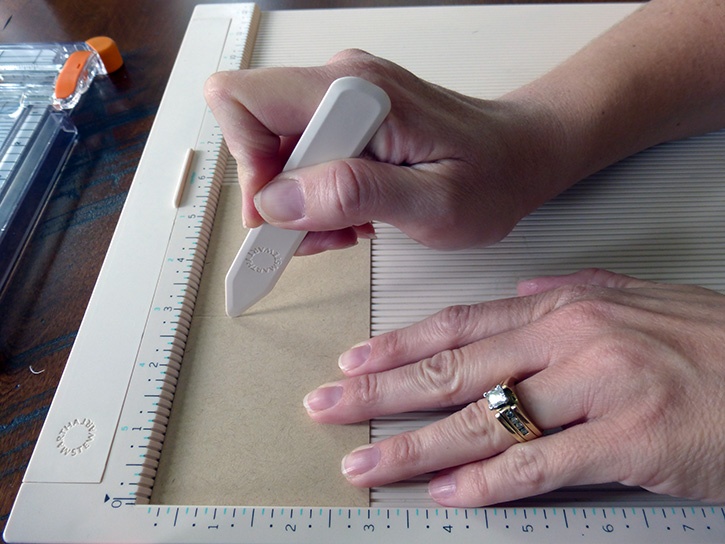
Fold your card from the right over to the ¾" score line. Use the bone folder to really crease the middle fold. Then flip your card over and fold the ¾" mark on itself. Burnish it with the bone folder. This is the base of your card.
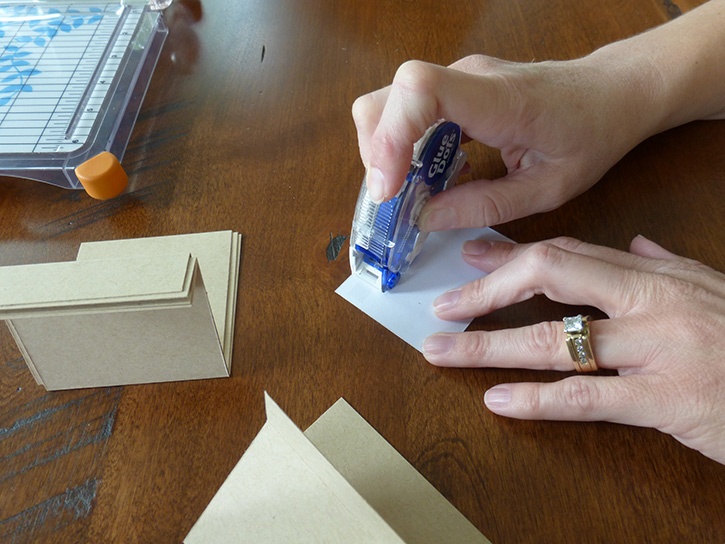
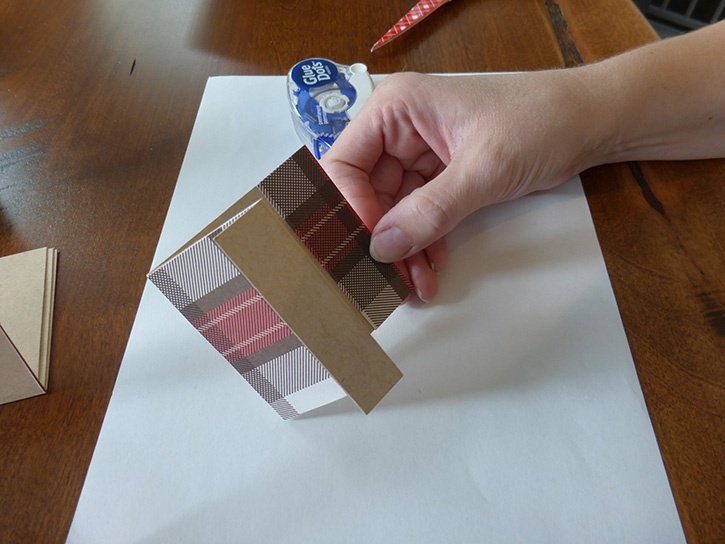
Using the Luxe Lodge stack choose the papers you like. Cut 6 pieces down to 2 ¼" by 3", and six 1" x 3" strips for the inside, as well as six 3 ¼" x ½" pieces for the envelope. These can all be glued to the appropriate spots on the card base using Permanent GlueTape.
From the Art-C stamp set, grab the deer head and the coordinating die. Load the stamp onto your MISTI or other stamp positioner. Stamp 6 of the deer onto Kraft cardstock.
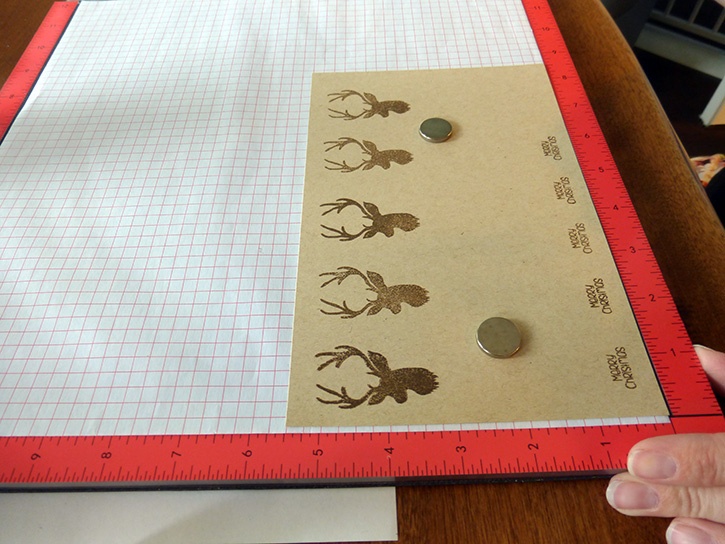
Using the die and your Cuttlebug cut all the deer stamped images using Washi Tape to secure the die through the machine. Once your deer are stamped and cut out, use the Sizzix Stephanie Barnard "Merry Christmas" Stamp and stamp 6 of them on Kraft cardstock. Clean the stamps off with a baby wipe or stamp cleaner. Free hand cut these with scissors to a small rectangle.
With the Glitter Neutral stack, pick which color goes with the papers you picked from the Luxe Lodge set. Trim 6 squares at 1 ¾" x 1 ¾". With Permanent GlueTape, add some adhesive to the back of the stamped deer. Make sure to get some all around the die cut so it will stick to the glitter cardstock. Line it up with the glitter square and stick it down.
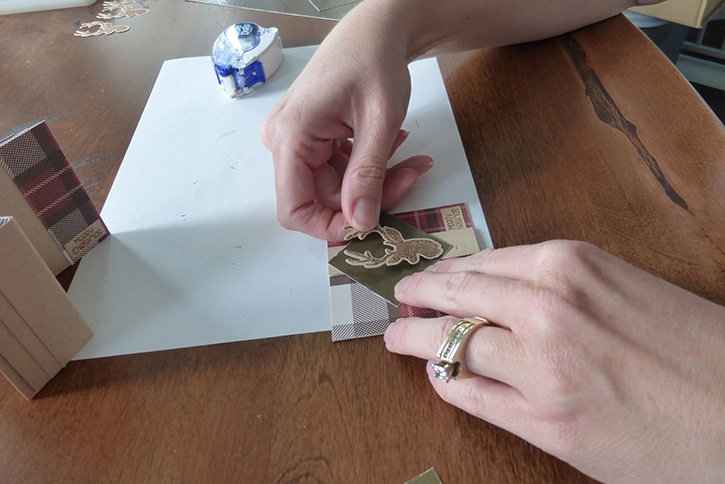
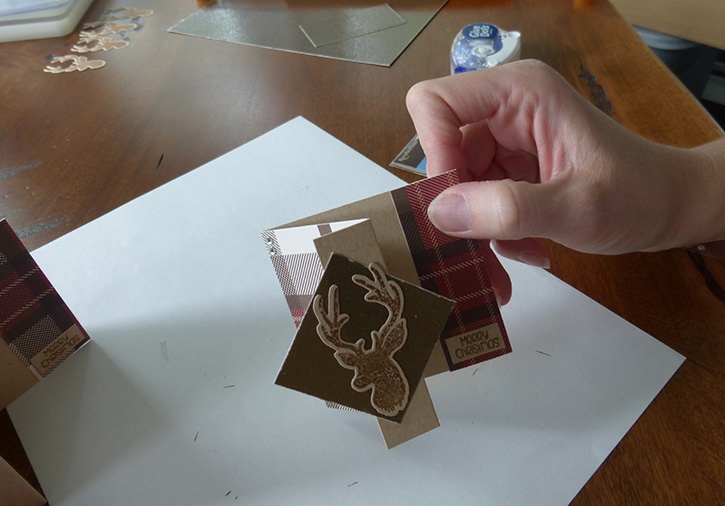
With Permanent GlueTape, add a small amount to the top and bottom of the square and put on the ¾" panel of your card base. Don’t add more glue than on the top and bottom, or your card won’t open. Add 2 adhesive gems to the left side and the Merry Christmas stamped image to the bottom inside. Follow these instructions for all 6 cards.
With more Kraft cardstock and the We R Memory Keepers Envelope Punch Board, make 6 envelopes following the guide on the board. Glue these together with Permanent GlueTape.
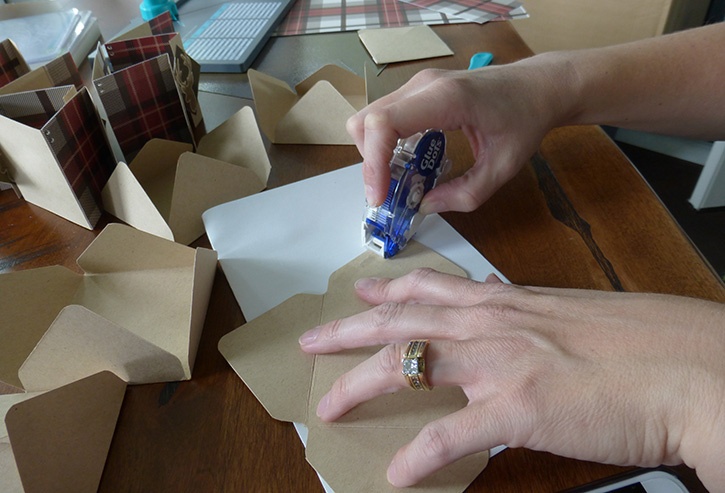
Also glue the ½" strip you cut from the Luxe Lodge stack on the front with Permanent GlueTape.
Add two Mini Dots to the inside flap of the envelope and cover them with a piece of the left over Glue Dots roll backing.
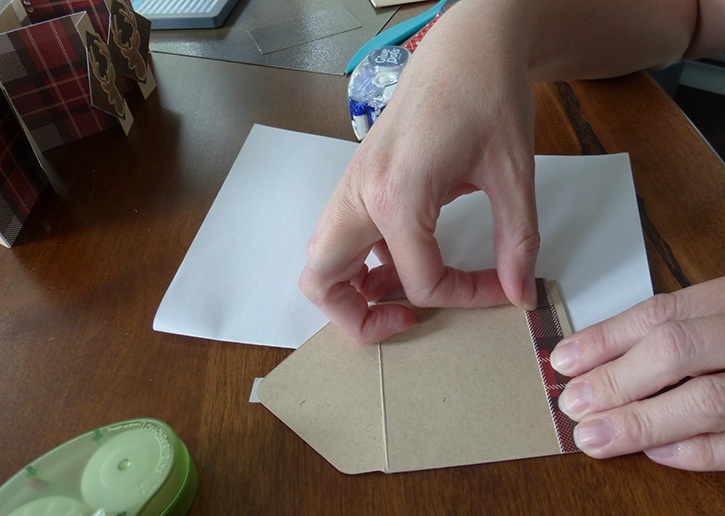
Now your cards are done, and they are ready to be put on a gift with a sweet note inside. When you’re ready to seal the envelope, remove the backing and stick the flap down.
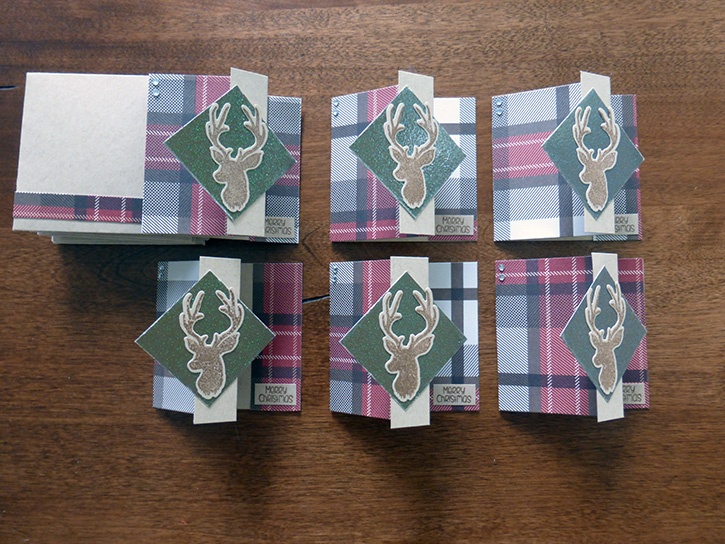
Merry Christmas!
~Amanda

I began crafting in 1996 and simply fell in love with making my own cards. Long live snail mail! Crafting isn’t just a hobby for me, but a way of life… Teacher gifts, posters, scrapbooks, wood crafts? Yes, please! I have been married to my cute husband for 16 years and he definitely inspires me to try new things and enjoy the little things. As a stay home Mom, my time is spent raising my two girls, and raising the bar for my gift giving!


