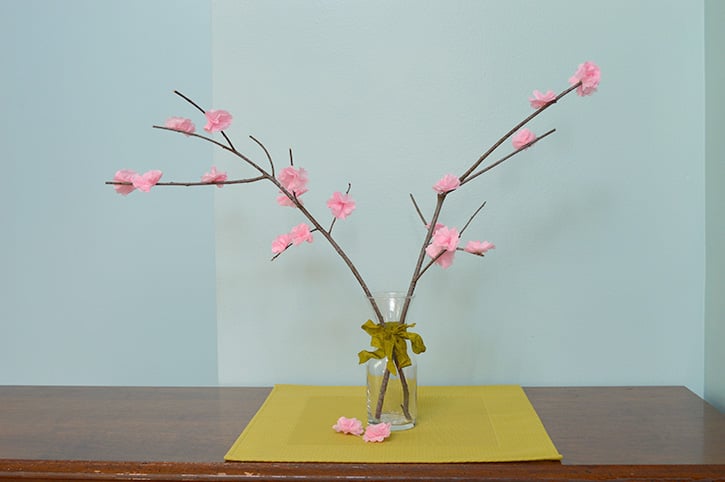
Create a breath of fresh air with this peaceful flower arrangement. It will add a bit of life and happiness to your home décor. If you are a teacher or a homeschooler, this project would be great for tying art to US history by learning about National Cherry Blossom Festival, held in Washington DC every spring.
Designed by: Dawn Mercedes Barrett
Time: 30 minutes
Level: Quick and Easy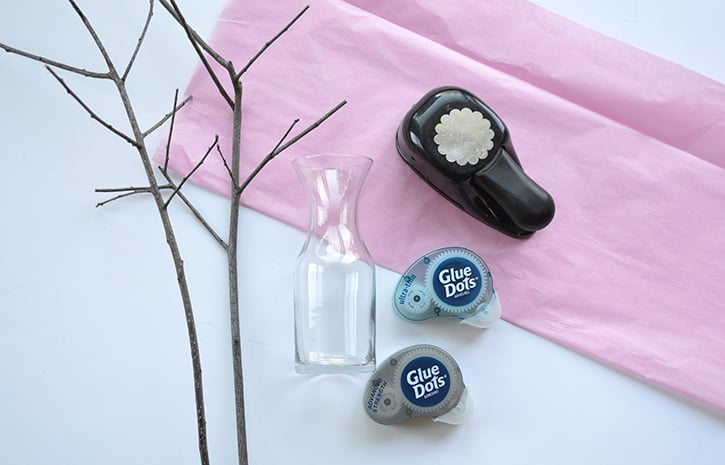
Materials:
- Ultra Thin Dots™
- Removable Dots™
- Advanced Strength Dots™
- Pink tissue paper
- Small vase from the Dollar Tree
- 2 feet of ½" seam binding ribbon
- Small, thin branches
- 2” scallop circle punch or Spellbinders Nestabilities scallop dies
- Small skewer
- Garden Snips
Directions:
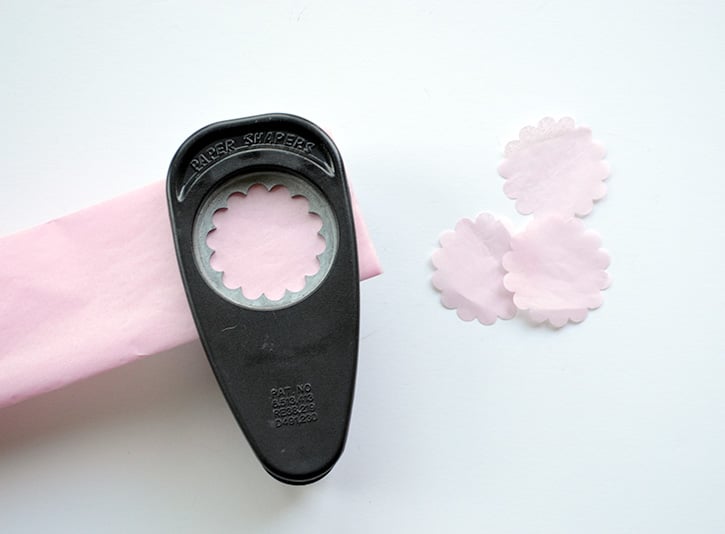
Fold a single sheet of tissue paper in half, three times. Use the 2” scallop punch to punch out shapes.
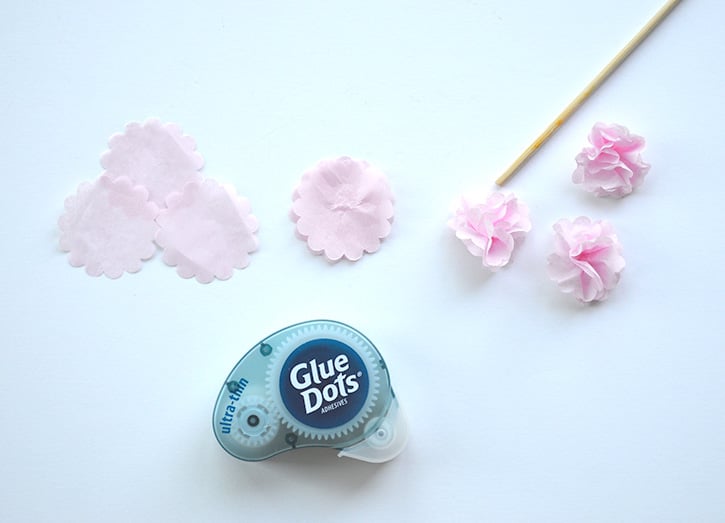
Each blossom uses three scalloped circles. Use Ultra-Thin Dots to adhere the three layers together. Then, pinch the center of the bottom flower, and using a small twist, create the blossom shape. You may want to use the small flat end of a skewer to push the flower petals onto while you are forming the blossom. Continue to make blossoms as needed bending the petals until you are satisfied with its appearance.
Use a pair of garden snips to cut your branches into their desired form. Be sure to leave many small branches for your paper flowers. Adhere the blossoms using Advanced Strength Dots. You may need to fluff and arrange petals after securing the bloom to the branch.
Wrap the ribbon around the neck of the glass vase and secure the ends with a Removable Dot. Make a bow using the rest of the ribbon and secure it with an Advanced Strength Dot. Tuck the Cherry Blossom Branches into the vase.
~ Dawn
.jpg)

Dawn Mercedes Barrett is a designer who enjoys juggling a number of activities. Whether it is creating a card or object for home decor, whipping up a batch of fresh cookies for kids that drift through the house, or learning to enjoy the rigors of strengthening her body through running, she is your go-to crafter for help, ideas, and encouragement. Who says you (or your style) have to grow old and moldy? Dawn’s up beat style and silly comments will keep you smiling and chuckling.


