Turn those soup and vegetable cans into school supply cubbies with patterned paper and Glue Dots. Creative Maker Dawn helps you get organized for homework time at home.
Made by: Dawn Mercedes Barrett
Time: 30 minutes
Level: Beginner
Size: 8.25 inches x 9 inches x 4.5 inches
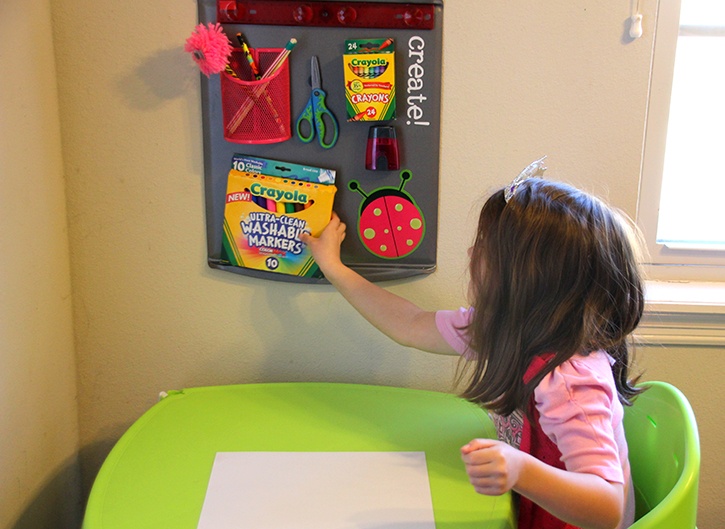
Set up a study area for success with this homework station with a school supply organizer. Gone are the excuses that your student needs to find some elusive tool or supply. Tuck a few snacks into one of the tin can cubbies to keep distractions to a minimum!
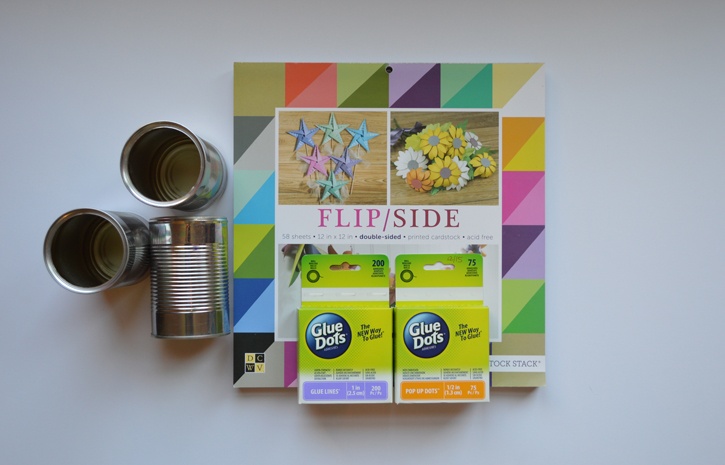
Here's what you need:
- Glue Lines®
- Pop Up Glue Dots®
- DCWV Flipside Paper Stack
- 6 vegetable or soup cans (without label and cleaned/dried)
- Decorative trim as desired
- School supplies/snacks as desired to fill the station
- Fiskars Paper Trimmer
Here's what you do: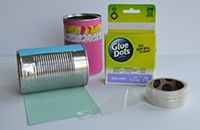
- Remove the labels from the cans. Wash and dry. Tip: If you don’t dry them properly, they will rust. Scour with a steel wool pad to remove any spots. Also, you will want to use cans that have the pop tab lids or use a can opener that creates a safe edge.
- Cut your decorative paper to 4 1/8" x 10.5". You will need six pieces. Place three Glue Lines along each of the short ends and three across the middle of the can. Carefully roll the paper around the can. Tip: Glue Lines are strong…so be sure your placement is correct before pressing the paper down to the can.) Add decorative trim or ribbon as desired. Repeat on all six cans.
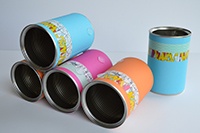
- Begin to stack the cans in a pyramid formation. Place 3 Pop Up Glue Dots along the center edge of one can. Place the second can next to it, line up the edges and press together. Repeat for the third can on the base level.
- For the 2nd layer, place three Pop Up Glue Dots on the base layer where the new can will touch the two cans underneath it. Also add three to the side. Line up the cans and press together. Repeat for the 2nd can in this layer.
- For the 3rd layer, add the Pop Up Glue Dots where the top can touches the bottom two cans. Line up the can carefully and press together.
Coordinate the colors of the decorative paper with room décor, your favorite sports team, or school colors. Fill the cans with crayons, protractor, highlighters, markers, colored pencils, scissors, mini stapler, or any other supply or tool that your student needs. Remember to add snacks in one of the cubbies too!! All work and no play makes Jack a dull boy!
~Dawn
.jpg)

Dawn Mercedes Barrett is a designer who enjoys juggling a number of activities. Whether it is creating a card or object for home decor, whipping up a batch of fresh cookies for kids that drift through the house, or learning to enjoy the rigors of strengthening her body through running, she is your go-to crafter for help, ideas, and encouragement. Who says you (or your style) have to grow old and moldy? Dawn’s up beat style and silly comments will keep you smiling and chuckling.


