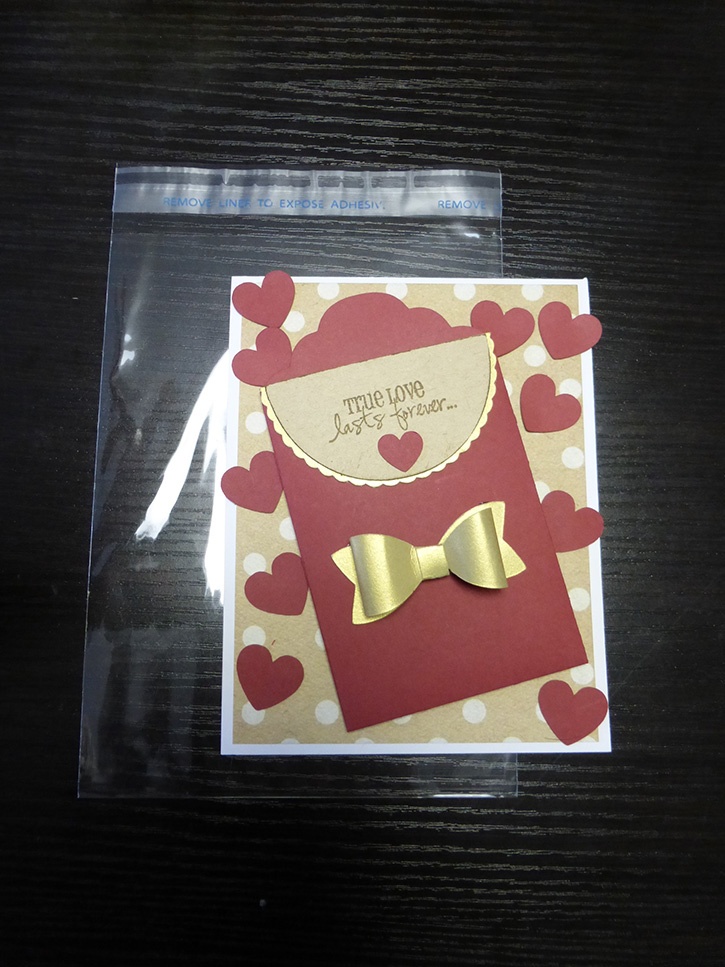
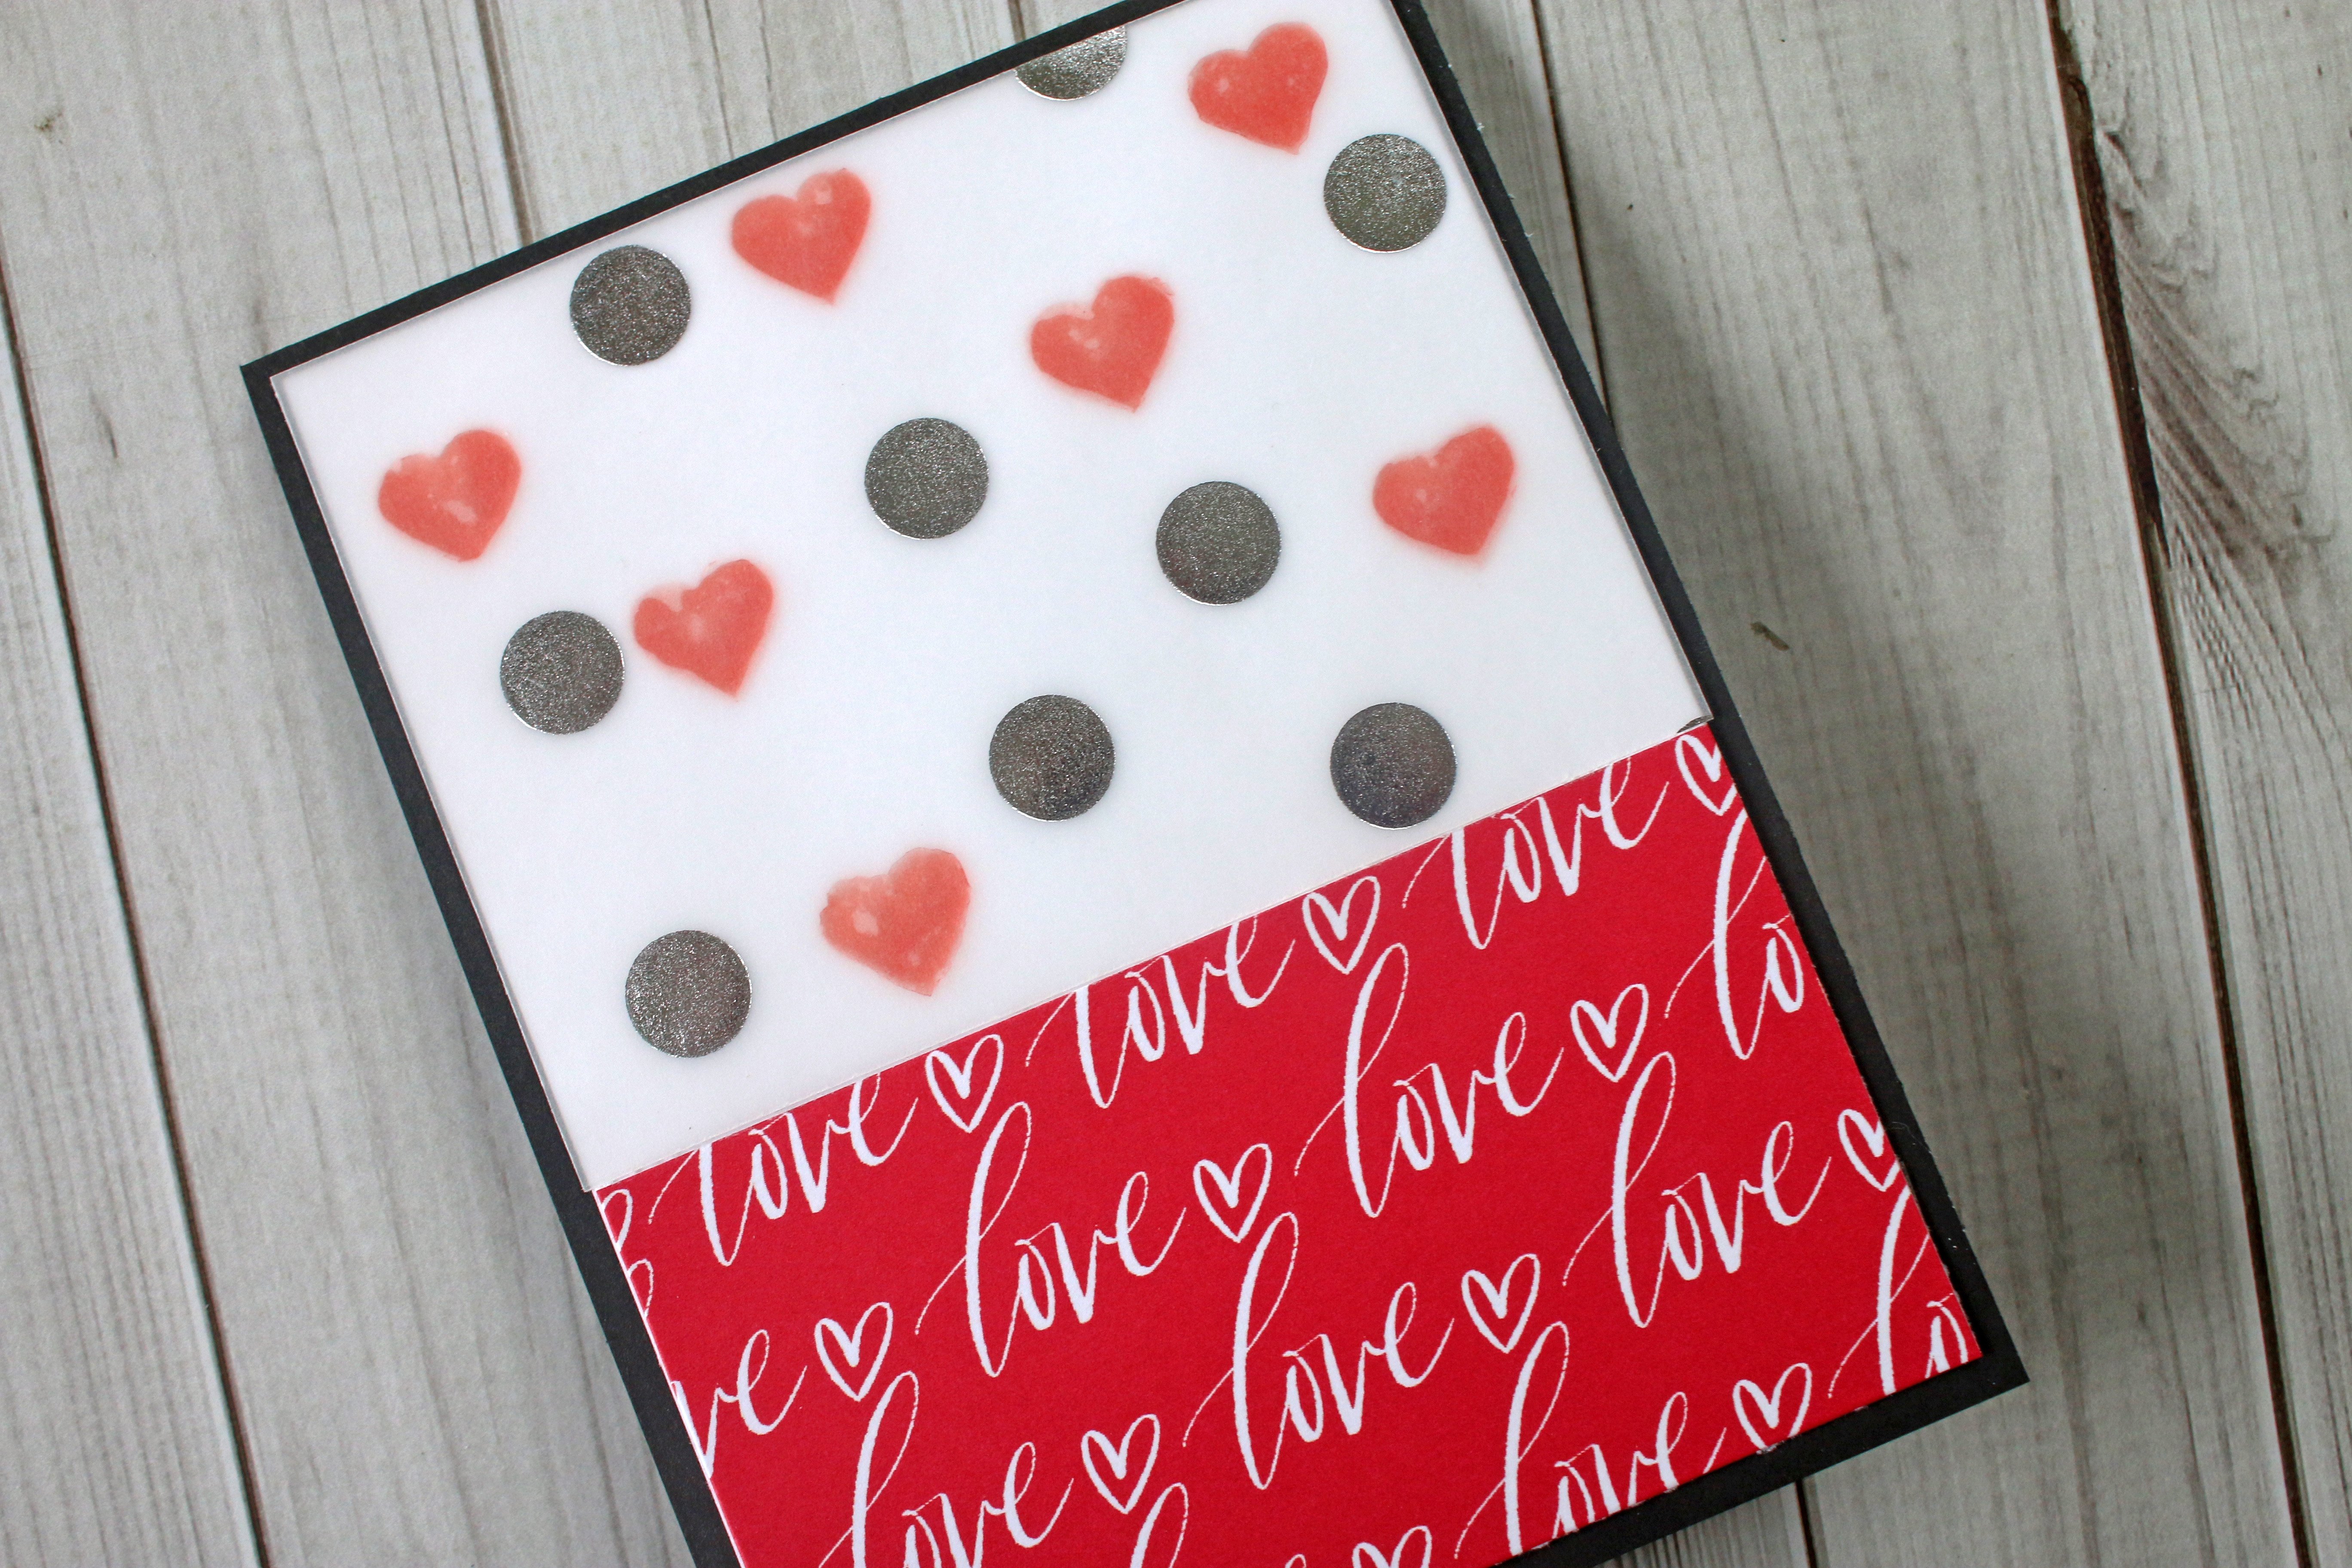
In no time you can make this sweet card that matches the colors of the wedding! It’s sure to be a hit with the little bow and all those hearts!
Made by: Amanda Tibbitts
Time: 35 mins
Level: Moderate Handiness
Size: 4 ¼” x 5 ½” Card
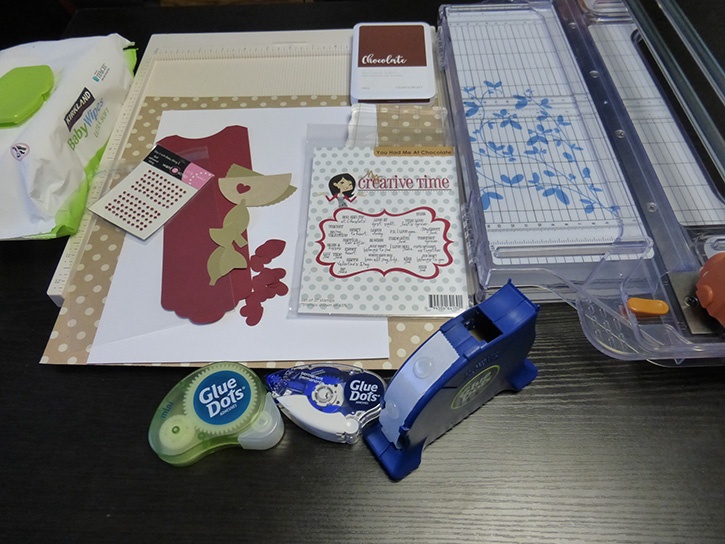
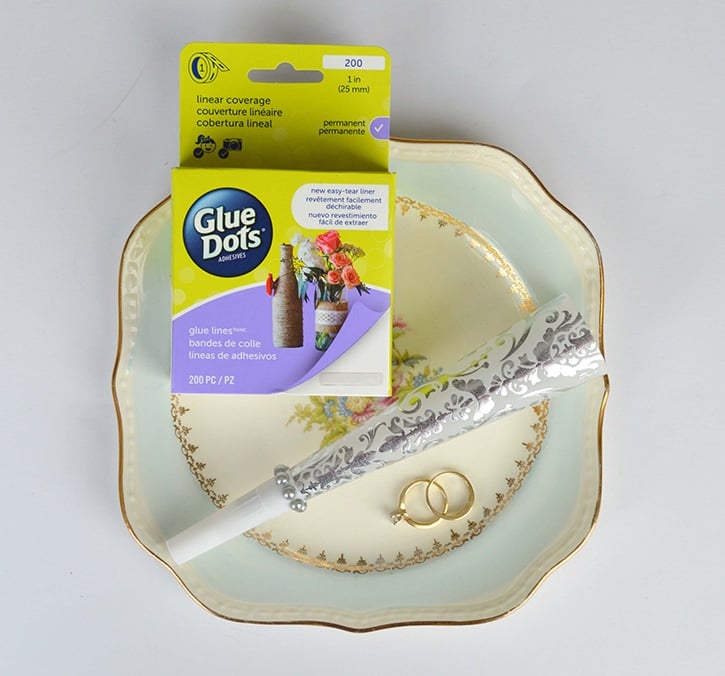
Here's what you need:
- Mini Dots
- Permanent GlueTape
- Pop-Up Dots
- Die Cut decorative envelope at 3.5”
- Nine hearts cut at .375” plus 1 at .5”
- Small banner (2 pieces, one straight edge, one scalloped) at 2.375”
- Small bow cut at 3.5”
- My Creative Time clear stamp set
- Chocolate Brown Stamp Ink
- Acrylic block
- Baby Wipe or Stamp Cleaner
- One sheet of white cardstock
- One sheet of kraft printed cardstock
- Small clear adhesive bag to use as an envelope
- Paper Trimmer
- Score Board
Here's what you do:
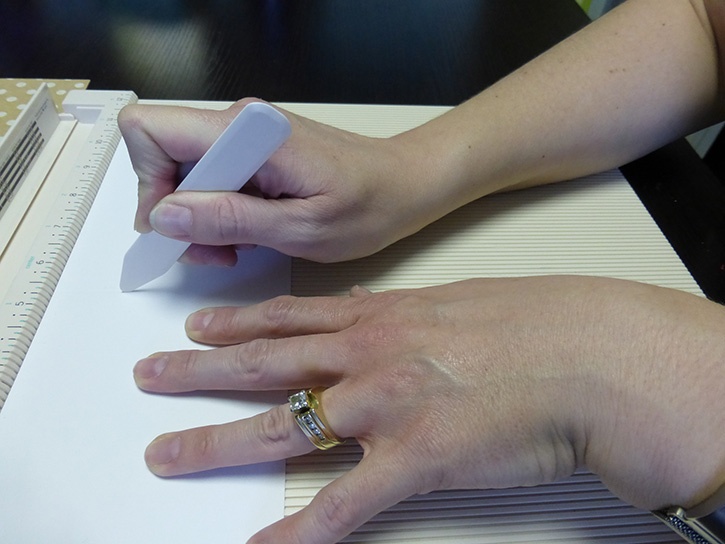
Trim your white cardstock to 4 ¼” by 5 ½”. Cut the kraft patterned paper to 4” by 5 ¼” inches to use as your background. Use the score board to score the white cardstock at 5.5” and crease it so it will lay flat.
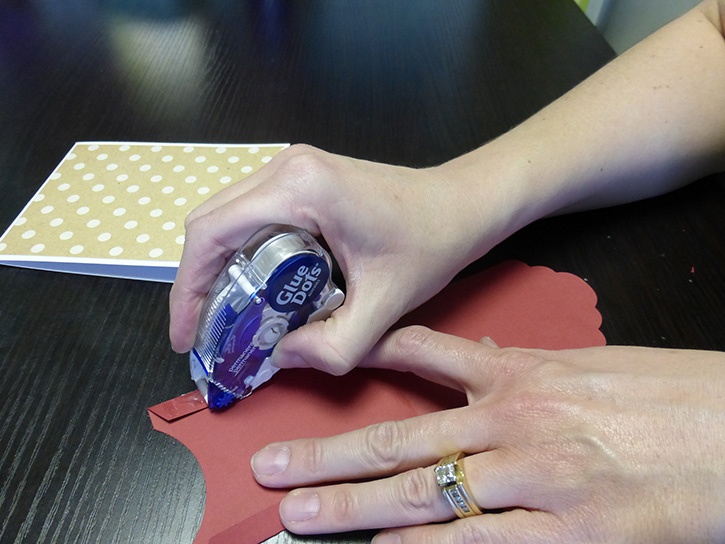
Use the Permanent GlueTape to adhere the kraft paper to the white card base, making sure to center it. Fold the decorative die cut envelope along the score lines and use Permanent GlueTape to put it together.
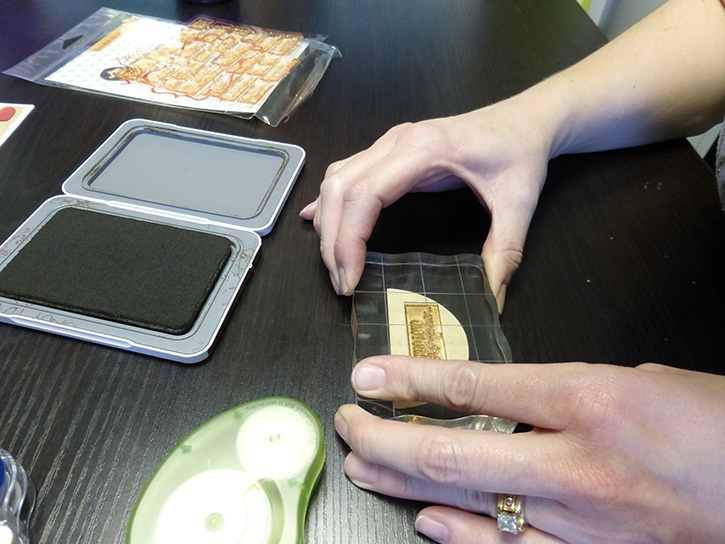
Choose your sentiment from the stamp set. Use the brown ink to stamp on the top layer (straight edged piece) of the banner die. Rub the edges of the your now stamped banner die along the ink pad to add a hint of color to the edges. Use Permanent GlueTape to put the sentiment together on the scallop. Glue the banner to the top of the decorative envelope.
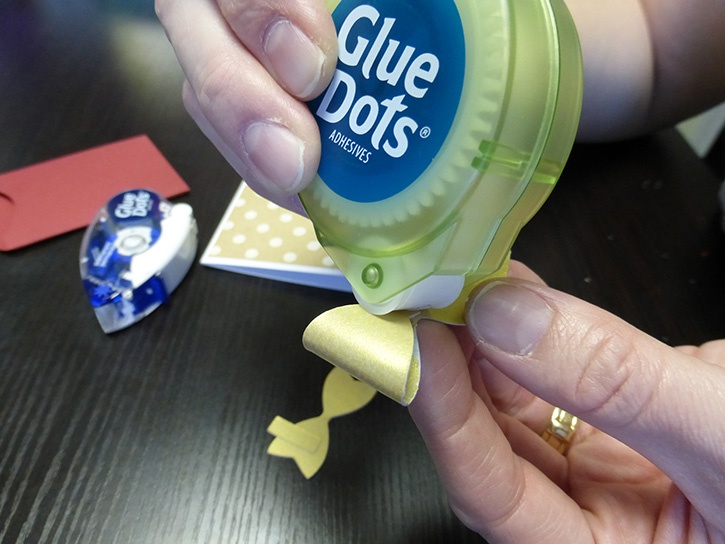
With Mini Dots assemble the bow and put it on the envelope. Then, with the Pop-Up Dots, stick the envelope to the card base, on an angle.
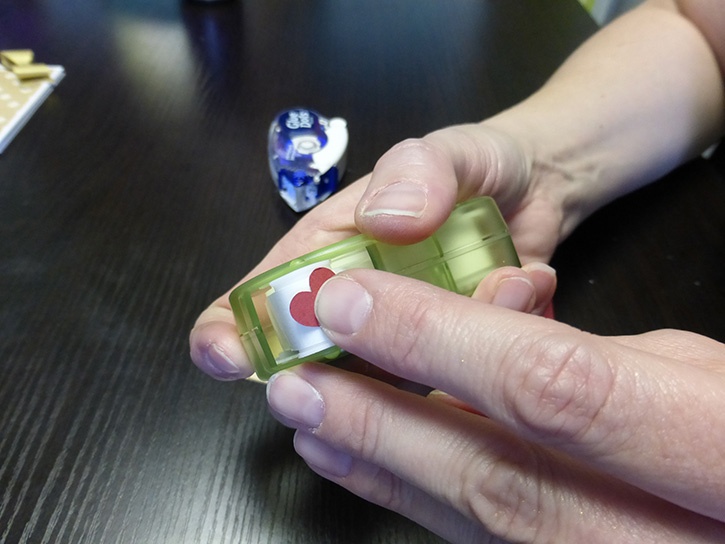
Using Mini Dots, stick the die cut hearts all around the envelope and put the .5” heart underneath the sentiment.
This card comes together so quickly, and looks like it took longer than that! Use the clear bag as an envelope so that the darling bow won’t get crinkled!
~ Amanda
.jpg)

I began crafting in 1996 and simply fell in love with making my own cards. Long live snail mail! Crafting isn’t just a hobby for me, but a way of life… Teacher gifts, posters, scrapbooks, wood crafts? Yes, please! I have been married to my cute husband for 16 years and he definitely inspires me to try new things and enjoy the little things. As a stay home Mom, my time is spent raising my two girls, and raising the bar for my gift giving!


