This luminary would be a delightful addition to any luncheon or social gathering you may be hosting. It's easy to create multiple luminaries, so you can easily be the hostess with the most-est as you decorate for the event.
Here's how you can use Glue Dots to turn mason jars into tea light holders. It's a quick and easy way to add a bit of ambiance to your occasion.
Made by: Dawn Mercedes Barrett
Time: 15 Minutes
Level: Beginner
Size: Variable, based on the size of your mason jar
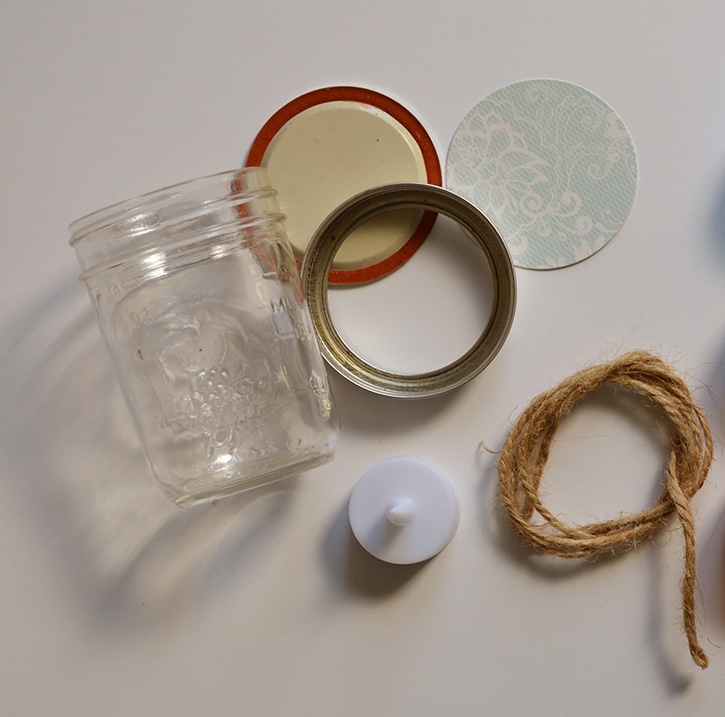
Here's what you need:
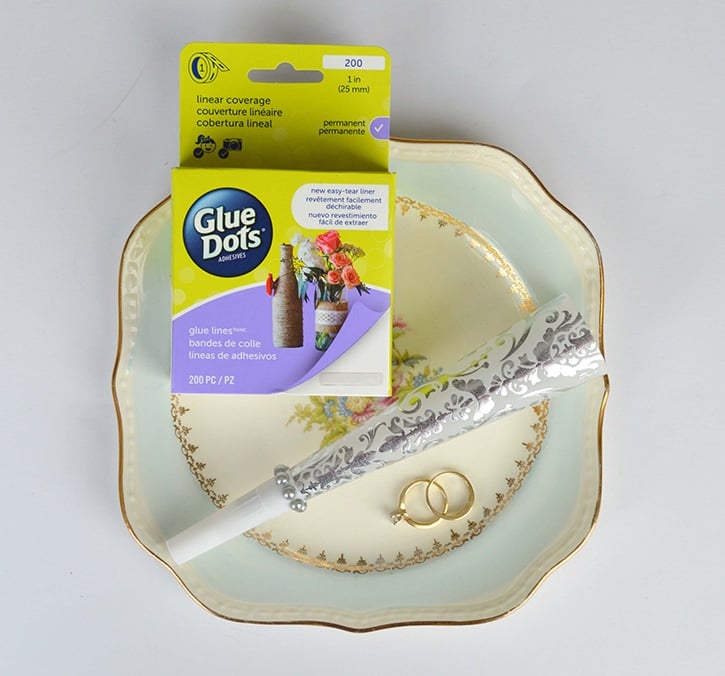
- Glue Dots® Permanent Dots™
- Glue Dots® Advanced Strength Dispenser
- Glue Dots® Removable Dots™
- Pint sized Mason Jars with rings and lids
- Minty Lace Premium Stack from DCWV
- 1 yard of Jute Card from Darice
- Battery operated tea light
- Spellbinders Nestabilities: 2.5 inch circle
- Sizzix Big Shot
- Ruler
- Scissors
Here's what you do:
Cut out a piece of patterned paper using the 2.5 inch circle die. Be sure to use a color that coordinates with your table setting. Use Permanent Glue Dots ® to secure the circle to the inside of the lid.
Use Removable Glue Dots ® to secure the tea light to the center of the paper circle. If there is a ridge on the bottom of the tea light, you will need to layer the dots to make a dot thick enough to secure it to the bottom of the luminary.
Place an Advanced Strength Glue Dot® to the lower edge of the mason jar, approximately where you want the bow. Be sure to leave several inches of a jute tail so you can tie the bow. Wrap the jute around the luminary, pressing it into the Glue Dots adhesive to secure the layers.
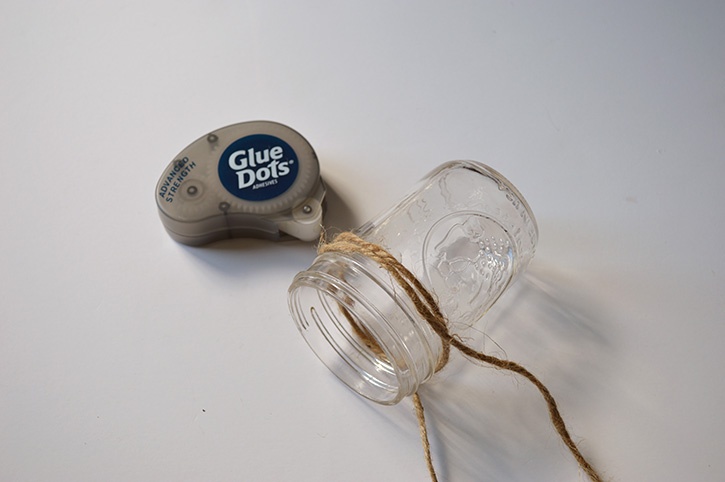
Tie a bow using the jute tails. You may want to use another Advanced Strength Glue Dots to secure the bow.
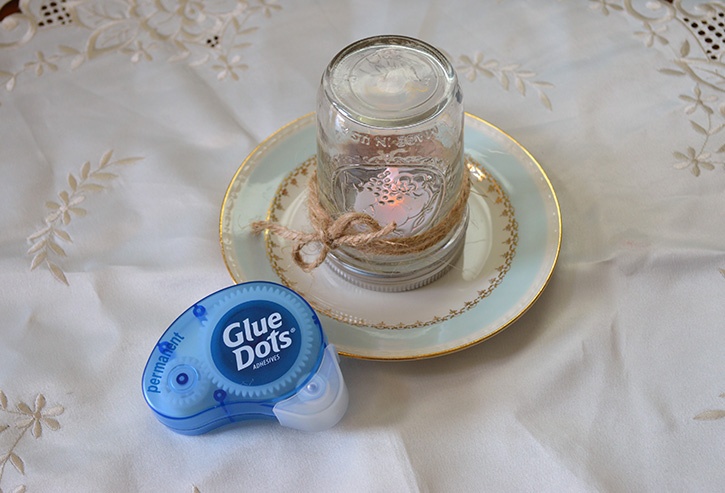
Place the jar over the ring and lid and screw on tight.
~Dawn
.jpg)

Dawn Mercedes Barrett is a designer who enjoys juggling a number of activities. Whether it is creating a card or object for home decor, whipping up a batch of fresh cookies for kids that drift through the house, or learning to enjoy the rigors of strengthening her body through running, she is your go-to crafter for help, ideas, and encouragement. Who says you (or your style) have to grow old and moldy? Dawn’s up beat style and silly comments will keep you smiling and chuckling.


