Wedding season is fast approaching. Are you ready? It's a great time to get a jump on your wedding cards. Glue Dots® and some of your stash is all you need to tackle these cards. I am sharing a step by step on how to create some go-to cards quickly. There's a bit of prep, but once you've assembled one card, the rest is easy peasy.
Made by: Shannon Morgan
Time: 45mins-1hour
Skill: Advanced Beginner
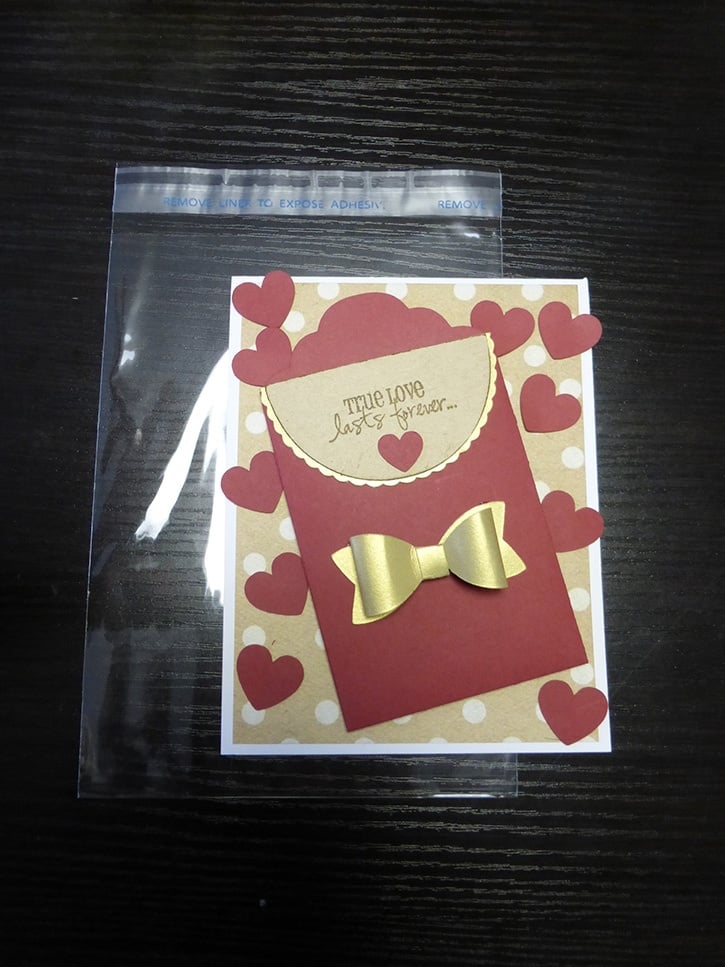
Size: Card measures 4.25”X5.5” bow may overlap a bit
Here's what you need:
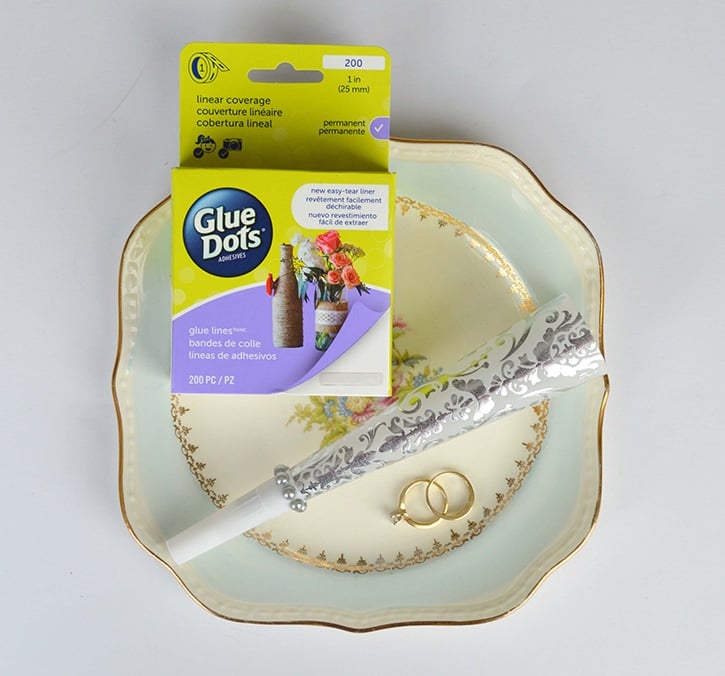
- Glue Dots® Permanent GlueTape™
- Glue Dots® Mini Dots™
- Glue Dots® Permanent Dots™
- Glue Dots® Pop Up Dots™ (not shown)
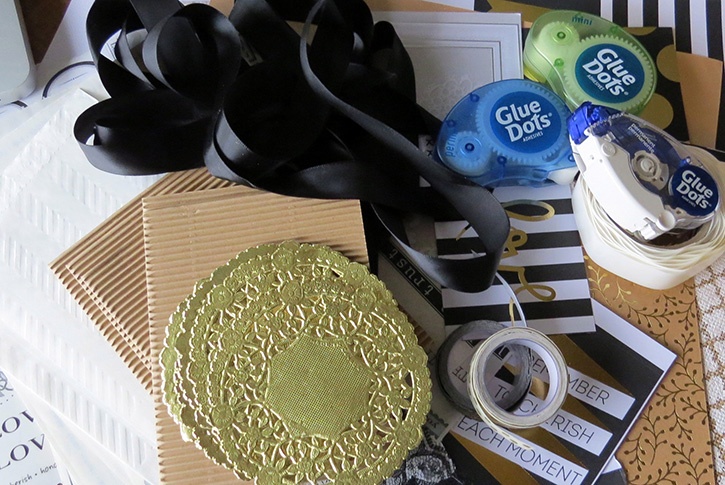
- DCWV Modern Metallics Stack
- DCWV Corrugated Kraft Cards
- DCWV Glitter Cardstock Stack - Neutral
- DCWV Gilded Kraft and Gold Stack
- DCWV Burlap 6X6 Paper
- SRM Punched Pieces
- SRM Take 2 - Stickers by the Dozen, Wedding
- SRM Gold Doilies
- SRM We’ve Got Your Border - Wedding
- SRM We’ve Got Your Sticker - Forever
- SRM Glassine Bags
- Washi Tape
- Twine
- Ribbon
Here's what you do:
First, complete your prep work:
- Pick a color combo, I chose kraft, white, black, gold (stick to 5 colors or less)
- 5 pre folded cards measuring 4.25"X5.5" (either store bought or diy)
- Cut five 3.75"X5" patterned paper bases
- Cut five either vellum, tracing paper, or glassine bag pieces measuring 3.25"X6" (for folding)
- Set aside 5 doilies
- You're going to cut five of the following in coordinating papers: 3.25"X3.25" squares, 3"X3" squares, 2.50"X2.50" squares, 2"X2" squares
- Cut 5 paper strips measuring 4.25"X0.50"
- Cut five lengths of lace or sheer ribbon measuring 4.25" long
- Five paper punched pieces that measure roughly 2" in diameter
- A spool or two of coordinating ribbon
- Gather stickers/wedding embellishments and of course your Glue Dots®!
Now you can begin your assembly.
Adhere patterned paper base to the card using Permanent Glue Dots®.
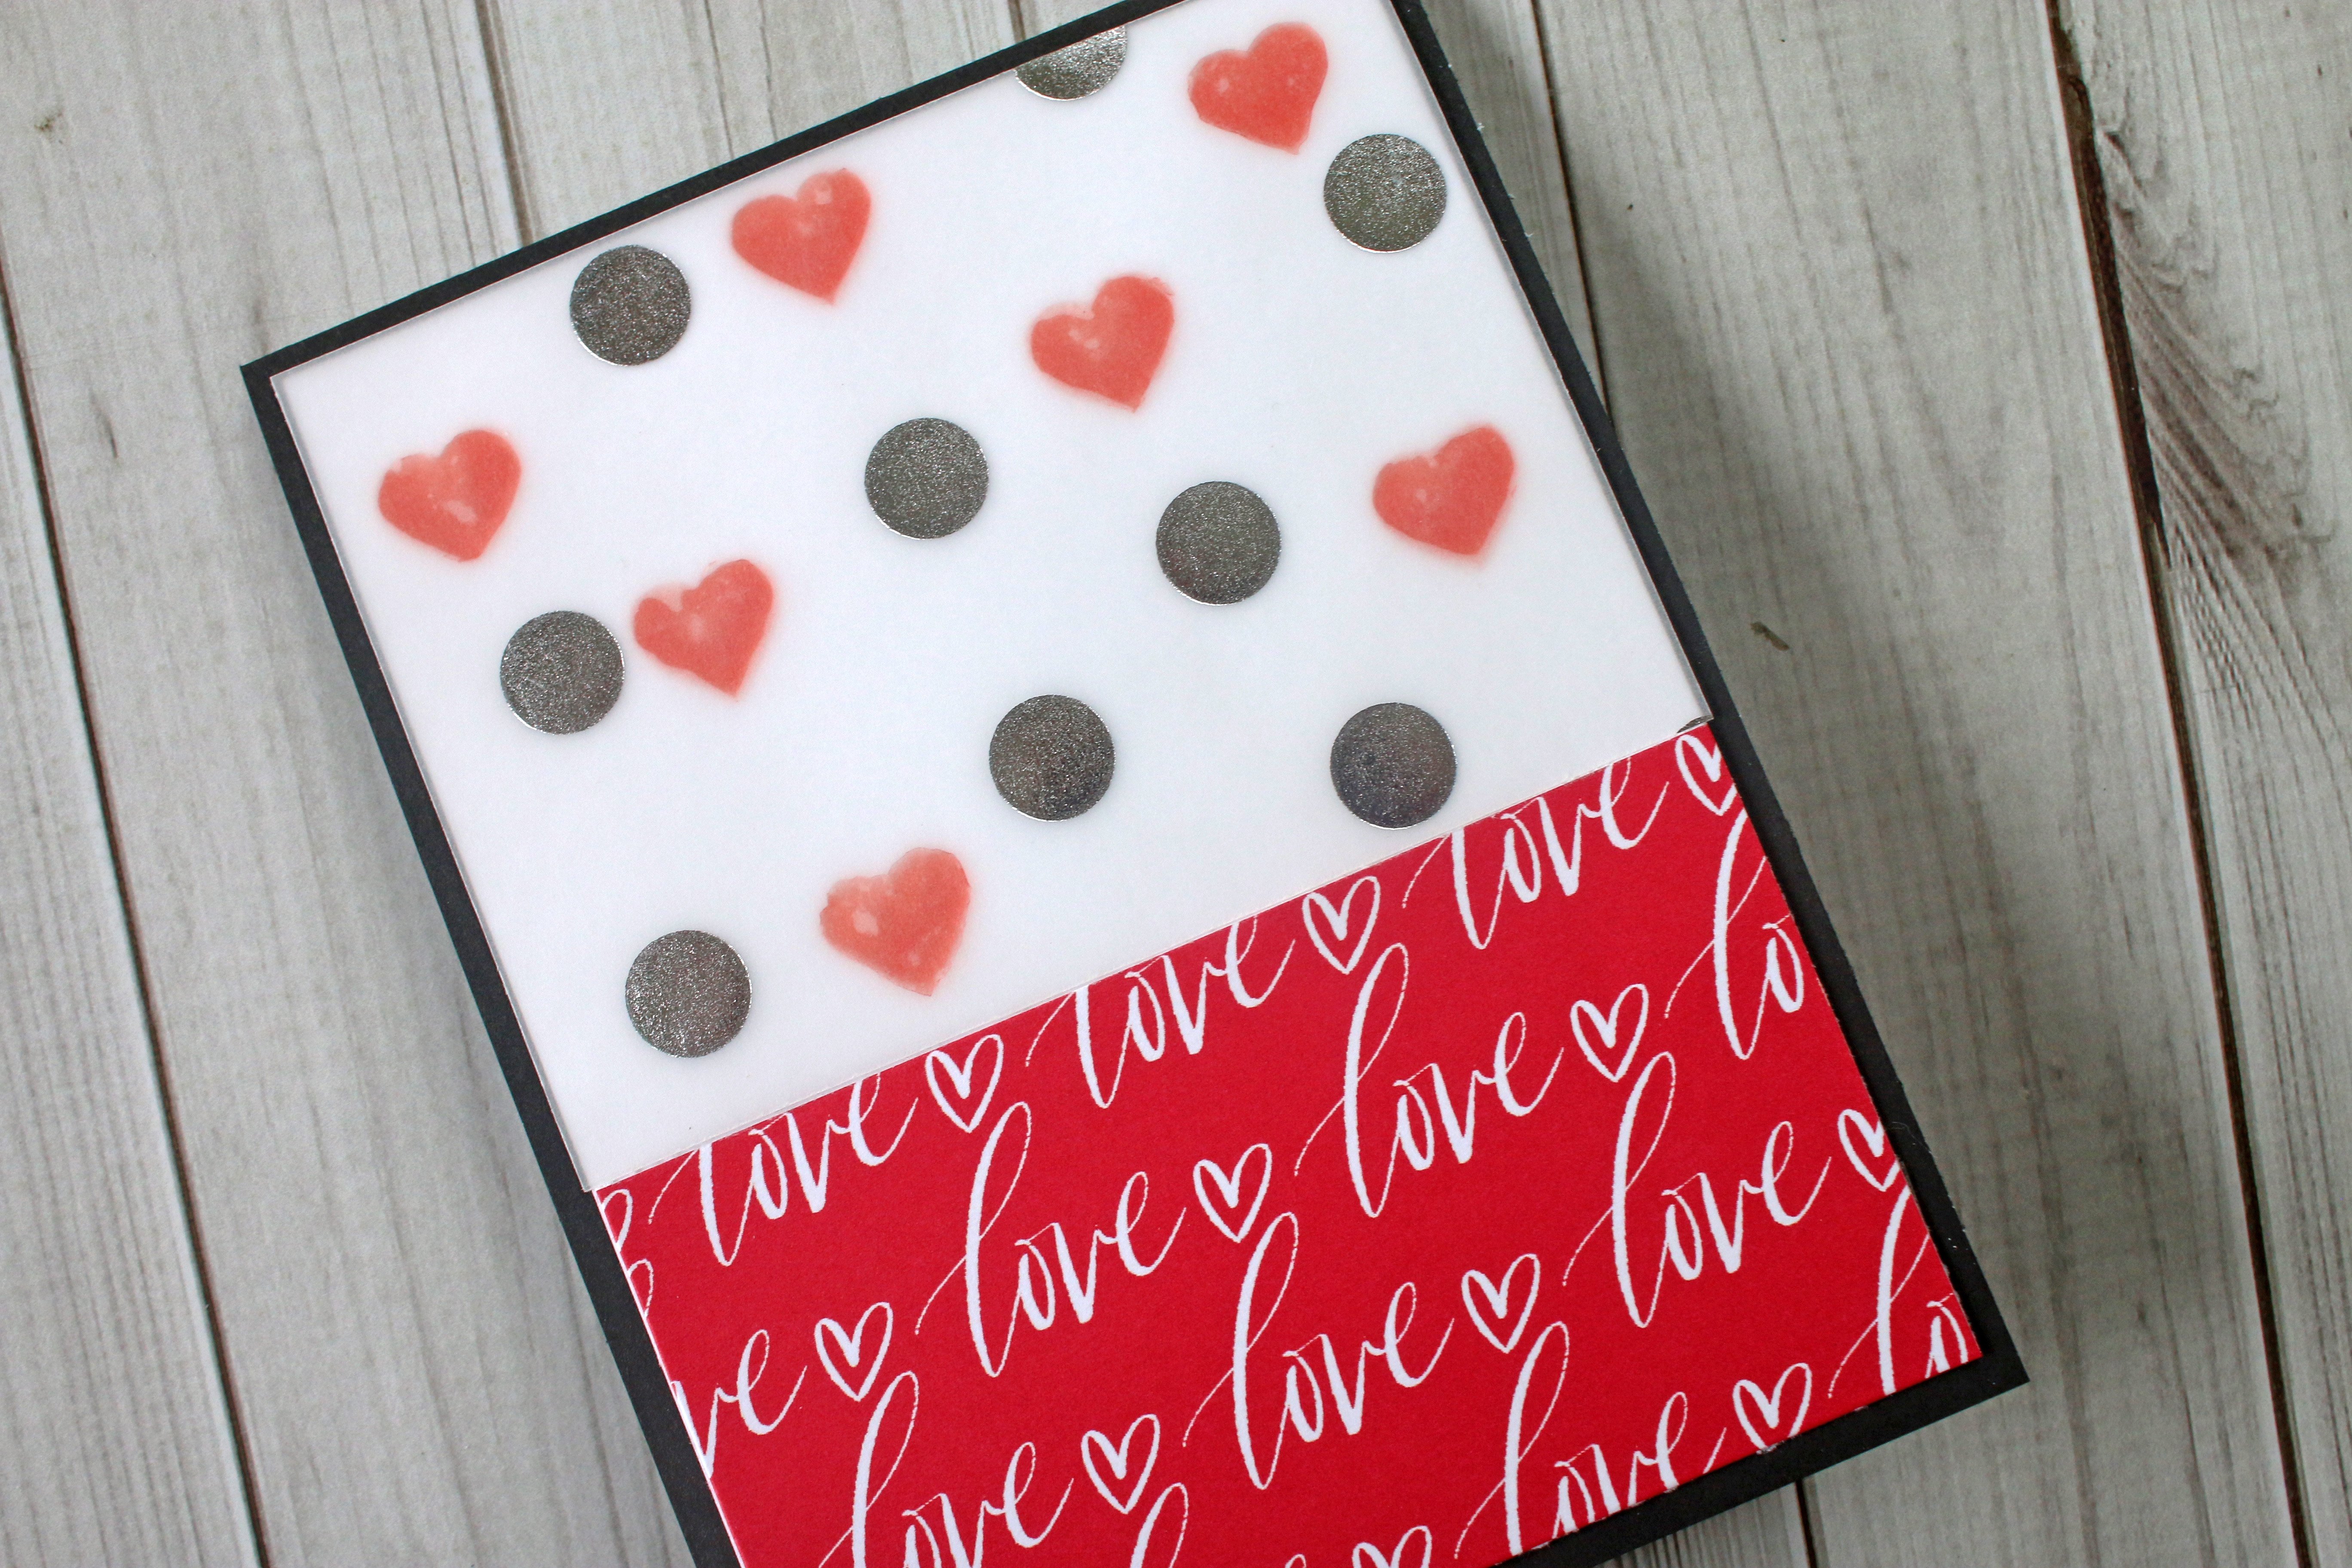
This is the time to add your vellum/glassine bag/tracing paper layer. Place it on top of your patterned paper base before adhering, so that you can get perfect placement. You're going to want to fold it down one to two times, creating a folded paper bag look. Once you have found the placement you'd like add some glue dots and get ready to add the next layer. Also add a thin sticker to the top of the vellum/glassine bag layer if desired.
Add Permanent Dots to the back of the doily and glue down. It can be perfectly centered or a little off center, the preference is up to you.
You'll begin layering the squares now. Begin with the 3.25" square first, then add the 3" square on top.
Using your GlueTape, create an area large enough to cover the size of your ribbon or lace. Adhere to the card.
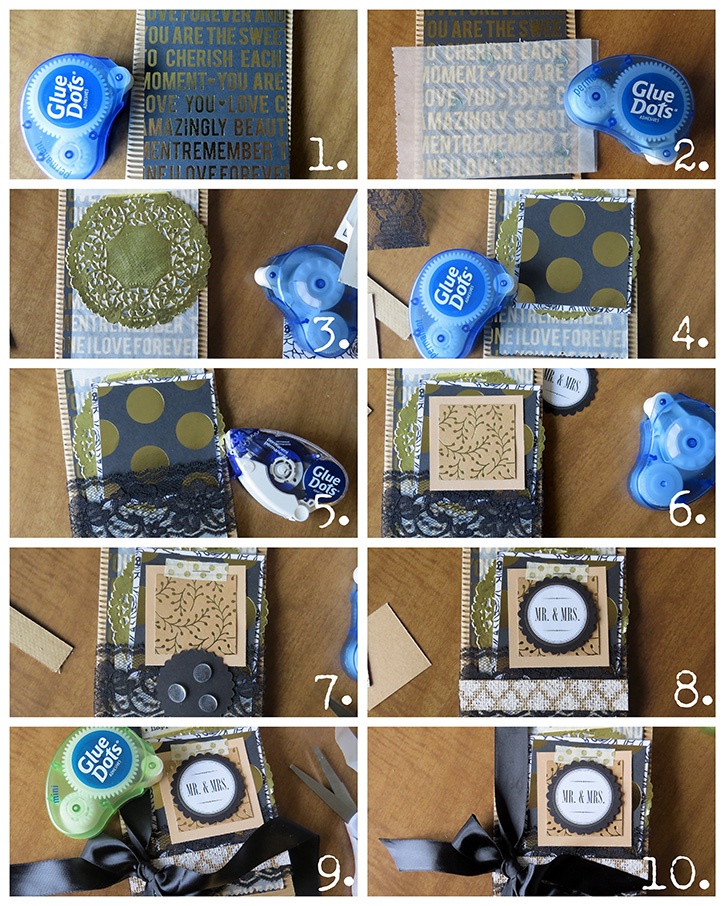
You will now add the 2.50" square on top of the lace, you can again add this completely centered, or slightly off center. Add the 2" square on top of this, as shown in picture #6. If you'd like to add a strip of washi tape, you can, this is optional.
Grab that punched paper piece and flip it over. Add Pop Up Dots to the back of your paper piece. Place it in the center of the 2" square. Add either your sentiment, sticker or embellishment.
Add the 0.5" strip of paper to the front.
Grab your ribbon and tie a bow around the card, lining it up on the far left side of the card. Once you have tied a bow, trim the ends, but leave enough to glue the end down with a bit of flair. I used Mini Dots so there wouldn't be any "glue lines", so much neater!
Once you have once card done, it's easy to create the rest. Each one is a little different, though very much the same.

~Shannon
.jpg)