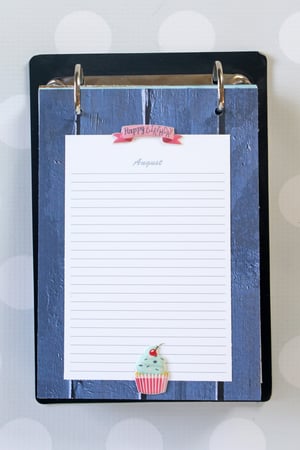
Need a fun way to keep track of birthdays of friends and family? This birthday calendar is a useful and creative way to keep them all in one place. Keep the current month displayed on top with easy access to all the other months underneath, so you can plan ahead, too!
MADE BY: SAMANTHA TAYLOR | TIME: 30-60 MINUTES
LEVEL: INTERMEDIATE | SIZE: 8 ½” x 5 ½”
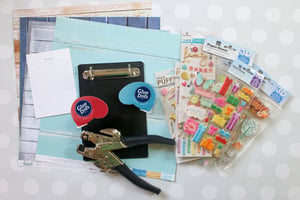
Supplies:
- Permanent Dots™ Dot N' Go®
- Craft Dots™ Dot N’ Go®
- Small D-ring Clipboard - This one measures 8 ½” x 5 ½”
- Patterned Paper - Enough to cut twelve 5" x 7" sheets
- 12 pieces of lined paper or calendar sheets - about 3 ¾” x 5 ½
- Embellishments - Stickers, chipboard pieces, ribbon, die cuts, cork shapes, etc.
- Hole Punch
Directions:
- Cut 12 pieces of patterned paper to 5” x 7”.

- Punch holes along the top edge to correspond with the D-rings on your clipboard.

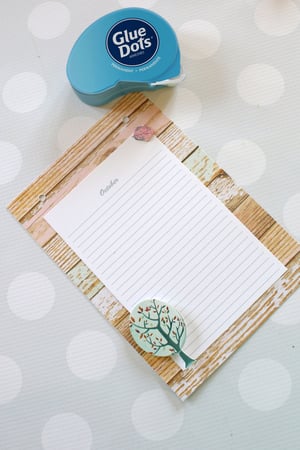
- Cut lined paper to 3 ¾” x 5 ½”.
- Use Craft Dots™ Dot N’ Go® to attach lined paper to patterned paper.
.jpg?width=300&height=200&name=Birthday%20Calendar-002%20(Lindsey@popdotmarketing.com).jpg)
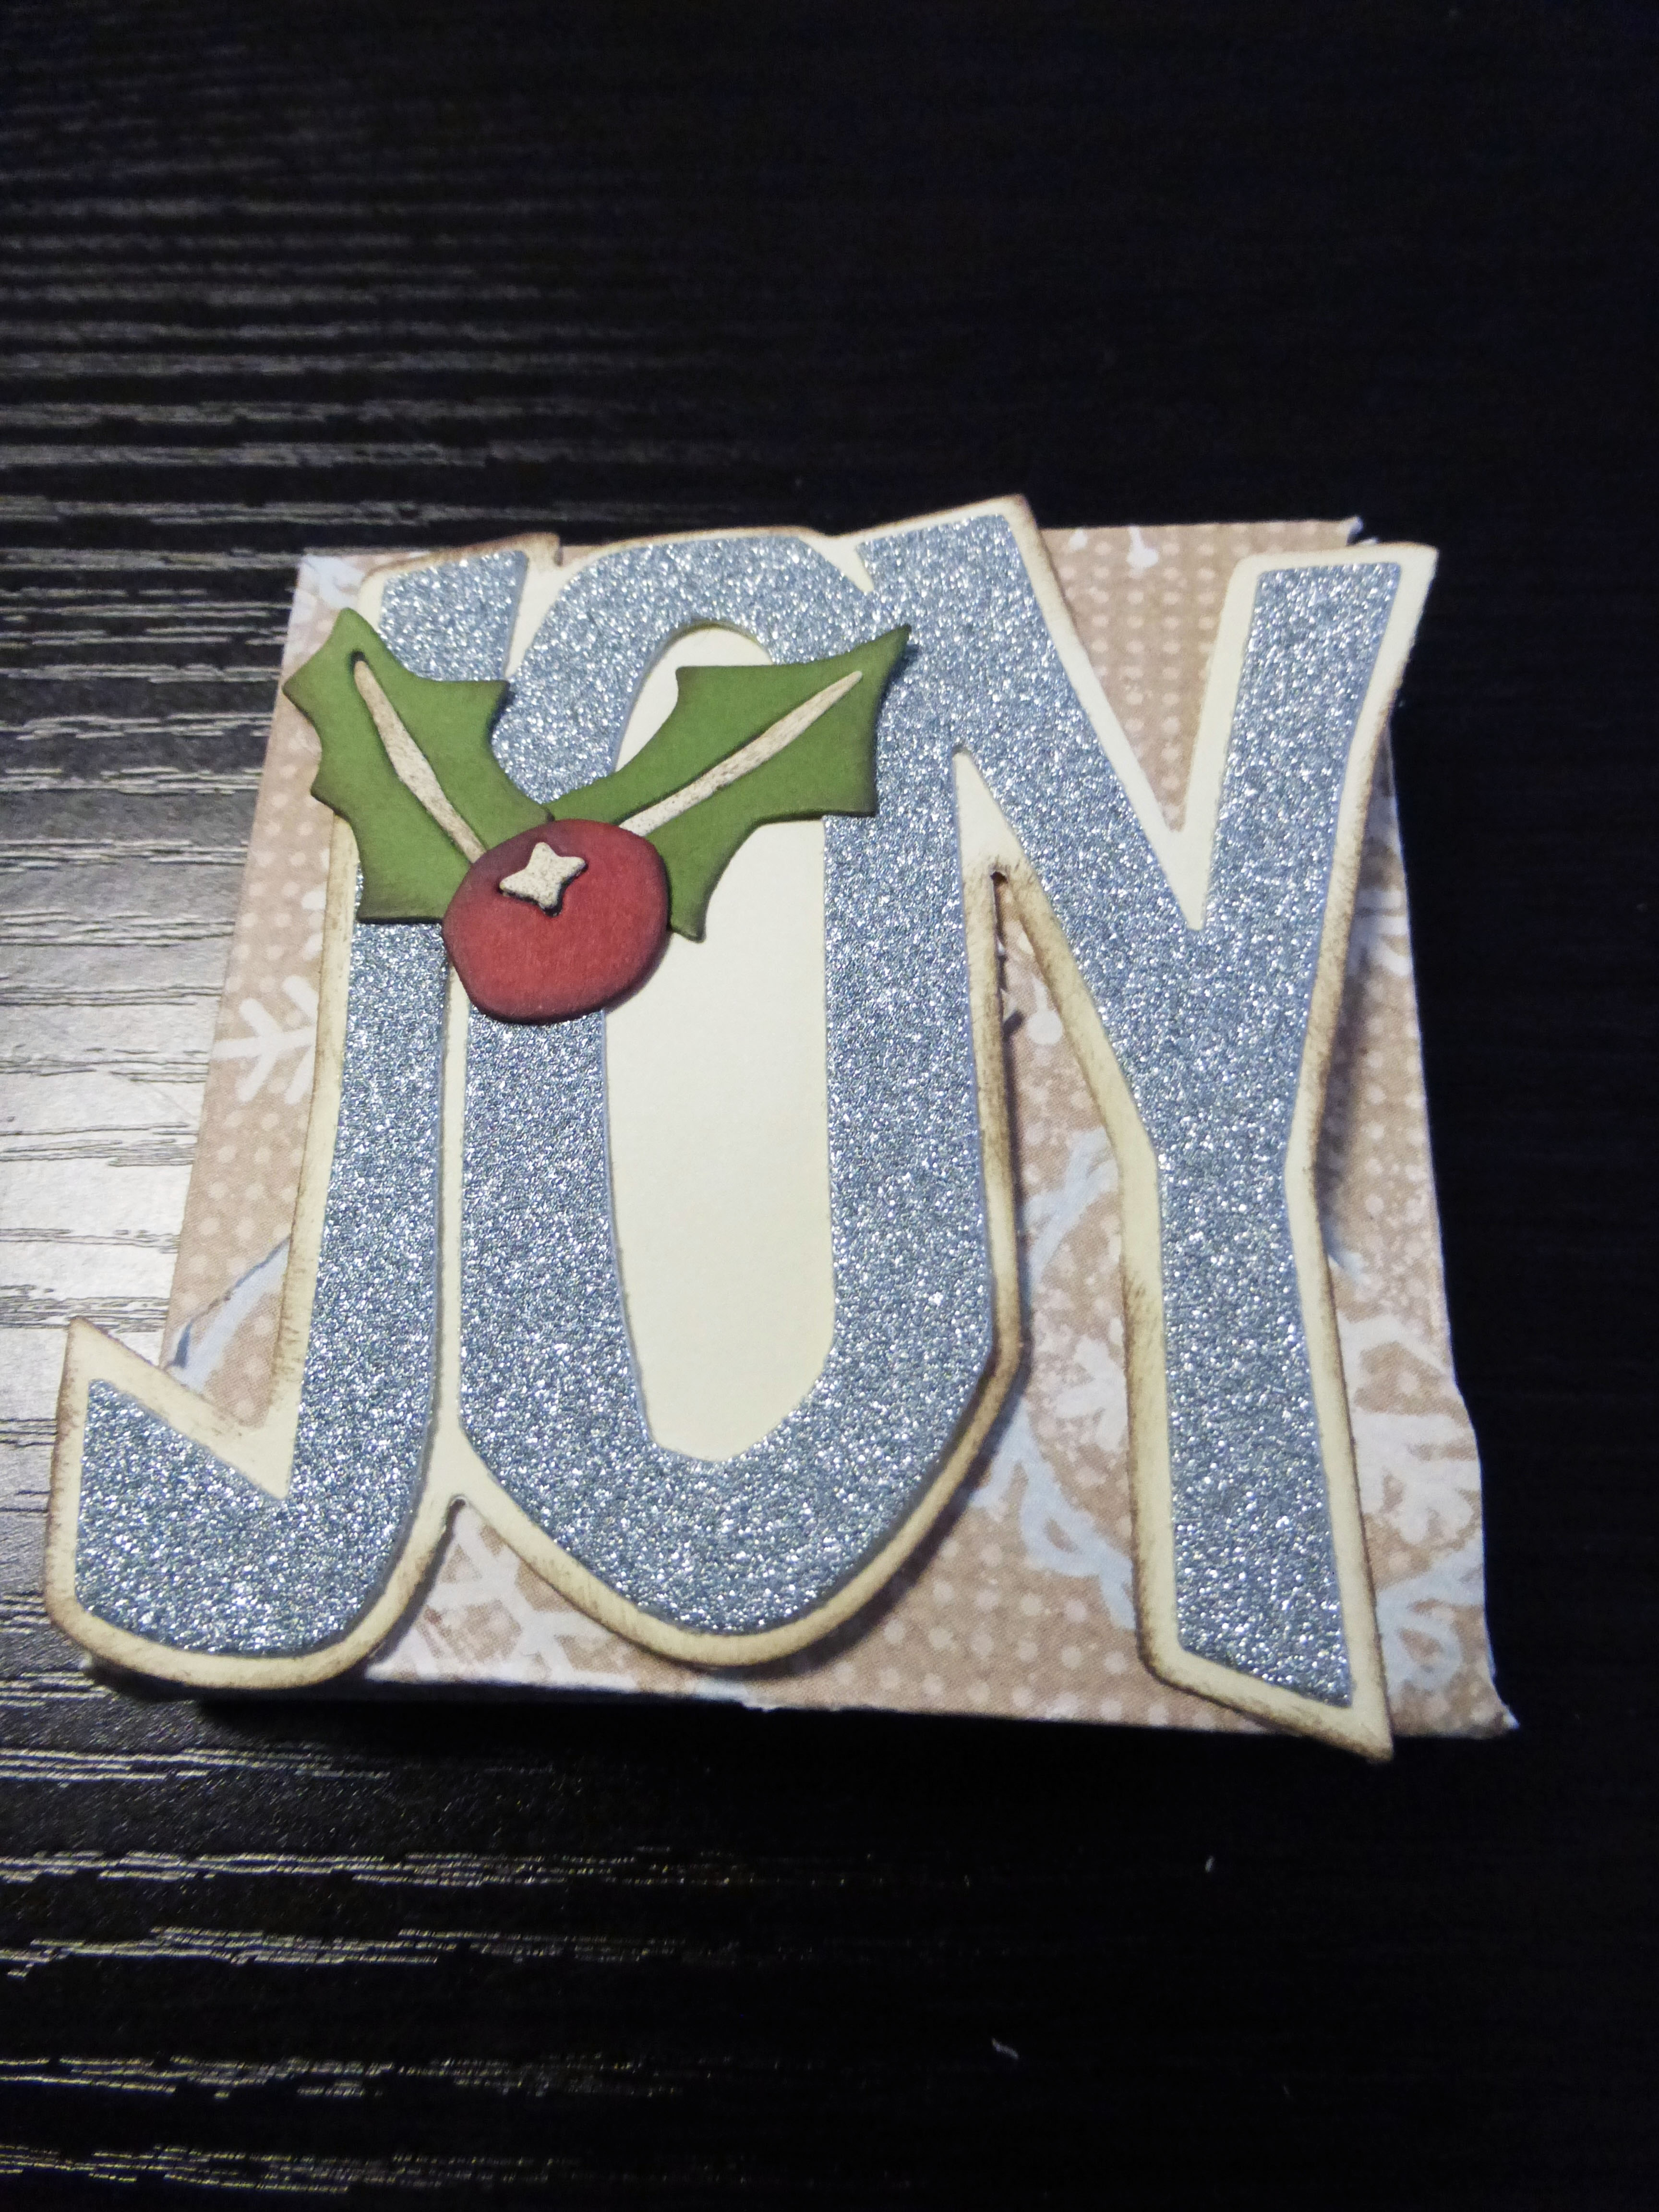
- Use Permanent Dots™ Dot N' Go® to attach embellishments to the calendar sheets. Permanent Dots™ Dot N' Go® are strong enough to handle bulky embellishments and can adhere to any surface (like wood, chipboard, ribbon, cork, etc.). Use embellishments that go with the theme of the month (i.e. snowflakes in January), or use birthday themed embellishments (i.e. gifts and cupcakes).
Notes:
Lots of embellishments come with stock adhesive already on them. I have found that for display pieces or things that get handled a lot, stock adhesive just won’t cut it. I always remove stock adhesive and replace it with Glue Dots® or put Glue Dots® right on top of the adhesive that is already there to create a much stronger and longer lasting hold.


My name is Samantha Taylor and I have a passion for combining crafting and creativity to beautify life. I live in a small town in rural Iowa with my husband and 2 boys (all 3 of whom you’ll see featured in my projects). I’m a paper crafting fanatic who also loves photography. I enjoy making lay outs, cards, mini albums and home decor items, party decorations, and crafting with my kids. My favorite thing about crafting is getting to connect with so many people all over the world who also love creating pretty things and preserving memories. You can find more from me at www.taylorstamped.blogspot.com. I am so excited to share with you my love for the many uses of Glue Dots®!


