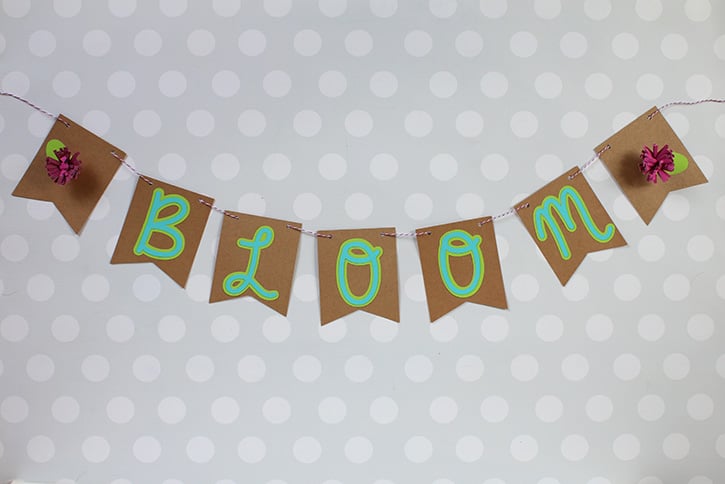
This banner is a great way to brighten up any room for spring. You can cut the banner pieces yourself, but using pre-cut banner packs (that can be found in the crafting or party sections at Walmart) makes this a project easy to complete in less than 30 minutes.
Made by: Samantha Taylor
Time: 20 minutes
Level: Moderate Handiness
Size: 4 ½” x 3’
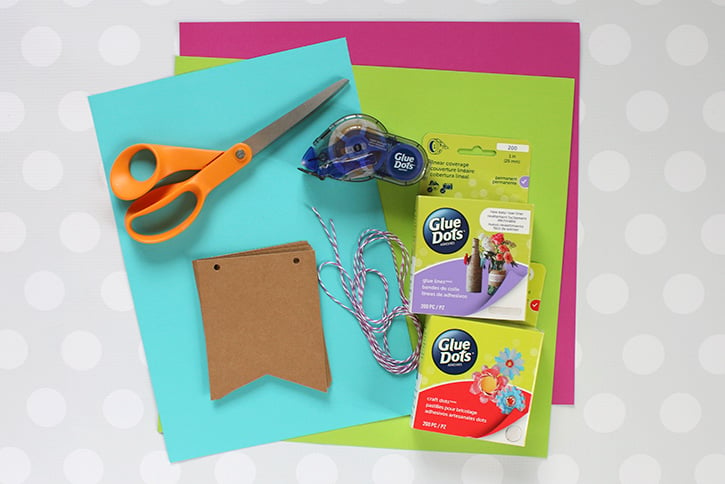
Materials:
- Craft Dots™
- Glue Lines®
- Premium Permanent GlueTape
- Colored Card Stock (I used purple, leaf green, and aqua blue)
- 7 Kraft banner pieces
- Twine
- Scissors
- A way to cut letters (a digital die cutting machine like the Cricut or an alphabet trace and cut template).
Directions:
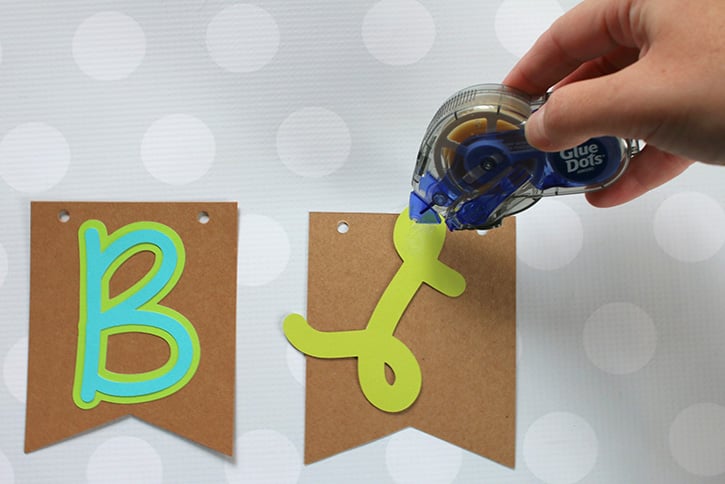
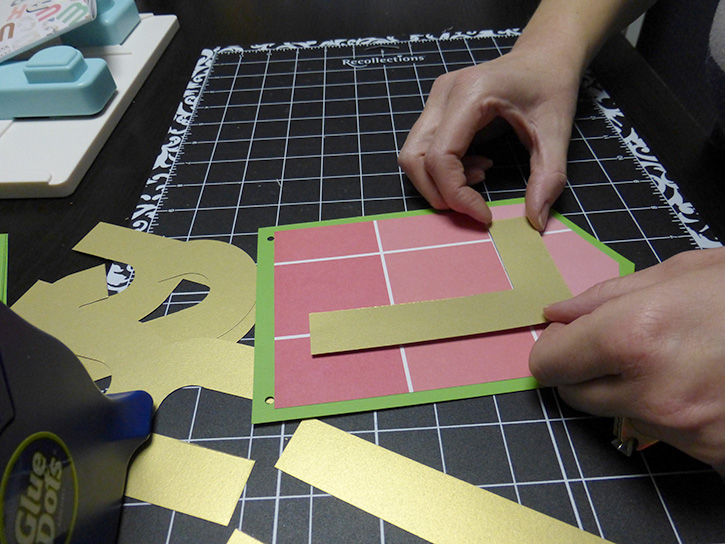
Cut “BLOOM” with a Cricut, or trace and cut letters from card stock. Attach letters to 5 of the banner pieces with Premium Permanent GlueTape. Premium Permanent GlueTape is perfect for attaching paper to paper. The easy glide dispenser will make this one of your favorite new adhesives.
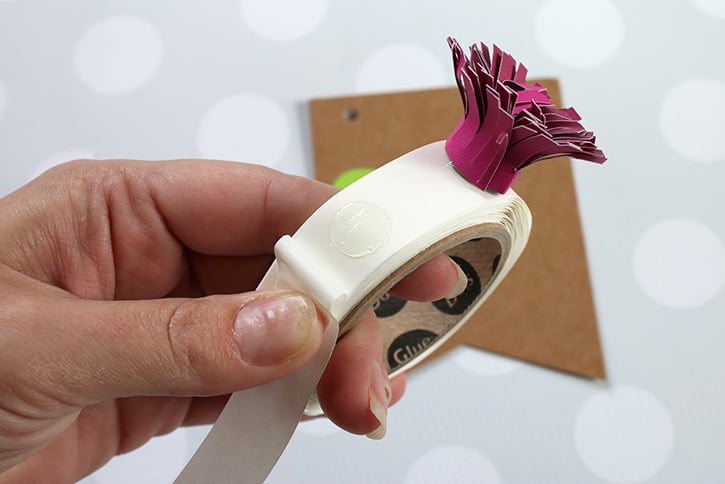
Cut two – 1” x 12” strips of paper. Cut fringe into the strips, leaving a ¼” uncut border along one 12” edge. Place Glue Lines along the uncut border and roll the strip up to create the flower. Take care not to roll the flower too tightly. 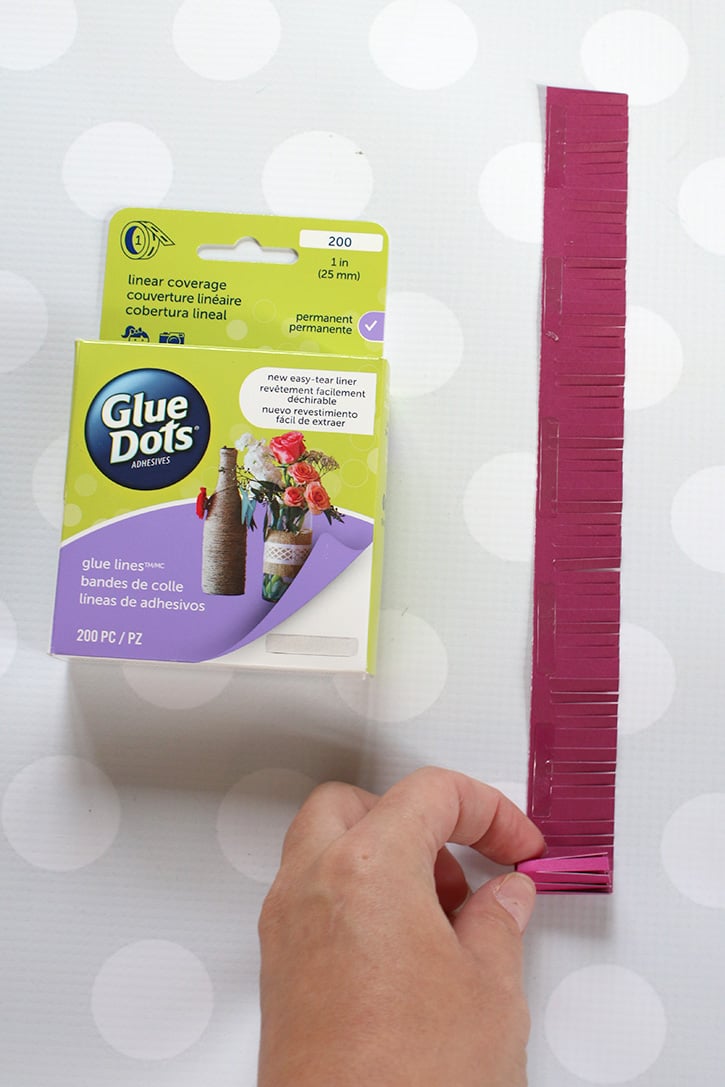 Press the "fringe" down and out, creating a fanned-out flower shape. Attach the flower to a banner piece using a Craft Dot.
Optional – cut a leaf from green paper and add behind flower.
Repeat these steps to create a second flower. Then, string some twine through banner, and then hang it.
When choosing colors for this project, take the chance on colors that you don’t normally choose. I don’t craft with purple much, so I made sure to use that color as one of my focal colors for this project. Step out of your comfort zone a little – you’ll be glad that you did!
~ Samantha

My name is Samantha Taylor and I have a passion for combining crafting and creativity to beautify life. I live in a small town in rural Iowa with my husband and 2 boys (all 3 of whom you’ll see featured in my projects). I’m a paper crafting fanatic who also loves photography. I enjoy making lay outs, cards, mini albums and home decor items, party decorations, and crafting with my kids. My favorite thing about crafting is getting to connect with so many people all over the world who also love creating pretty things and preserving memories. You can find more from me at www.taylorstamped.blogspot.com. I am so excited to share with you my love for the many uses of Glue Dots®!


