Make a musical statement on your walls! Use GlueTape to collage together papers. Craft Cut shapes added to the top of the glass will complete the song!
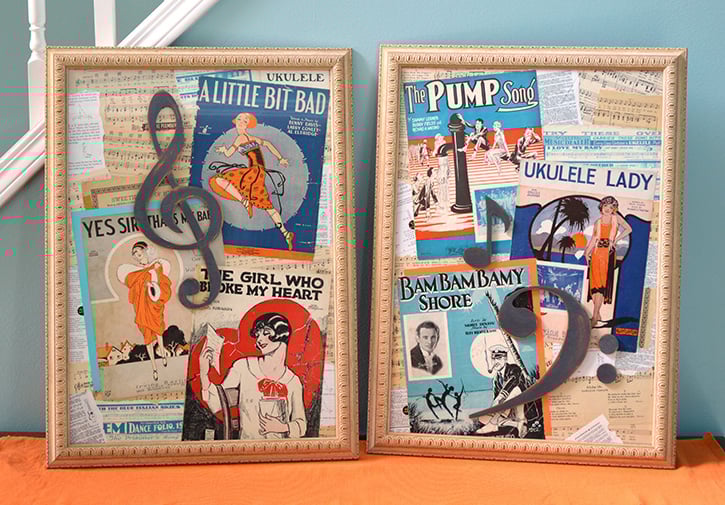
Made By: Dawn Mercedes Barrett
Time: 3 hours
Level: Moderate Handiness
Size: Variable based on frames used. My frames were 21" x 28".
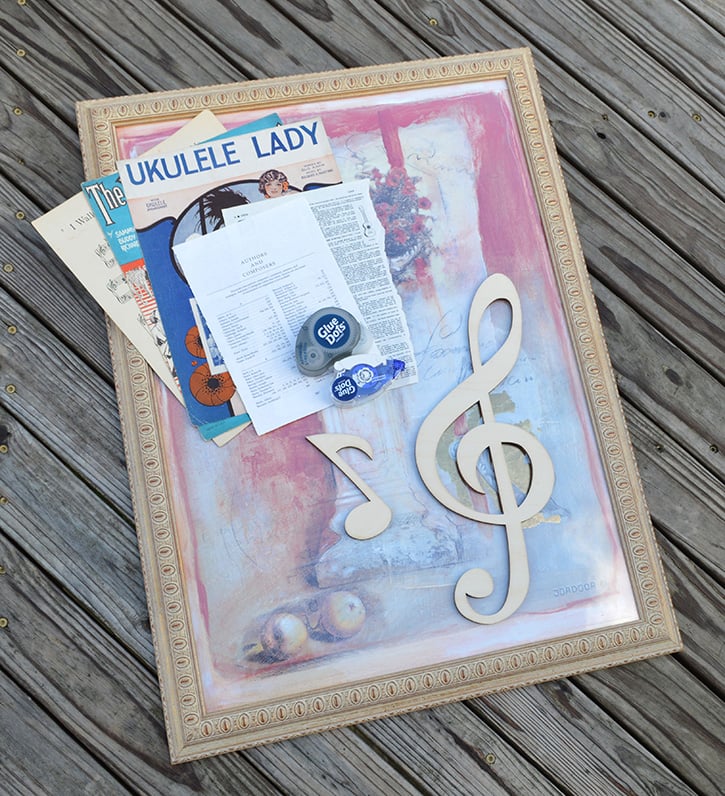
Materials:
- Permanent GlueTape
- Advanced Strength Dots™
- Vintage music sheets
- Other papers from music books and dictionary
- Craft Cuts: Fun Trebble Clef, Fun Base Clef, Fun Eighth note in ¼ “ Baltic Plywood
- DecoArt Dazzling Metallics: Black Pearl
- Americana Décor Light Satin Varnish
- DecoArt Metallic Lustre: Copper Kettle
- Foam core - cut to fit your frame
- Kraft paper on a roll
- Scissors
- Paint palette
- Sponge brush and fine lined paint brushes
- Soft rag
- Xacto knife
- Metal edged ruler
- Yard stick
- Fiskars rotary cutter
- Large cutting mat
Directions:
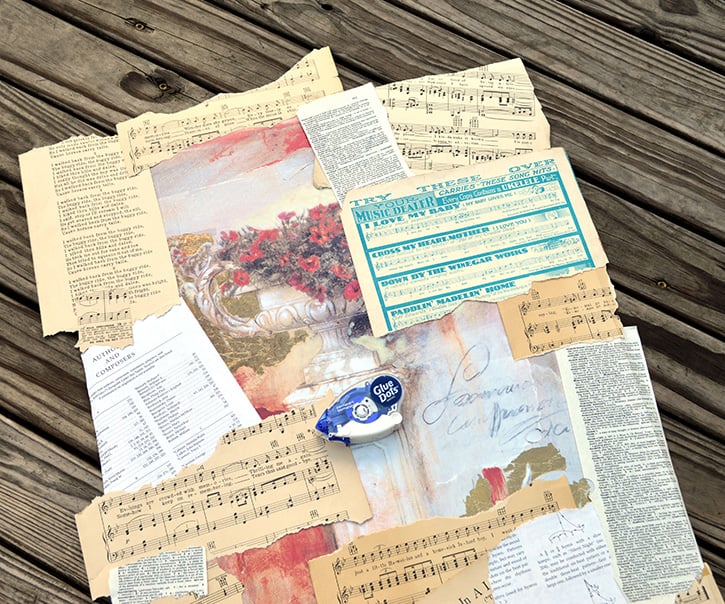
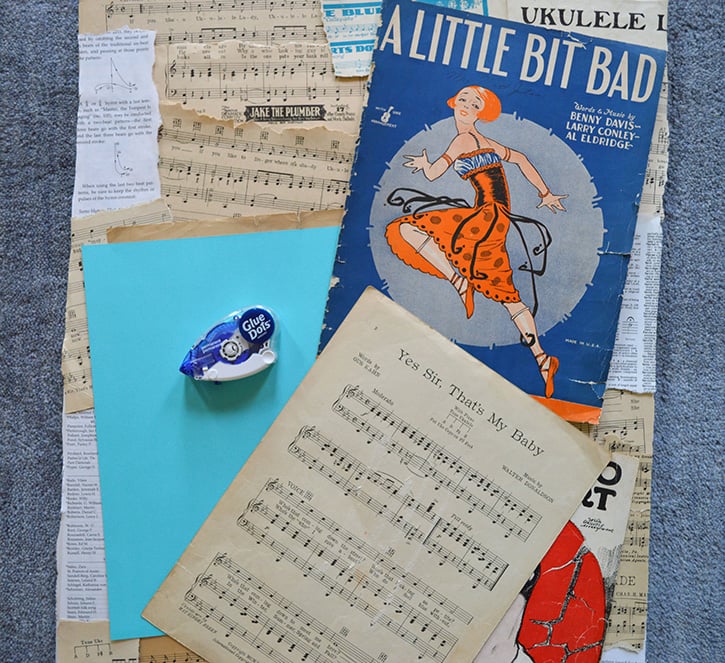
Take out the original artwork. Cut a piece of Foam Core Board to fit the frame with the xacto knife and metal edged ruler. Rip your collage papers into pieces and adhere them directly to the foam core using GlueTape.
Tip: When using fragile, vintage papers, apply the Glue Tape to the foam core board, not the paper.
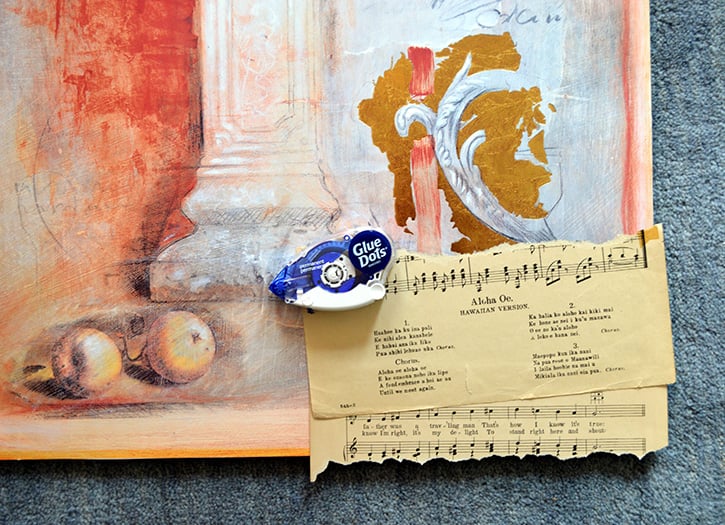
Overlap your paper pieces to create an interesting background.
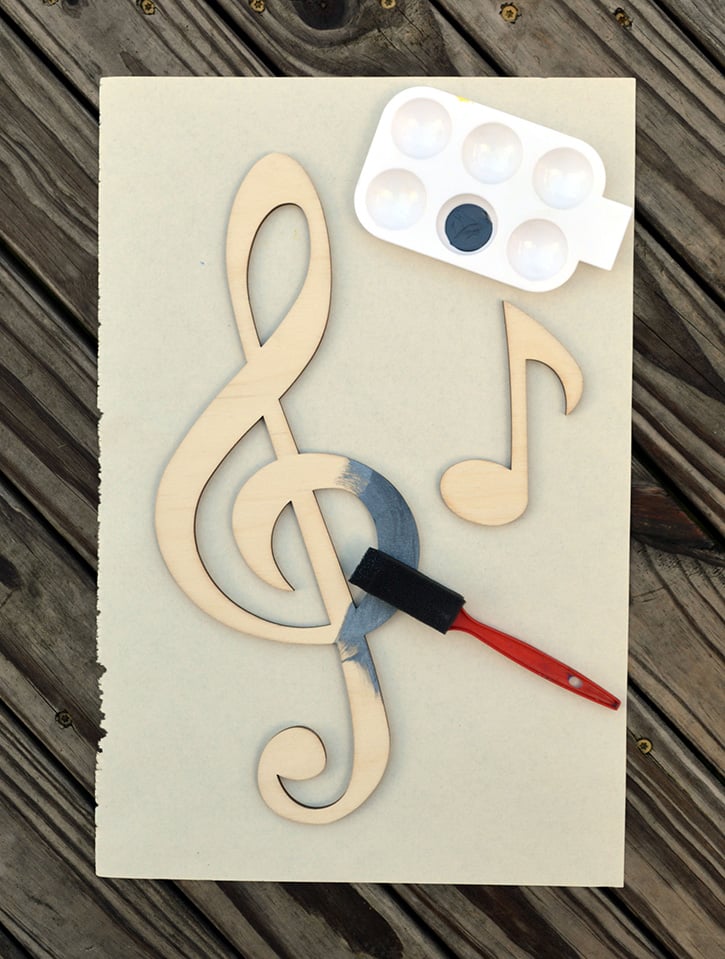
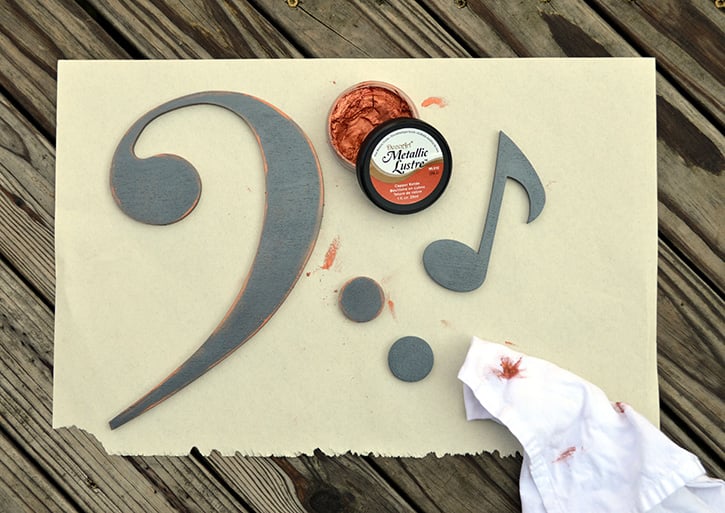
Use a foam brush to paint the Craft Cuts musical notes with acrylic paint. Let dry. Apply a second coat and allow to dry again.
Use a soft rag to apply Metallic Lustre (I used Copper Kettle) along the edges of the wooden pieces. Burnish the pigment with the clean edges of the cloth to create a finished look. Allow to dry. Then seal with a light satin varnish. Dry once more.
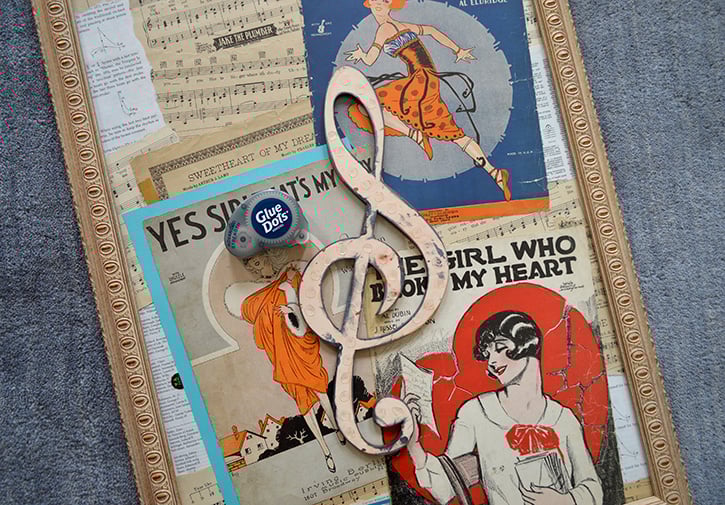
After the background of your collage is complete, place the music illustrations onto the background to find the best layout. Mock it up with the wooden pieces too.
Tip: Take a pix with your photo for future reference.
Use GlueTape and secure the illustrations along with any mats cut from colored card stock. Add other embellishments as desired.
Use an Xacto knife, or sharp scissors, to cut away an collage papers that overlapped the edges of the foam core board. Be sure the glass and frame are clean free of dust. When finished, place the art work into the frame.
Apply Advanced Strength Dots to the wooden pieces and secure them to the top of the glass frame.
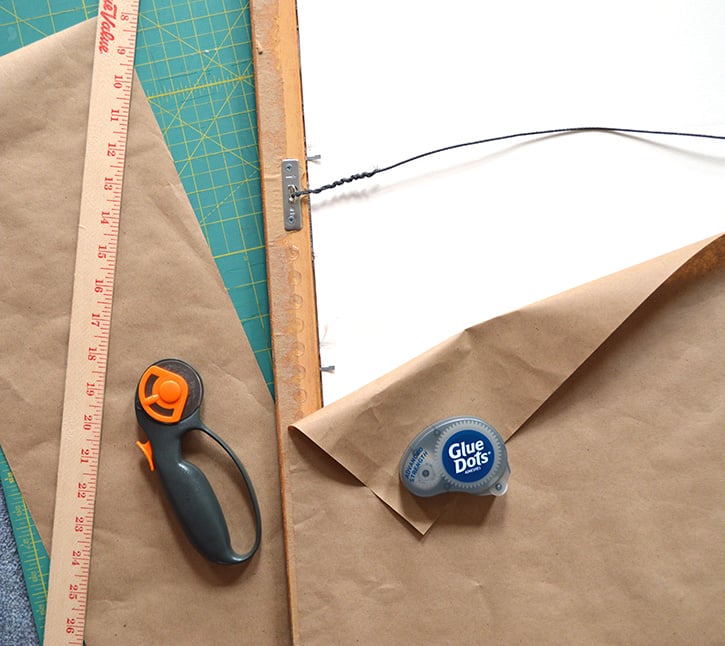
Measure Kraft paper to make a dust cover for the back of the frame. Use Advanced Strength Dots to secure the paper to the back of the frame to polish off the project and to protect the back of your artwork.
This is a fun project that can give new life to lovely frames that you've gotten tired of. GlueTape keeps your hands clean and your work space neat! The fun thing about handcrafted works of art is that they can be tailored to your style, colors and hobbies!
~ Dawn

Dawn Mercedes Barrett is a designer who enjoys juggling a number of activities. Whether it is creating a card or object for home decor, whipping up a batch of fresh cookies for kids that drift through the house, or learning to enjoy the rigors of strengthening her body through running, she is your go-to crafter for help, ideas, and encouragement. Who says you (or your style) have to grow old and moldy? Dawn’s up beat style and silly comments will keep you smiling and chuckling.


