One of my favorite things about the holidays is getting Christmas cards in the mail each day. This merry mailbox will help you put your Christmas cards on display and keep them neat and organized.
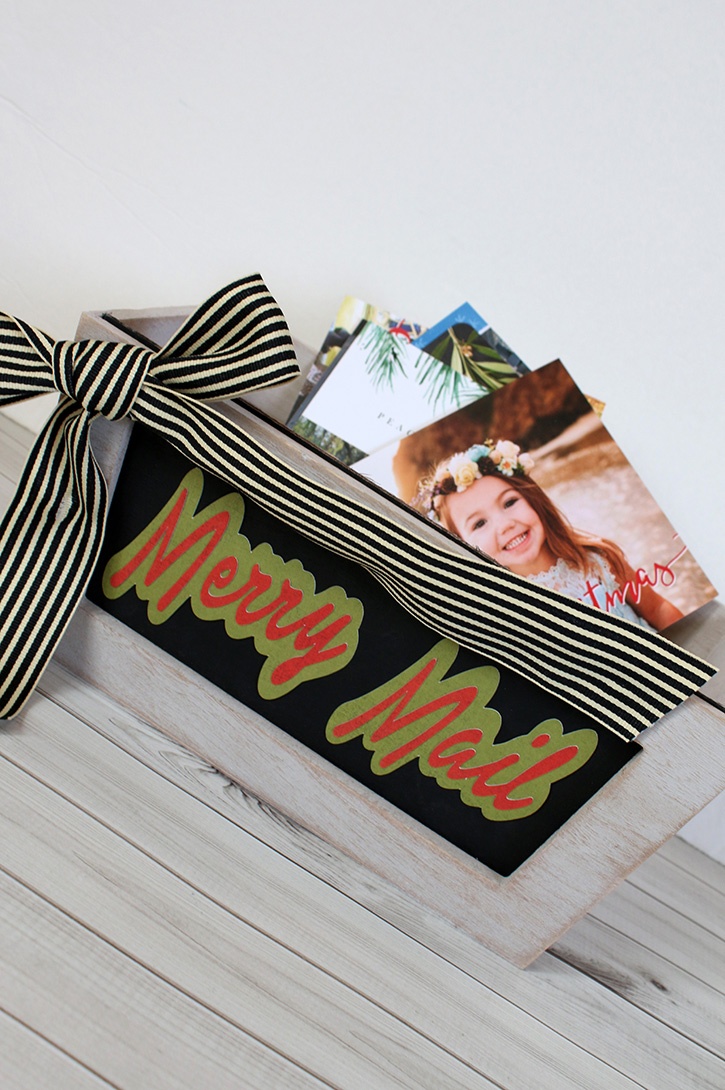
Made by: Samantha Taylor
Time: 20 Minutes
Level: Moderate Handiness
Size: 5” x 10”
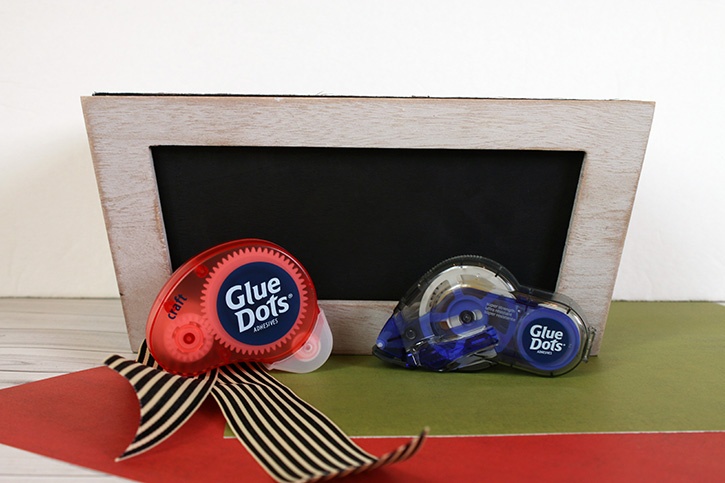
Supplies:
- Craft Dots™
- Premium Permanent GlueTape
- Decorative Box
- Ribbon
- Red and Green Paper
- A Cricut or Silhouette machine to cut out "Merry Mail."
Directions:
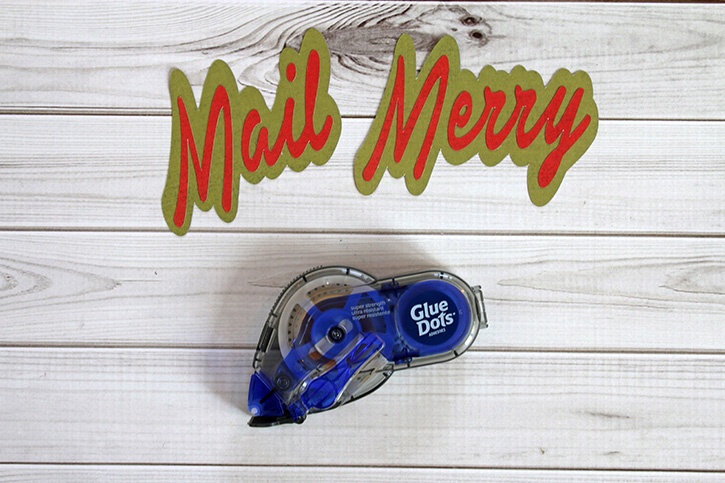
Cut the words “Merry Mail” from red paper and a shadow for the words from green paper.
Use Premium Permanent GlueTape to attach the words to the shadow and then to attach them to the decorative box.
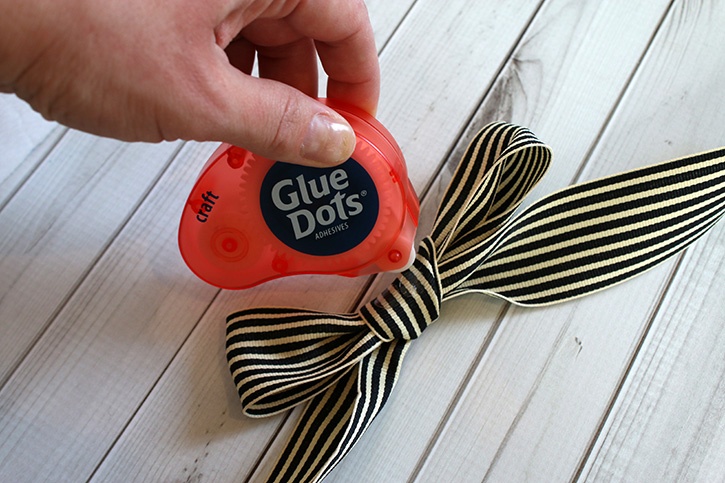
Tie a bow from coordinating ribbon. Attach the bow to the box with Craft Dots.
Fill your box with Christmas cards.
Customize your Merry Mail Box by using paper colors that coordinate with your holiday style (like purple and gold or blue and silver). Choose a font for your words that also matches your style. Do you prefer an old-timey Christmas, or something fun and whimsical? Reflect those feelings with your font choice. The possibilities are endless!
~ Samantha

My name is Samantha Taylor and I have a passion for combining crafting and creativity to beautify life. I live in a small town in rural Iowa with my husband and 2 boys (all 3 of whom you’ll see featured in my projects). I’m a paper crafting fanatic who also loves photography. I enjoy making lay outs, cards, mini albums and home decor items, party decorations, and crafting with my kids. My favorite thing about crafting is getting to connect with so many people all over the world who also love creating pretty things and preserving memories. You can find more from me at www.taylorstamped.blogspot.com. I am so excited to share with you my love for the many uses of Glue Dots®!


