Designer Robyn has a DIY wedding centerpiece that's easy to make and is customizable to your wedding colors. If you are making wedding centerpieces or favors, sometimes starting an assembly line with friends is a nice way to make everything and have fun in the process. Designer Robyn's DIY wedding centerpiece can easily be incorporated into an assembly line with help from friends. As she explains, start with a glass bottle, add burlap, a pretty paper border and rosettes for a soft and sweet centerpiece. Get your Glue Dots, we're getting creative!
Designed by: Robyn Powers
Time: 30-45 minutes
Level: Beginner
Who doesn't love spring weddings? I love the blooms all around in the spring and the colors emerging after winter. AND I love seeing all the simple beauty that you see in wedding decorations. So, here is a little project that combines the two and is fun to give away as keepsakes after the wedding as well!
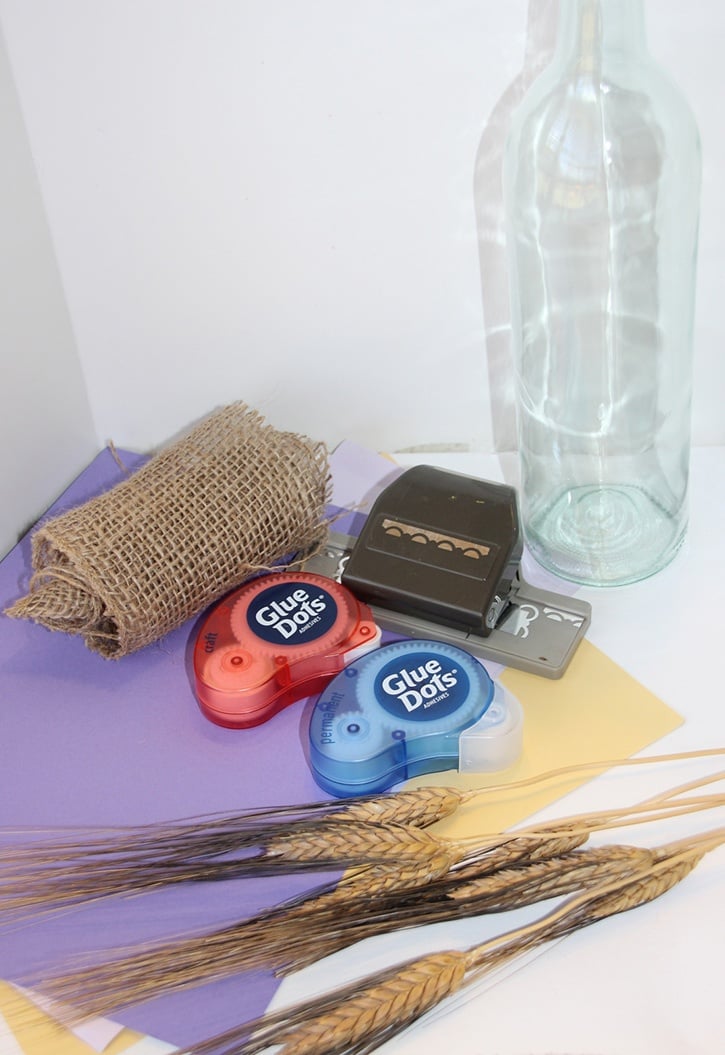
Here's what you'll need:
Before you start, gather all of the supplies you'll need. This will make assembling them much faster for you if you are making a bunch of these for a large event.
- Permanent Glue Dots®
- Craft Glue Dots®
- Lavender, lilac, and lemon colored card stock
- Burlap
- Wheat sticks
- Wine Bottle
- Scissors and/or paper cutter
- Decorative edge punch
Here's what you do:
First thing I did was to wrap the burlap around the wine bottle. I adhered it with Permanent Glue Dots and cut off any excess. Tip: If you're making these for a large event, use the first piece of burlap as a guide to quickly measure and cut additional pieces for more bottles.
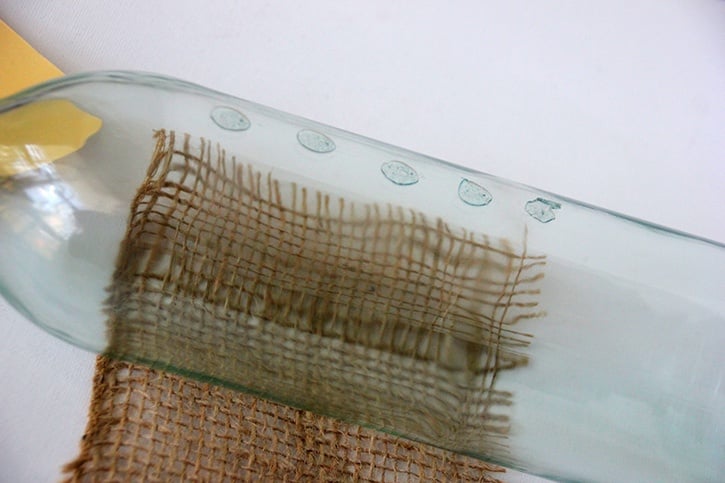
Take your lilac cardstock and wrap it around on top of the burlap, leaving some of the burlap showing on the top and bottom edges. Adhere it in place with Craft Glue Dots.
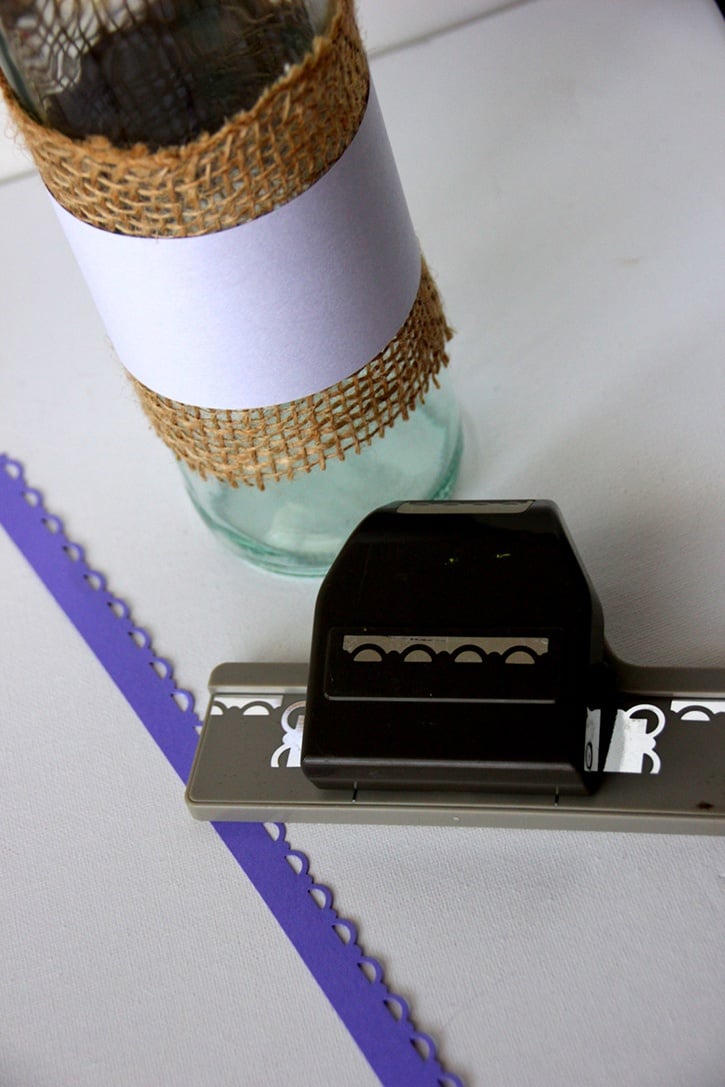
Next, take your lavender paper and use your decorative edge punch to create a fun little border and wrap it around the wine bottle as well. Adhere the border in place with Craft Glue Dots.
The last step, making your paper rosettes, is the one that is a bit harder and takes a bit more time, but as you make them, you get faster. They are pretty simple really. You take your lemon paper and tear a strip of it to start with. Then bend it a bit all along the strip with the torn edge on top and out.
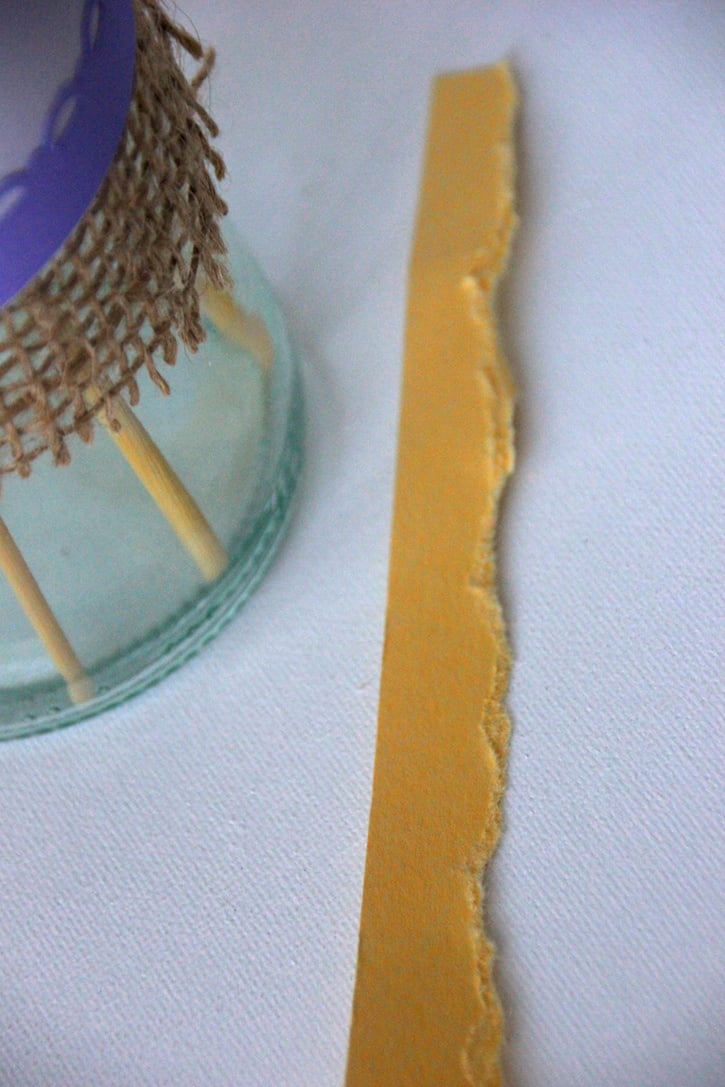
Then make little tiny tears every 1/4 inch to 1/2 inch down the strip.
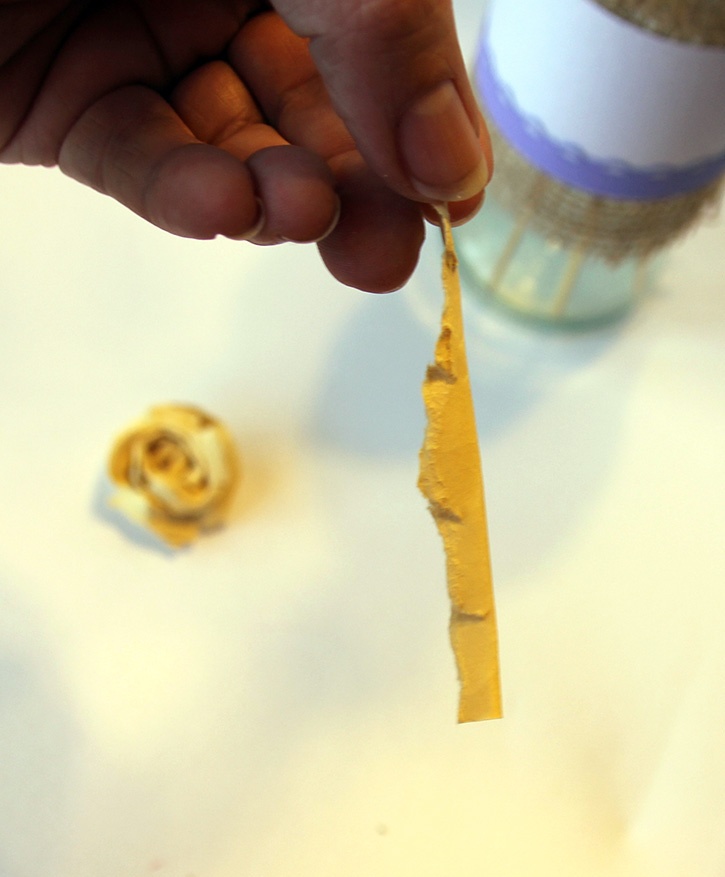
Now you're ready to start rolling it around.
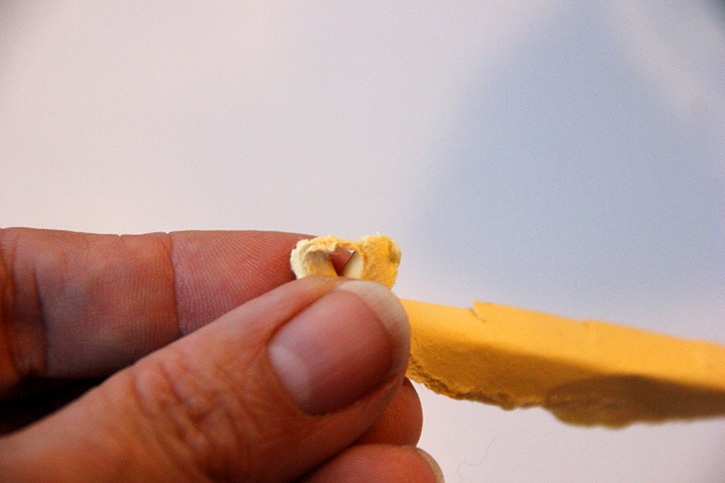
And that's all you do...start making your center and then roll around and around having the folded sides out (to be the petals). Adhere the end to the back of the rose with a Craft Glue Dots.
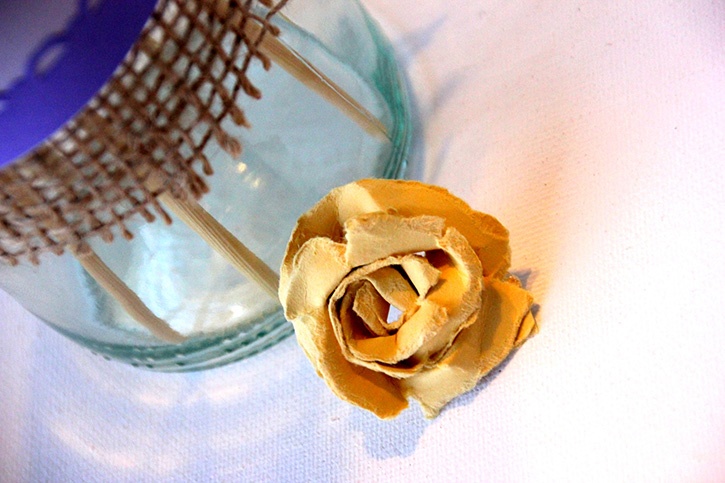
I made three different sized roses and placed them near each other and attached them to the lilac cardstock on the wine glass with more Craft Glue Dots.
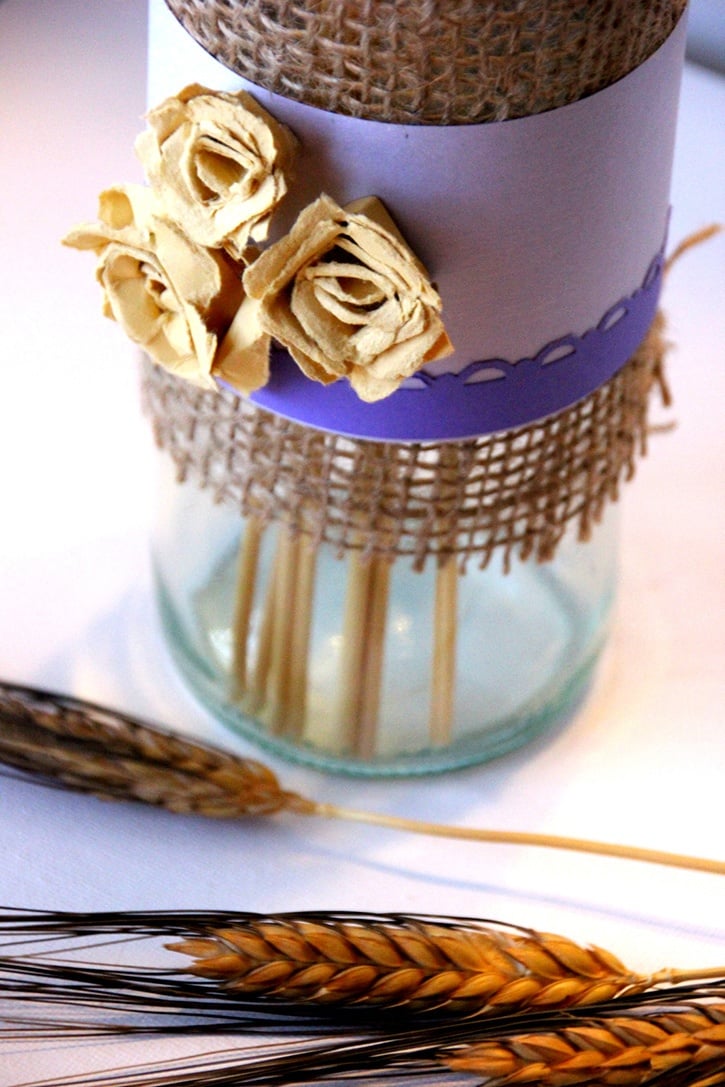
Finally, put wheat in the bottle.
Simple!
~Robyn

Hi! I’m Robyn and blog over at Create it. Go! I live in beautiful Northwest Arkansas and love being outside. I’m a mom to five fun, crazy kiddos that I love, ranging in age from 16 down to 4. And I’m a wife to a man that I love laughing wtih! I love to create. I love papercrafting, working with wood, upcycles, repuposes, and DIY’s, crafting anything in general, trying out new recipes, sewing, photography, you name it! I also like to pick up a good book and ignore those dishes and laundry that never seem to go away. haha My life is never boring and can almost always use some re-balancing and simplifying. It’s not perfect, but I love it!


.jpg)
