Thanks to Craft Cuts and their amazing custom words, you can choose anything to match your style! Using Glue Dots® makes attaching them to wood, paper (or anything) fast, clean and easy; you can make your unique piece of art in no time.
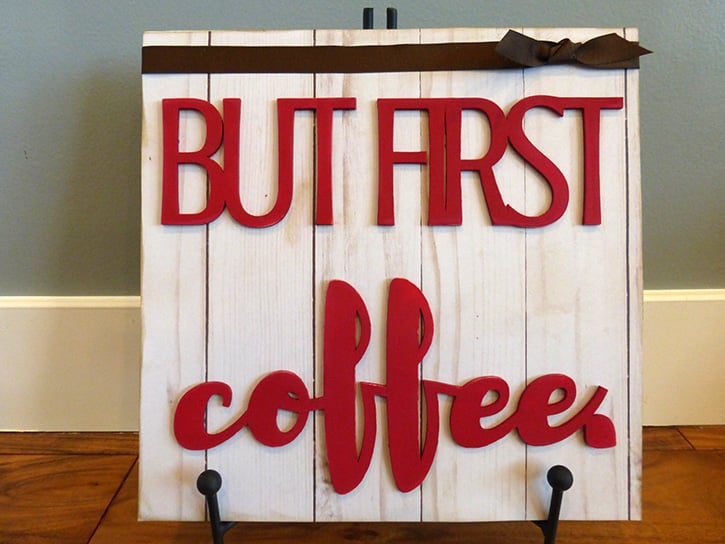 Made By: Amanda Tibbitts
Time: 1 hour (maybe more, depends on drying time)
Level: Moderate Handiness
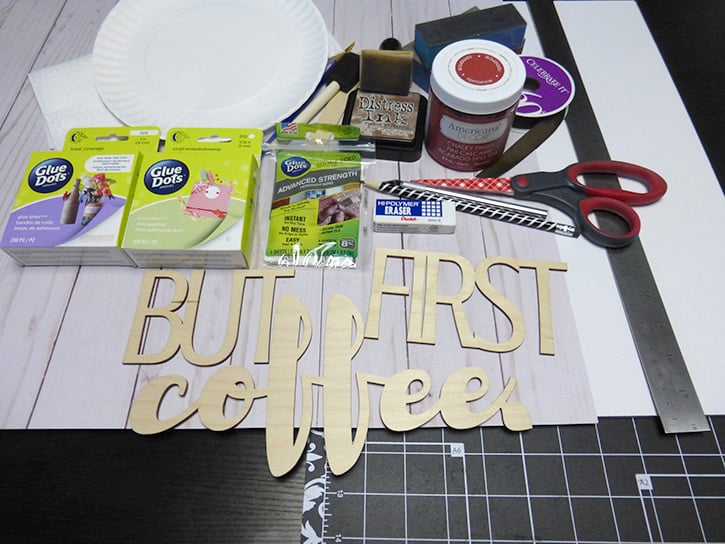
Supplies:
- Mini Dots™
- Glue Lines®
- Advanced Strength Double Sided Sheets
- “But First Coffee” wooden letters from Craft Cuts
- Wood Grain Poster Board
- Distress Ink in Frayed Burlap and application tool
- Deco Art Americana Décor Chalky Finish Paint in “Romance” color
- Foam core sheet
- Ribbon
- Paper plate
- Paper towels
- Sponge brush
- Small detail brush
- Stir stick, or a popsicle stick
- Pencil and eraser
- Scissors
- Ruler
- Xacto knife or craft knife
- Sanding Block or a nail file
Directions:
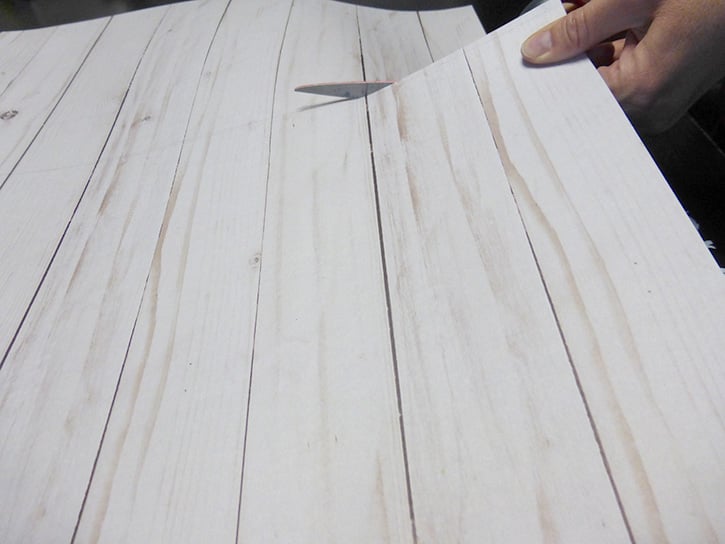
Lay your letters on the poster board and figure out how big you want your sign to be. Use the pencil and ruler to help draw a straight line and use the scissors to cut this out. Once cut, trace the edge on the foam core and use the Xacto to trim it down to the same size. Move slowly, using a few passes to cut the foam core. Once these both are trimmed, set them aside. 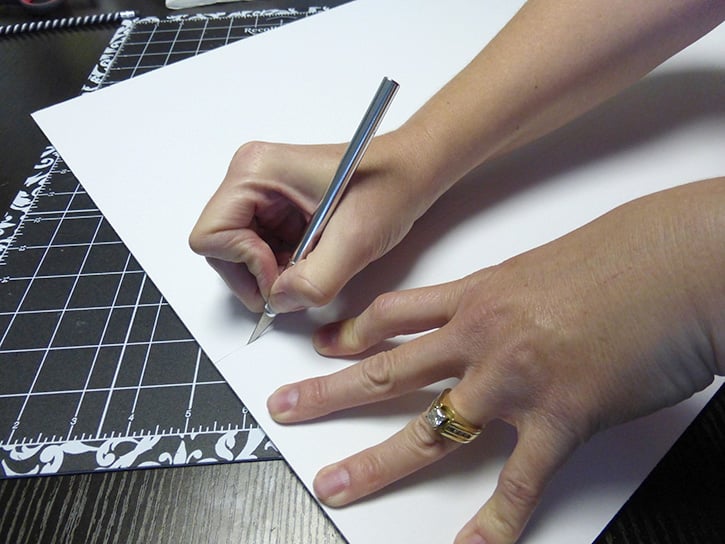
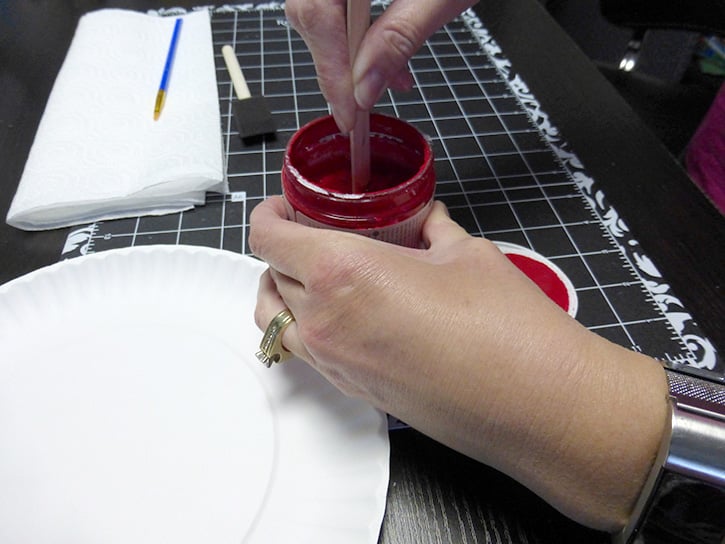
Using the stir stick, stir up the Americana Décor Chalky Finish paint. It should be about the consistency of yogurt once it’s ready to use.
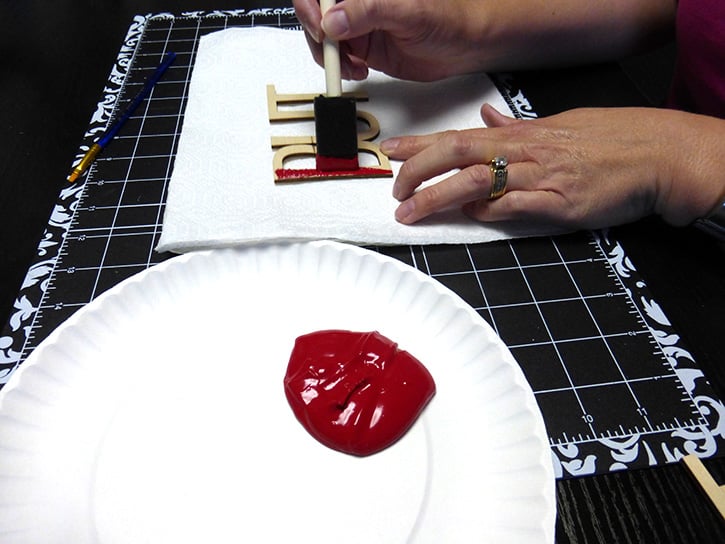
Dump some out onto the paper plate and with the sponge brush, begin painting the letters. Depending on the size, you may want to use a small brush. Let the paint dry between coats. I ended up doing 3 coats on my letters.
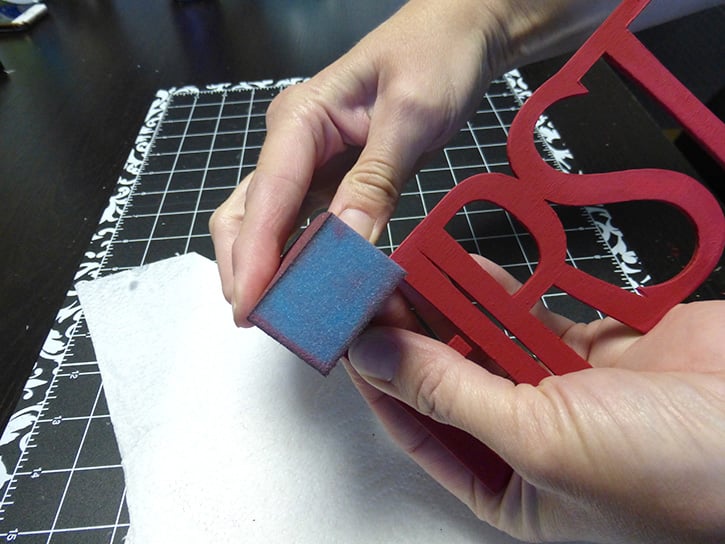
Once your letters are dry, use the nail file or sanding block and sand the edges of the letters if you want a more distressed look. This step isn’t necessary, but it does add some detail.
With the distress ink, rub some color over the poster board along the edges. Measure some ribbon and tie it around the top of the poster board. Add some Advanced Strength Double Sided sheets to each corner of the back side of the poster board and one piece in the middle. Fill in some sparse areas with Glue Lines and adhere the poster board to the foam core you already cut. You can add some more distress ink to the foam core if you’d like here.
With Glue Lines and Mini Dots, add adhesive to the back of the letters.
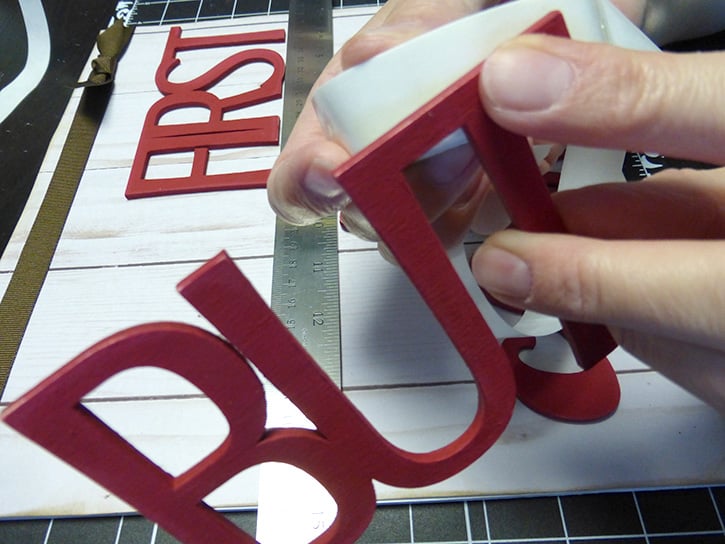
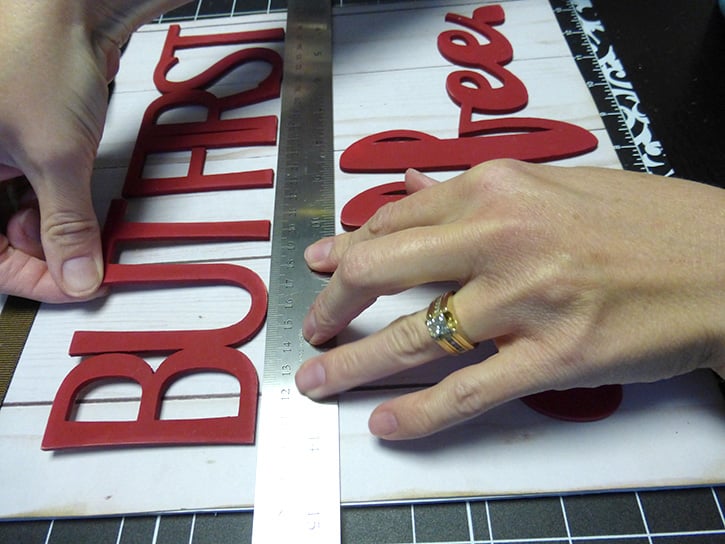
Use the ruler to help you make sure they get glued down straight. Take your time and use a bit more adhesive than you think you might need.
This sign is very fun to make and can be embellished more to add your personal style. The wood letters are so fun to use, and with Glue Dots® you know that whatever you make will last. Thanks, Craft Cuts, for the fun letters!
~ Amanda

I began crafting in 1996 and simply fell in love with making my own cards. Long live snail mail! Crafting isn’t just a hobby for me, but a way of life… Teacher gifts, posters, scrapbooks, wood crafts? Yes, please! I have been married to my cute husband for 16 years and he definitely inspires me to try new things and enjoy the little things. As a stay home Mom, my time is spent raising my two girls, and raising the bar for my gift giving!


