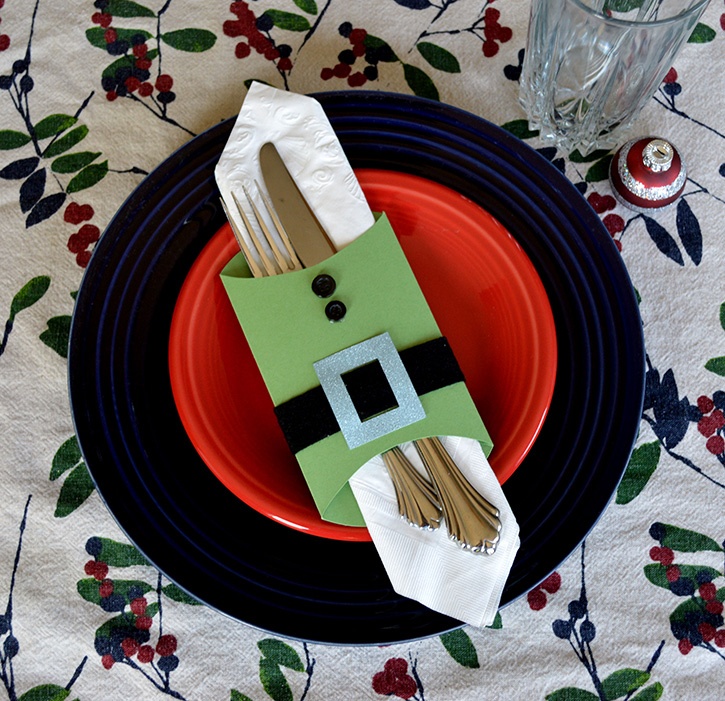
Add a bit of holiday magic during dinner parties in December…or make your kids smile during your family dinners with the reminder that Santa is watching!
Made By: Dawn Mercedes Barrett
Time: 20 minutes
Level: Moderate Handiness
Size: 3.5 x 6.25 inches
Supplies:
- Glue Lines®
- Craft Dots™
- Red and Green card stock
- Glitter card stock
- Black buttons
- Black felt
- Pencil/eraser
- Rotary Cutter
- Cutting mat
- Fabric Scissors
- Scissors for paper
- Electronic die cut machine
- Score Board
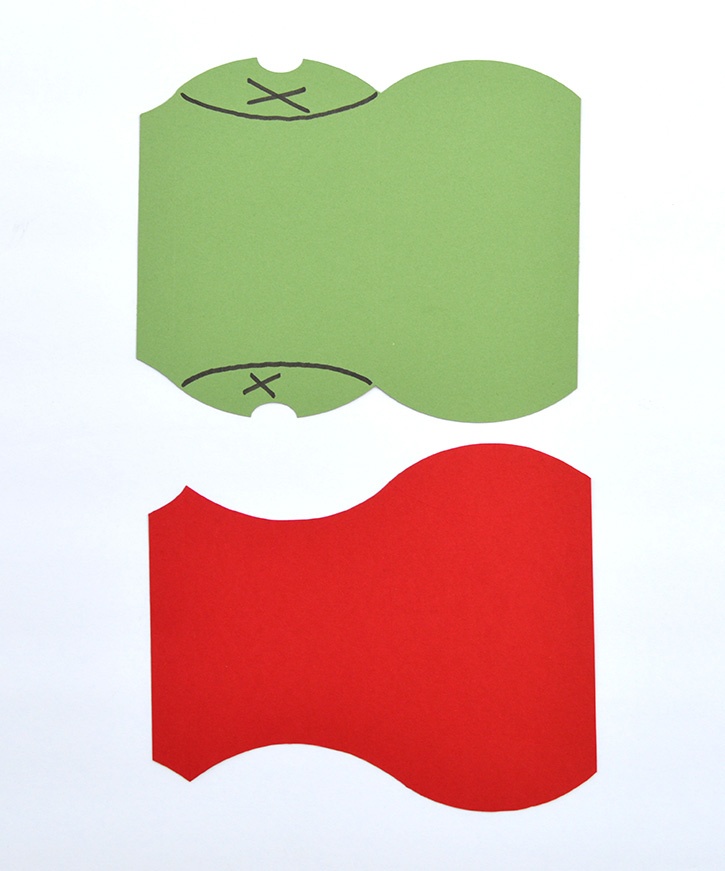
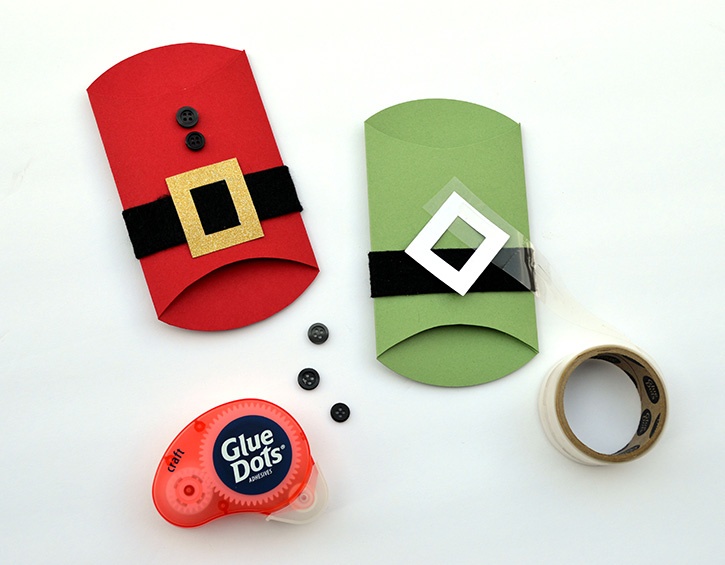
Use your electronic die cutting machine to cut pillow box, approximately 6.25 inches long. Tip: You may also use a pencil to trace a template. Cut out with scissors.
Trim the rounded portion, as illustrated in the photo, on one side of the pillow box. Cut buckle shapes out of the glitter card stock that measure 1.5 x 1.75 inches.
Use a scoring board to create side folds, horizontal to each other.
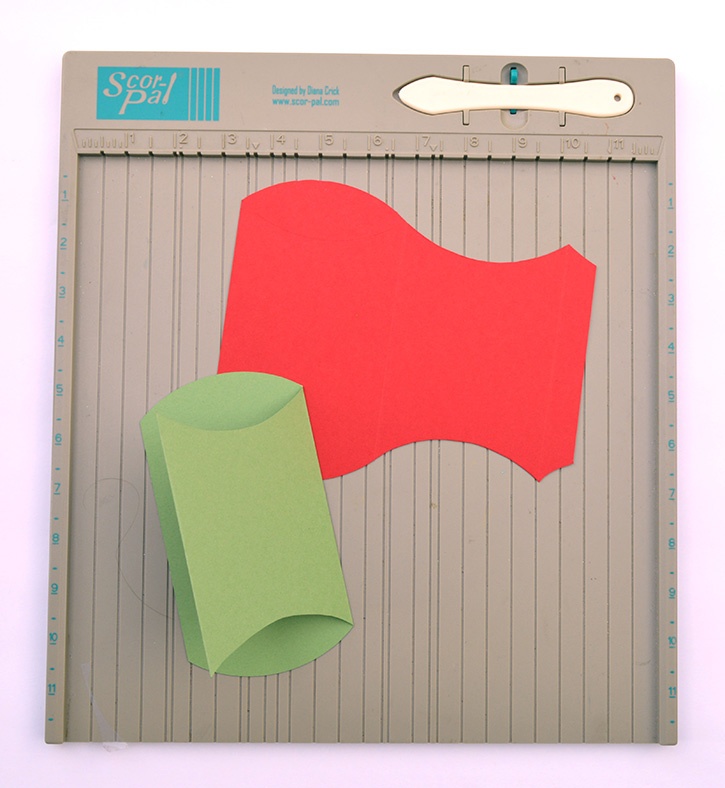
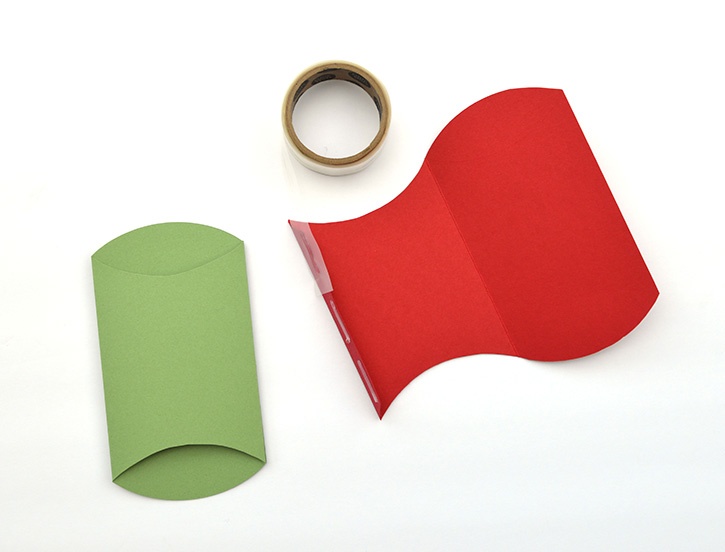
Use Glue Lines to create a tube like shape.
Use a rotary cutter and cutting mat and cut felt strips into 11" x 1" strips. Add Glue Lines to the strip. Center it on the front and wrap it around to the back. Use fabric scissors to trim the felt along the back. Next, use Glue Lines to adhere the buckle on top of the black felt band.
Use Craft Dots to add black buttons to the front to complete the look.
Tip: Clip buttons off of worn out dress shirts or other clothes before disposing them to add to your button collection!
~ Dawn


Dawn Mercedes Barrett is a designer who enjoys juggling a number of activities. Whether it is creating a card or object for home decor, whipping up a batch of fresh cookies for kids that drift through the house, or learning to enjoy the rigors of strengthening her body through running, she is your go-to crafter for help, ideas, and encouragement. Who says you (or your style) have to grow old and moldy? Dawn’s up beat style and silly comments will keep you smiling and chuckling.


