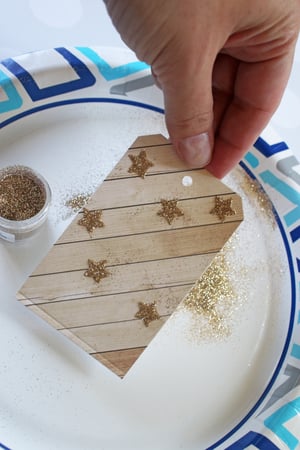
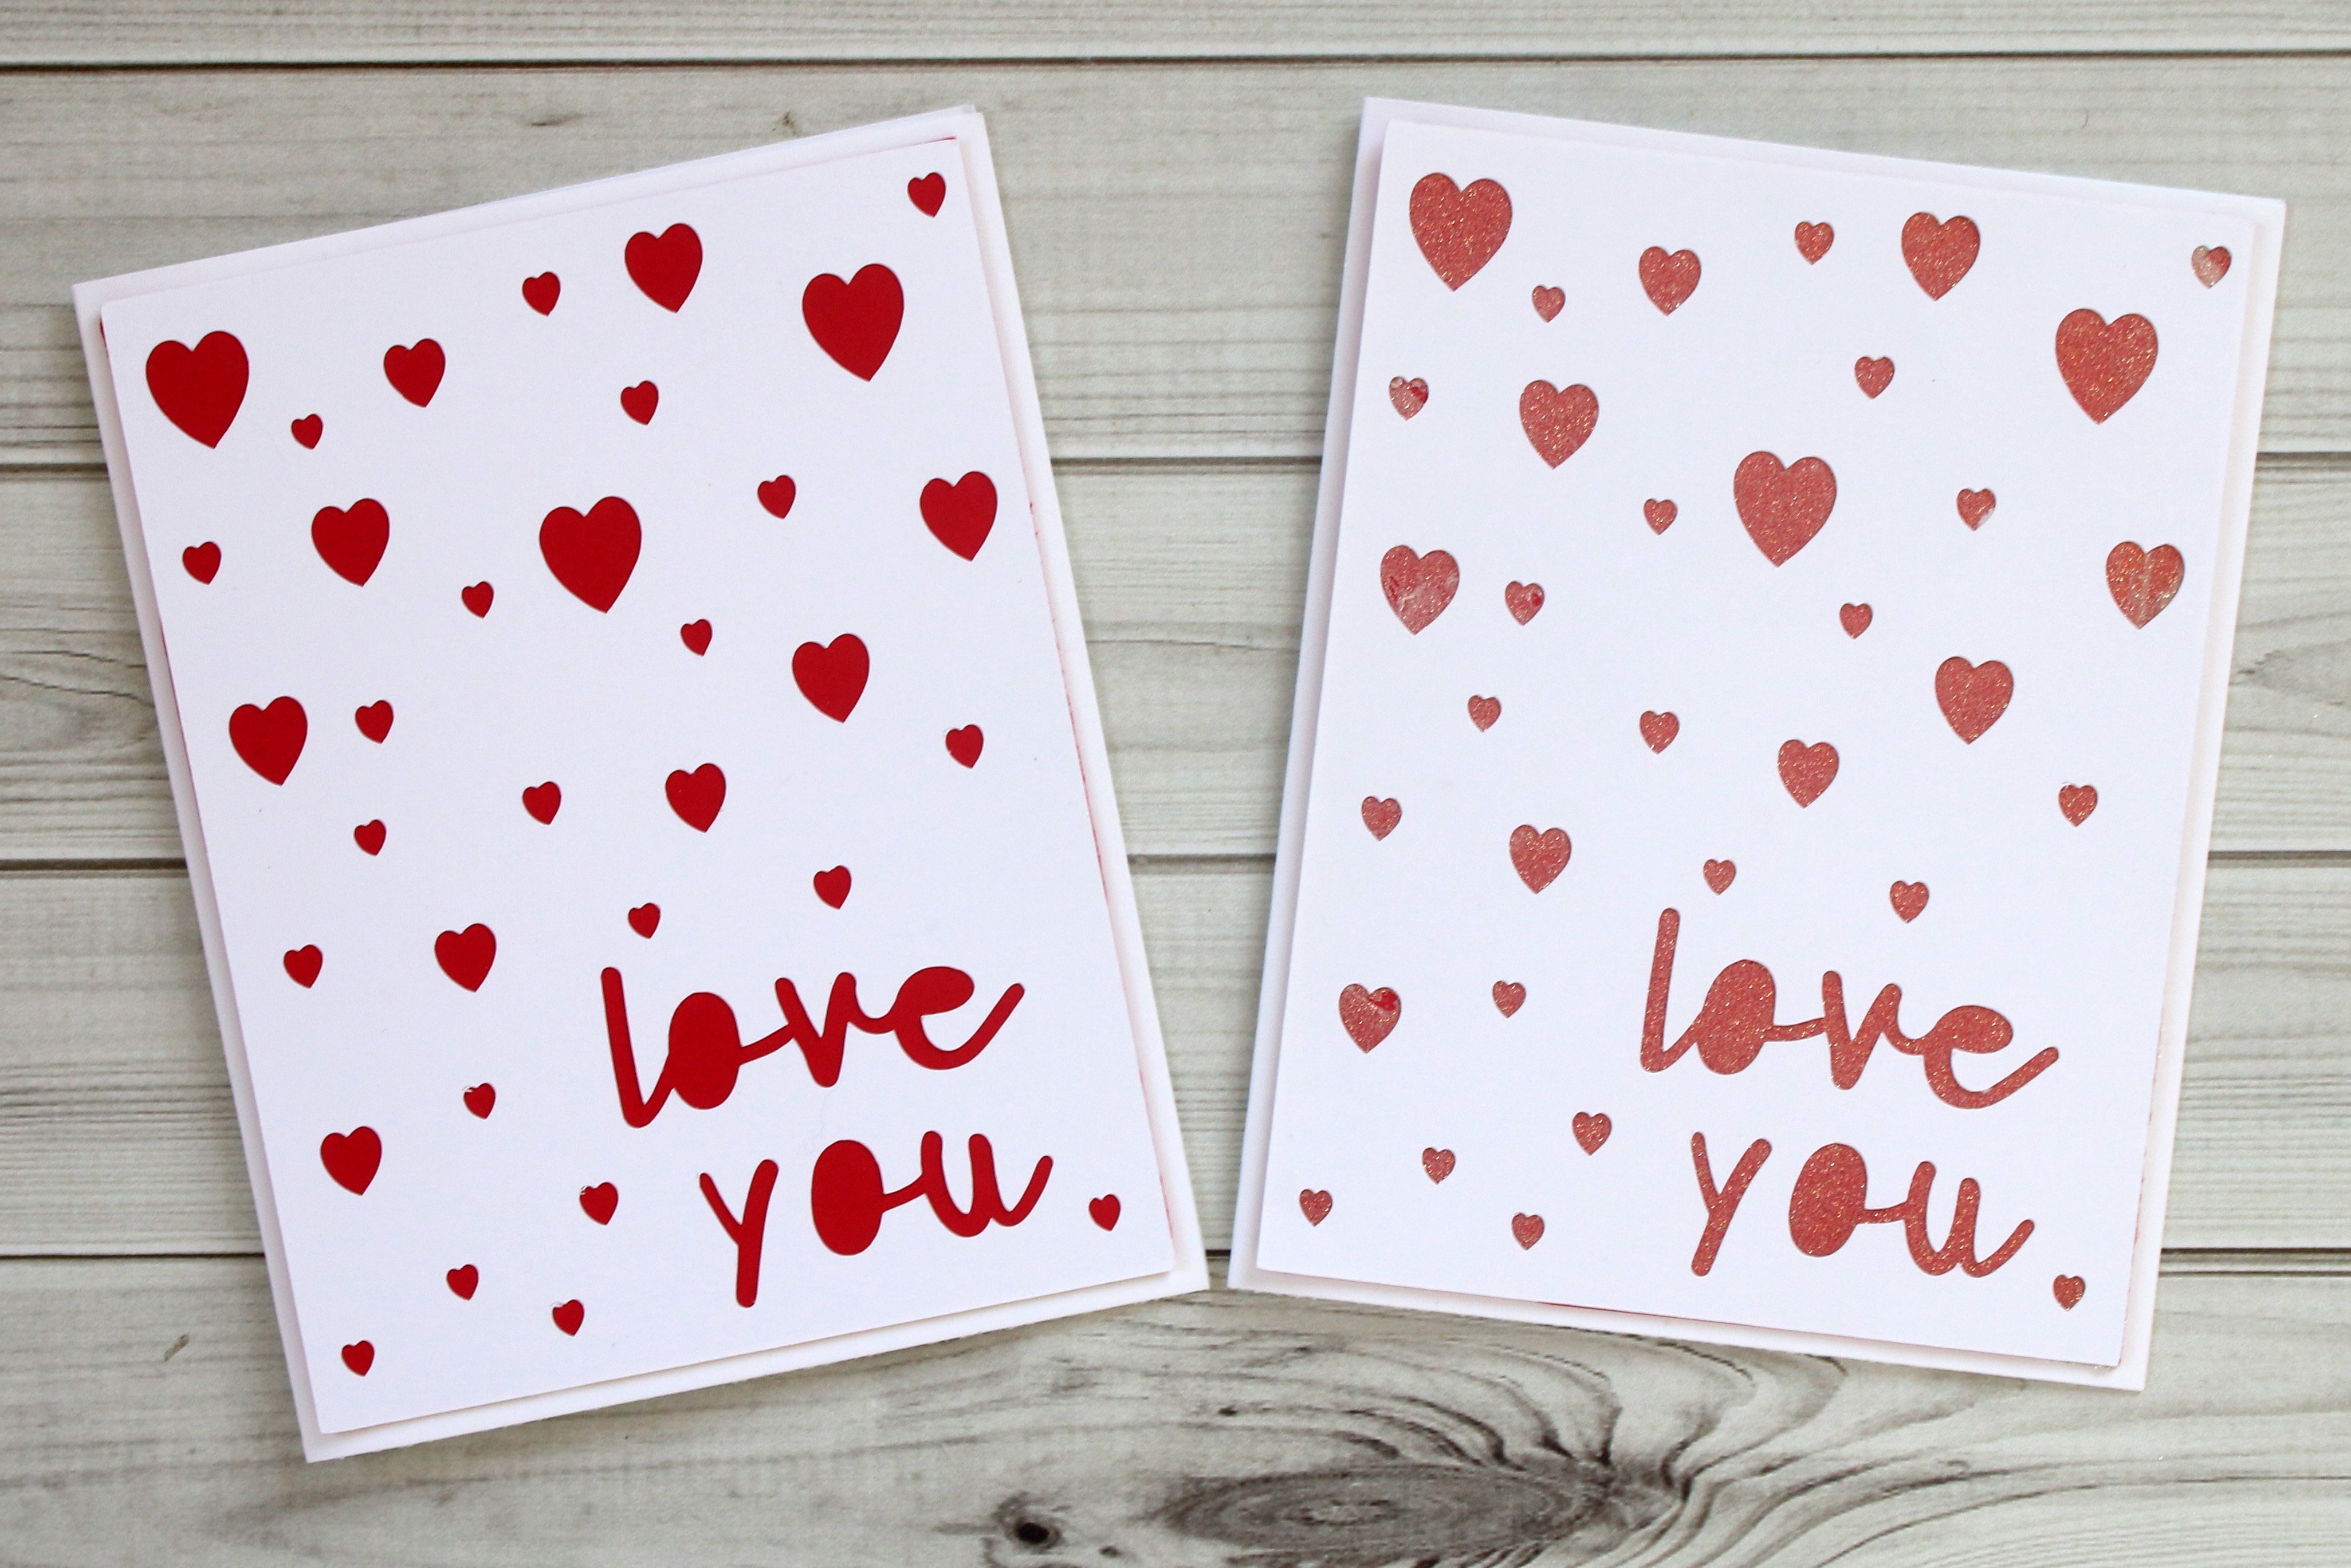
Add glitter to the Adhesive Shapes to create a sparkly embellishment that makes a perfect background on these Glitter Tags. No heat setting and no drying time makes glitter go on quickly and with very little mess.
MADE BY: SAMANTHA TAYLOR | TIME: 20 MINUTES
LEVEL: INTERMEDIATE | 2 ½” x 4”

Supplies:
- Glue Dots® Adhesive Shapes (Stars and Hearts were used for this project)
- Mini Glue Dots®
- Glitter
- Embellishments (Stickers and Die Cuts)
- Tags - store bought OR
- Make your own tags:
- Card Stock
- Scissors or Slanted Corner Punch
- Hole Punch
Directions:
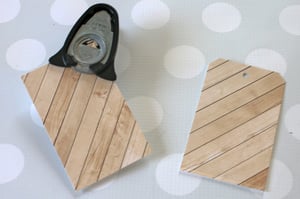
- Optional: Create your tag by cutting your tag to desired size – my tags are 2 ½” x 4” – slant punch the top corners, and punch a hole in the center of the top.
- Peel the backing off the Adhesive Shape.
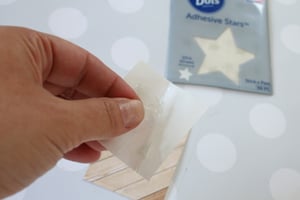
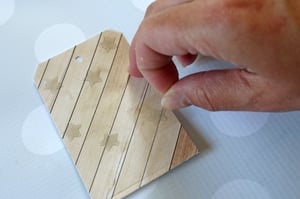
- Place the Adhesive Shape onto the tag and press down gently. Peel the liner off of the Heart or Star. Repeat until you have as many Adhesive Hearts or Stars as you want on your tag.
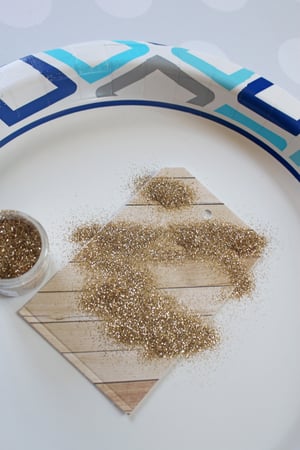
- Cover in glitter. Shake off excess glitter.
- Repeat steps 2 – 4 changing glitter colors if you’d like multiple colored glittered Adhesive Shapes.
- Use Mini Glue Dots® to add embellishments to the tags.
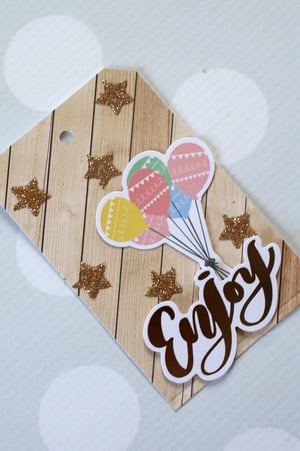
Tags are great to add to gifts, but they can also be used on layouts and as focal pieces on handmade cards. Make a bunch ahead of time to have on hand for whenever you want them.

My name is Samantha Taylor and I have a passion for combining crafting and creativity to beautify life. I live in a small town in rural Iowa with my husband and 2 boys (all 3 of whom you’ll see featured in my projects). I’m a paper crafting fanatic who also loves photography. I enjoy making lay outs, cards, mini albums and home decor items, party decorations, and crafting with my kids. My favorite thing about crafting is getting to connect with so many people all over the world who also love creating pretty things and preserving memories. You can find more from me at www.taylorstamped.blogspot.com. I am so excited to share with you my love for the many uses of Glue Dots®!


