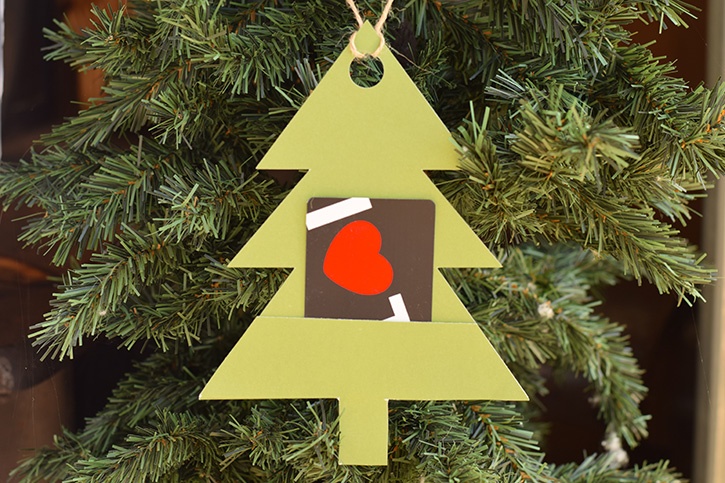
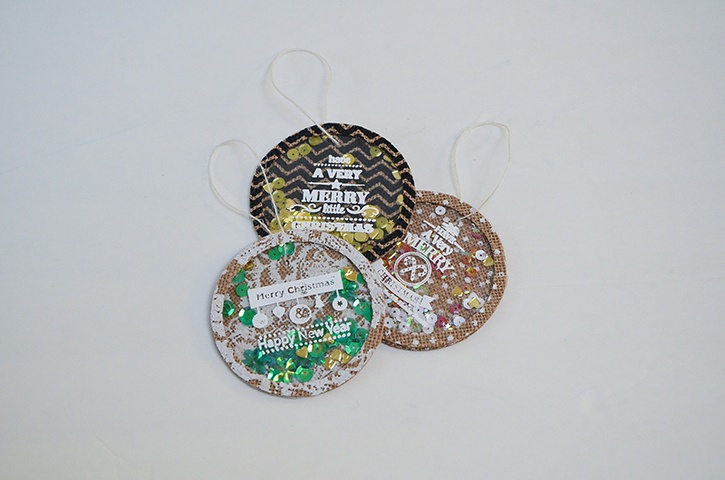
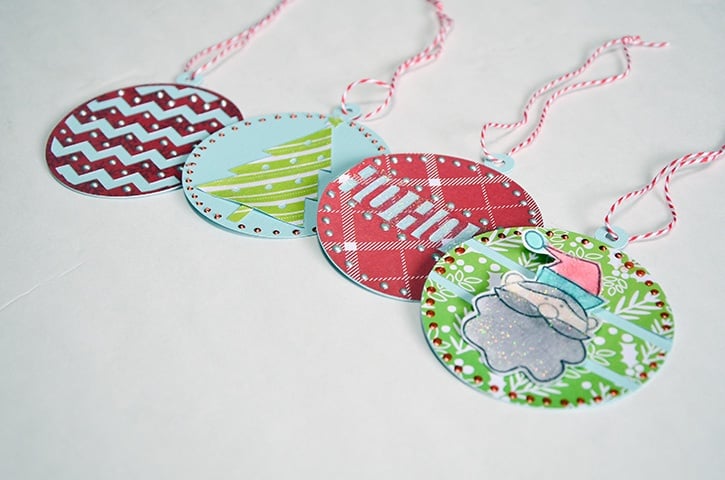
Merry, Merry Christmas Gift Tags Set of 5 Tags
Posted on Nov 9, 2017 6:02:00 AM by Shannon MorganHandmade really is bestmade! I really love giving gifts. I love adding personal touches, the tags we’re creating together today, do just that! They are pretty quick to throw together, but the best part is, they don’t skimp on details. These tags can be designed in any color or style to coordinate to your gift wrap.
Made by: Shannon Morgan
Time: 1-2 Hours with prep
Level: Beginner/Intermediate
Size: Tags measure 3"x4"
Here's what you need:
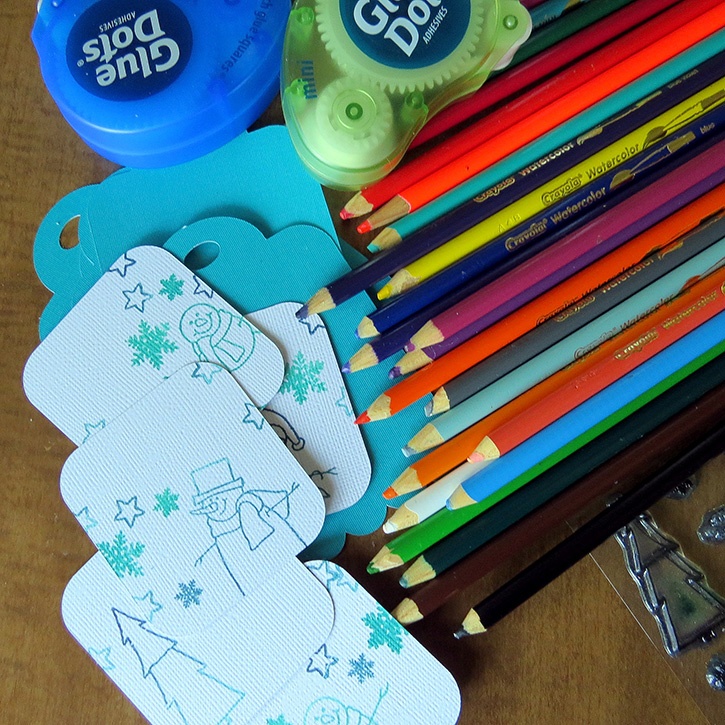
- Glue Dots® Permanent Glue Squares®
- Glue Dots® Mini Dots™
- Glue Dots® Permanent Dots™
- DCWV Cardstock Stack Jewel Toned Texture
- Tracing paper
- Pretty Paper, Pretty Ribbons Made With Love Tag Cutting File/or tags from your stash (these tags are 3"x4" in size)
- White Washi Tape
- SRM Stickers for The Twinery Baker’s Twine/Platinum Shimmer
- SRM Stickers 2" Lace
- SRM Stickers for The Twinery Baker’s Twine Solid Caribbean
- SRM Stickers for The Twinery Baker’s Twine Peapod
- SRM Stickers Clear Stamp Warm Wishes
- Stamping Block sized appropriately for stamps
- Hero Arts Ombre Ink Pad - Pool to Navy
- Uniball Signo Pen White
- Ink dauber
- Glitter Glue
- Watercolor pencils
- Fine Paint Brush
- Water
- Paper Trimmer
- Personal Cutting Machine
Here's what you do:
First, cut out tags on your personal cutting machine using colors/themes of your choice. Or if you already have tags from your stash, you can use those. Note: If you are using tags from your stash, you may want to cut out a square inset for stamping on your images. If not, you can stamp directly onto the tag.
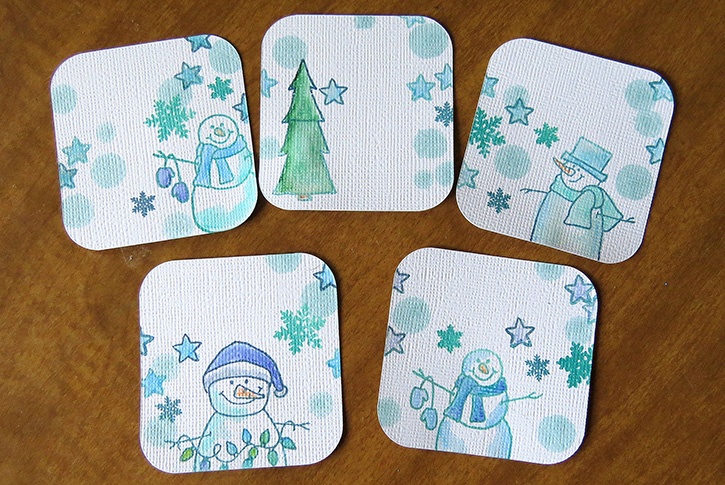
Stamp your images onto tag inset or tag. Use your watercolor pencils and color in your images as desired. Blend with water and paintbrush. Dab with ink dauber. Set aside to let dry.
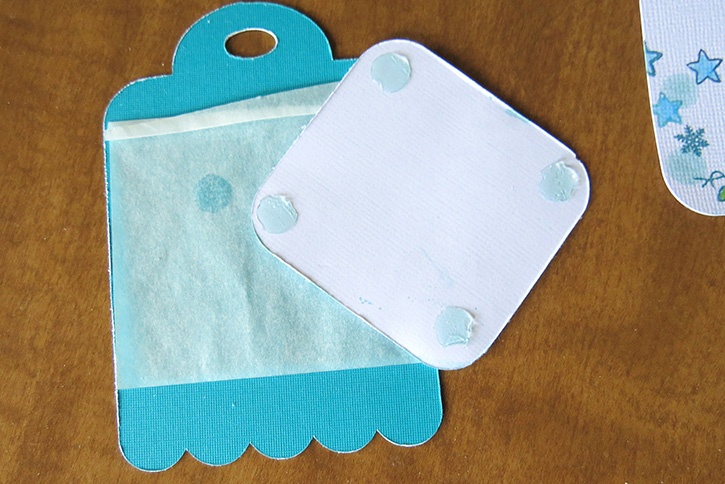
Cut 2.75" x 2.75" squares of tracing paper. Using your Glue dots, adhere to the tag. Fold over the top edge like shown in the picture.
Take your stamped image and add Glue Dots (I used permanent) in each corner of the image. Adhere to the tracing paper/tag base. I eyeballed and made sure the tag was overlapping the tracing paper. See the close up.
Next, you will add a strip of washi tape for an added detail, this is optional.
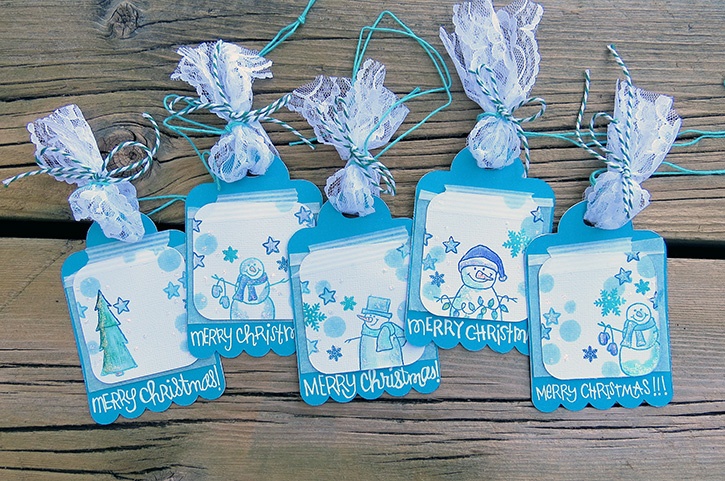
Add your sentiment to the bottom of the tag, I chose Merry Christmas, but you can write whatever you’d like. At this time add some glitter “snowflakes” and dimensional sparkle to your snowmen/stamped images. Let dry.
Cut five lengths of lace ribbon. I cut mine roughly six inches each. I threaded them through the punched hole in the top of each tag and folded them in half so the tails sticking up were equal length.
Next, cut 5 lengths of 1 foot with the Peapod (green baker’s twine). Tie a bow around each lace loop and set aside.
Cut five lengths of the turquoise twine (about 11/2') and tie a knot at the end, creating a loop. You’re going to create a hanger for the tag by threading the tied end through the lace and pulling it through the loop until it’s taught. Thank you for letting me share!
~Shannon

My name is Shannon Morgan. I am a girl from the Great Lakes state. I spend my time taking care of my family or volunteering time at my kiddos school, helping however I can. I look serendipity in each day. I’m a dreamer, I’m always looking at the world around me for inspiration. I love music, coffee, tattoos, Bill Murray, the color robin egg blue, water and animals of all kinds. My children sparked my need to scrapbook, I’ve always been creative…took art classes as a child, made books and paintings all the time. It just seemed fitting that I would document my children’s journey in this world. My goal in this life is to always try to do small things with great love, (Blessed Mother Teresa said it best) and inspire others to reach beyond their creative limits.


