Shaker elements are all the rage right now in the card making world. Why not incorporate this trend into your next DIY ornament? You can even use it as a fancy gift tag for a holiday gift.
Made by: Grace Tolman
Time: Approximately 45 minutes
Here's what you need:
- Glue Dots® Permanent Glue Squares®
- Printed Burlap from Die Cuts with a View
- Sequins from SpiegelMom Scraps:
- Wedding Bells, Springs Green, Ruby Red Slippers, Gold Sweetheart Confetti, Suny Smiles
- Acetate
- Stamps- (Holiday Sentiments) Inspired by Stamping
- Embossing powder
- Twine
- Ink
- Circle Cutters from Creative Memories
- Scissors
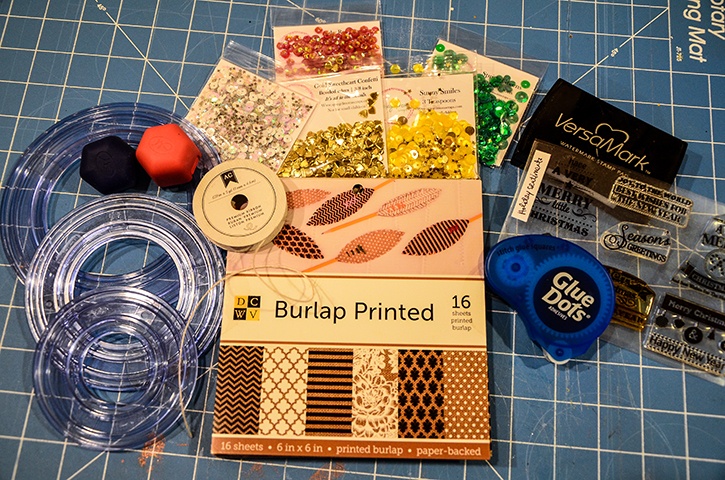
Here's what you do:
Cut out the circles from burlap. Cut three full circle ones measuring about 3 ½” in diameter.
Tip: I found it easiest to turn them over on their backs and then cut them out. You will have to use scissors to release the shape from the paper but it’s easier to use the circle cutters on the back rather than the burlap texture side.
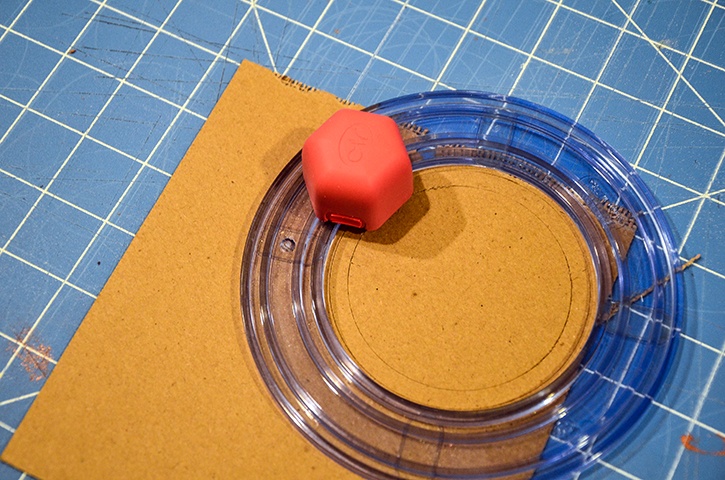
Cut another 3 ½" circle from the same three burlap pieces. Cut an inside circle from this shape measuring about 3- 3 1/4" in diameter. This will be part of your shaker window. Set aside.
Cut three pieces of acetate with the same measurement of your burlap base.
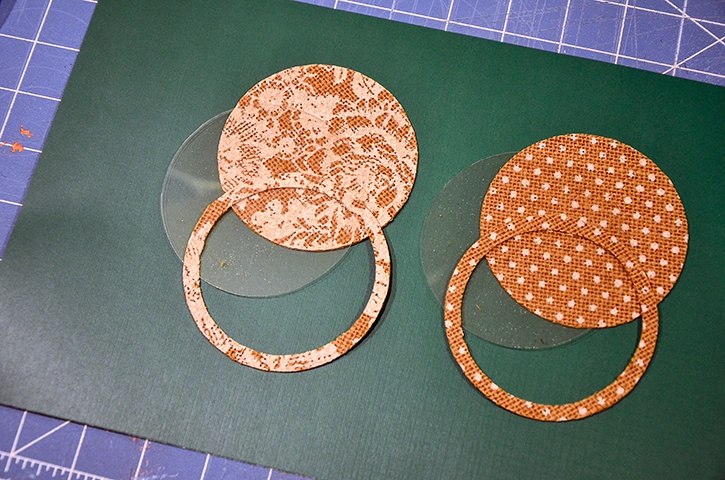
Heat emboss your sentiment on the acetate using some white embossing powder.
Adhere the acetate under the circle window using Glue Squares.
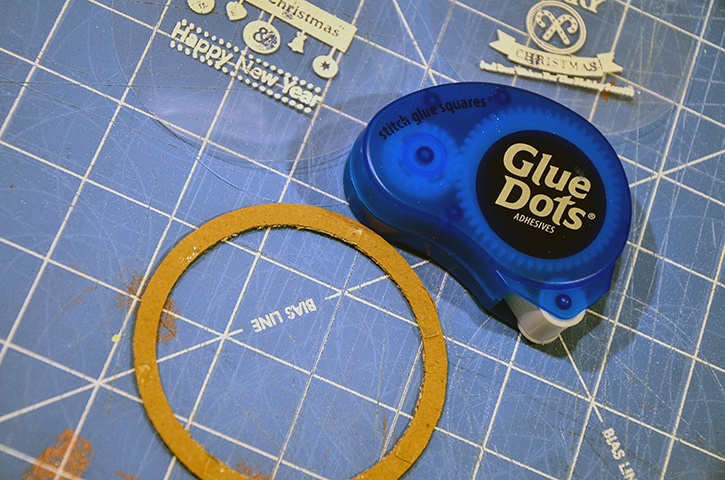
Fill up the center of the circle base with sequins.
Add Glue Squares around the back edge of the acetate piece. Make sure to fill up the entire edge with adhesive. This will make sure that no sequins will fall out.
Add to the top of the base. You might need to press or put a hard item over the ornaments to make sure that the edges are closed tight.
Punch a hole on the top of the ornaments. Thread the twine through the hole, trim off excess and tie the ends into a knot.
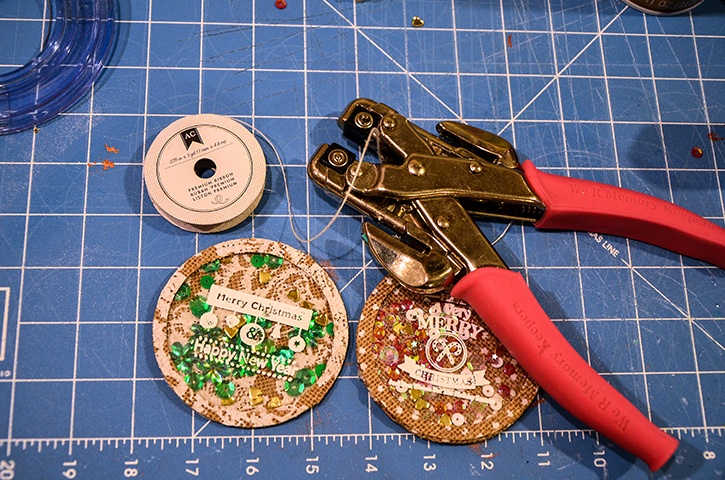
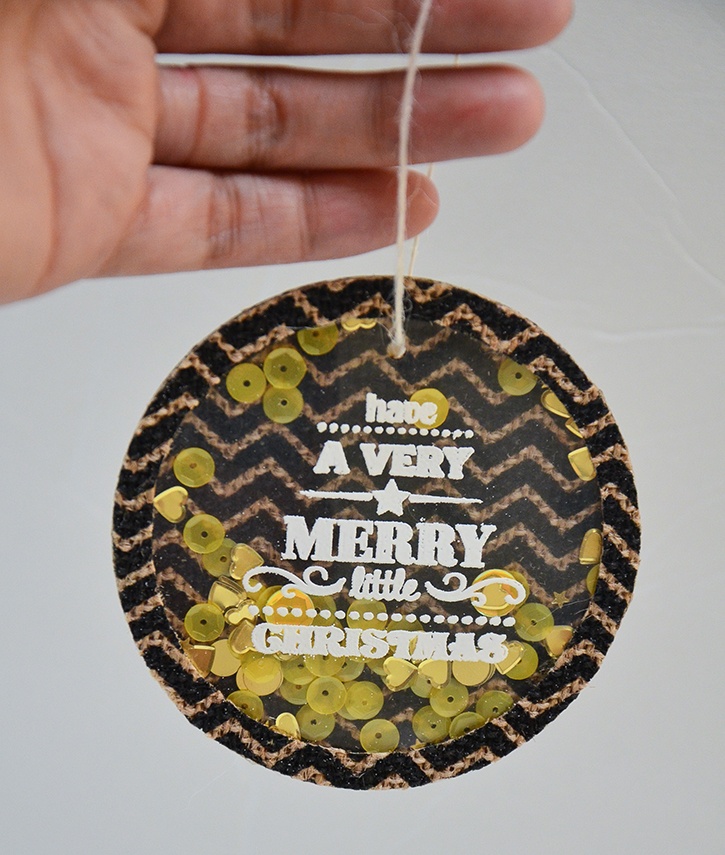
~Grace

I’m a mom to a 10 year old boy and an 8 year old girl. Therefore my life is usually filled with learning, new discovery, bribery and driving to and from all of our activities. I have a loving and very supportive husband of 11 years. When the kids have gone to bed at night, my time is spent crafting while catching up on my favorite shows and movies. I also enjoy reading, window shopping, knitting and perusing blogs for inspirations. Three years ago we moved to Colorado from California and we are enjoying our new environment. I feel very inspired with my new home, my new scrapbook space and the mountain views. Although I’ve been doing some type of scrapbooking since grade school, I only started to scrapbook seriously after my son was born. When he was born I knew I would be staying at home with him but coming from a fast paced sales job I was afraid I would ran out of things to do during the day. Little did I know that with newborns you won’t have any time to do anything else. Anyways, after going through a basic scrapbooking class I was hooked and haven’t stopped scrapping since.


