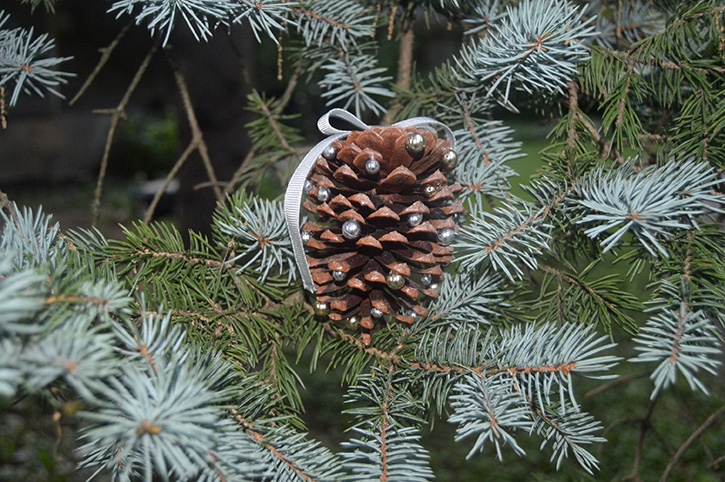
For many, Christmas is a DIY holiday. From decorations to gifts, this season allows creative types to shine. For this DIY pinecone ornament I was thinking about the families that like to gather to decorate the tree with homemade ornaments from years past. This pinecone ornament will make a great addition to your family's collection!
Designer: Janet Van Lone Trieschman
Level: Quick and Easy
Time: 30 minutes
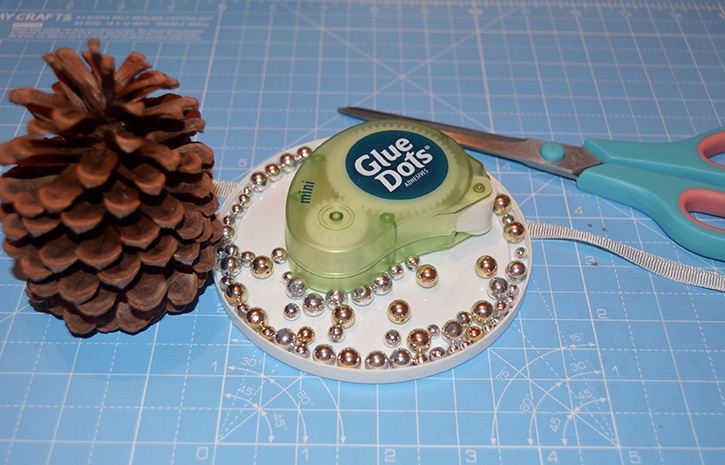
Supplies:
- Mini Dots™
- Pinecone
- Beads
- Ribbon
- Scissors
- Ornament Hook
Directions:
If using natural pine cones, prepare for crafting. Skip ahead if using store bought pinecones.
How to prepare pine cones for crafting: Preheat oven to 200 degrees. Line a cookie sheet with aluminum foil. Place pine cones on the foil in a single layer. Place the pine cones in the oven for 30 minutes, or until the pine cones fully open. Remove from oven and let them rest for a couple days before cutting or using in crafts. This drying process will kill any bugs as well as melt the sap due to the heat.
Bring a bead to the Mini Dot on the Dot N Go dispenser.
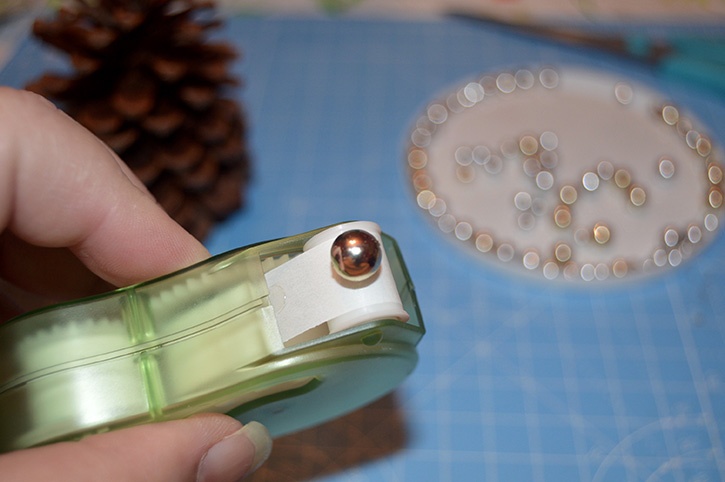
Carefully remove the bead from the dispenser and place it on the pine cone.

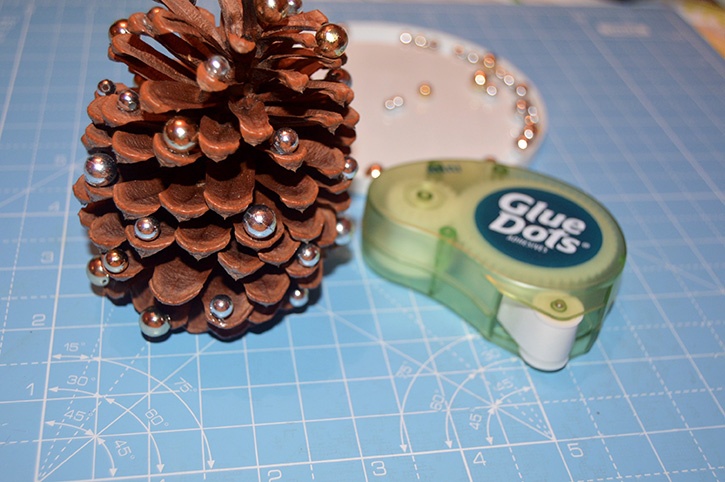
Continue to do so until you have the desired amount of beads on the pine cone.
Cut ribbon to your desired length. Use to tie the bow of your liking. Apply it using Mini Dots to the bottom of the pine cone. The bottom of the pine cone is now the top of the ornament.
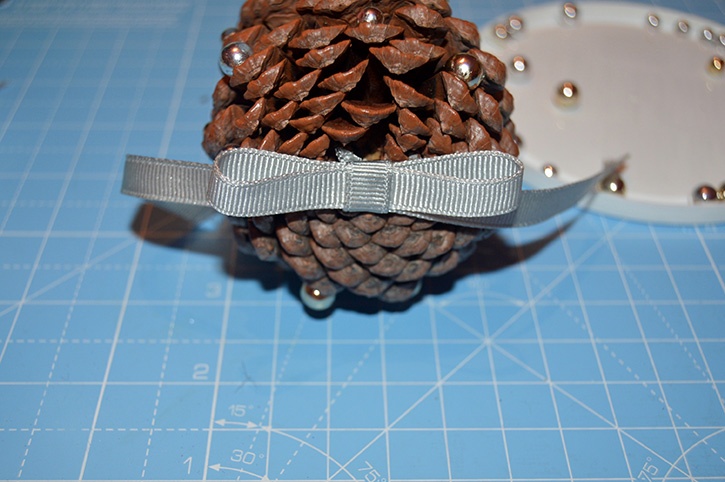
Connect an ornament hook and hang on the tree!
Suggestions:
- Use a variety of colored beads
- Paint the pine cone first
- Decorate the top of the ornament with additional embellishments
~ Janet


Janet Van Lone Trieschman nowadays is a stay at home mom who loves to create. She left a prosperous career as a college professor teaching Graphic Design to raise her family. Looking for a creative outlet, Janet started a website; Try it – Like it.


