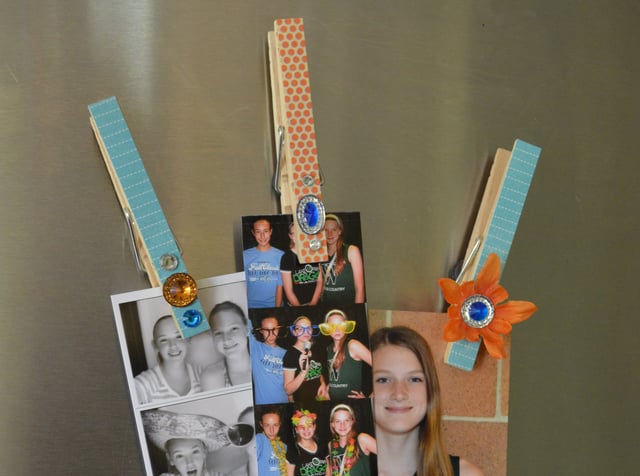
Show off great work and display important notes with this simple project.
Made by: Dawn Mercedes Barrett
Time: 15 minutes
Level: Beginner
Size: 3.25 x .5 inches
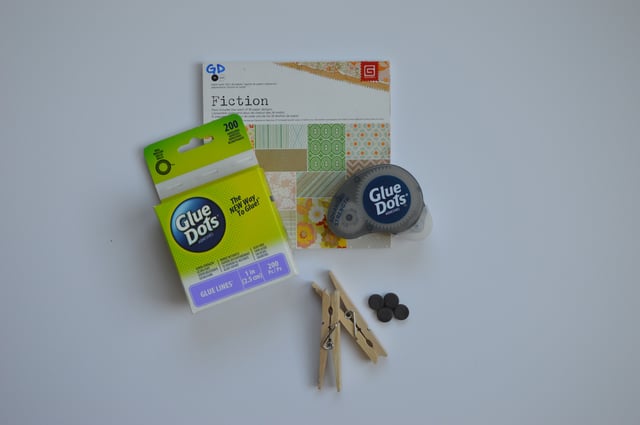
Here's what you need:
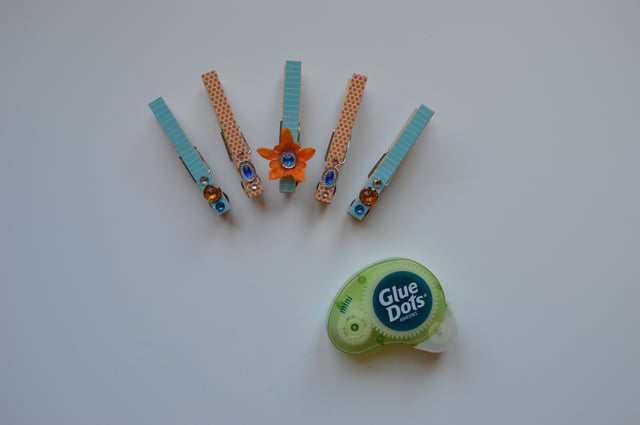
- Glue Lines®
- Glue Dots® Advance Strength Dispenser
- Clothes pins
- 2- .5 inch magnets
- Basic Grey 6" x 6" inch paper pad: Fiction (or other decorative paper)
- Stickyback Bling from the Eyelet Outlet
- Other embellishments as desired (trims, flowers, stars, hearts)
- Fiskars Paper Trimmer
- Ruler
- Scissors
Here's what you do:
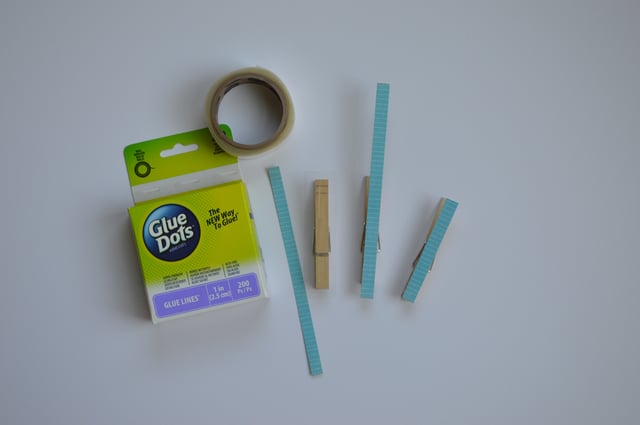
Choose decorative paper patterns that will coordinate with your style or school colors. Using the paper trimmer, cut a strip of paper that will fit the width of your clothes pin (approx. ½ inch).
Use Glue Lines to adhere the paper strip onto the clothes pin. Then, trim the ends off with a pair of scissors.
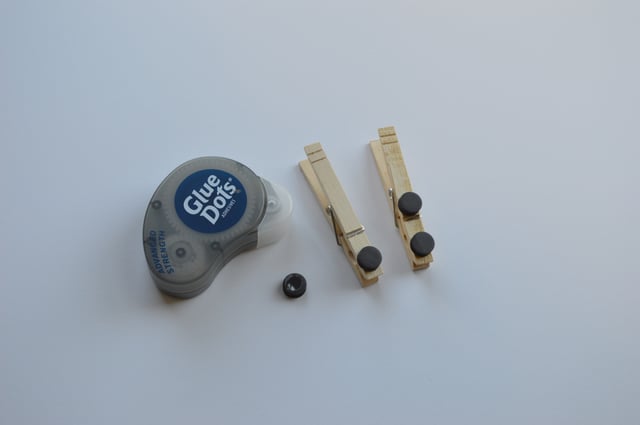
Add two magnets to the back of the clip, near the opening of the clothes pin, using Advanced Strength Glue Dots.
Add decorative embellishments to the front of the clip with Mini Glue Dots.
These locker clips are a fun way to stay organized too. Hang up your calendar, project timelines, or schedules using one of these and you’ll be reminded at every opening what you have planned.
~Dawn


Dawn Mercedes Barrett is a designer who enjoys juggling a number of activities. Whether it is creating a card or object for home decor, whipping up a batch of fresh cookies for kids that drift through the house, or learning to enjoy the rigors of strengthening her body through running, she is your go-to crafter for help, ideas, and encouragement. Who says you (or your style) have to grow old and moldy? Dawn’s up beat style and silly comments will keep you smiling and chuckling.


