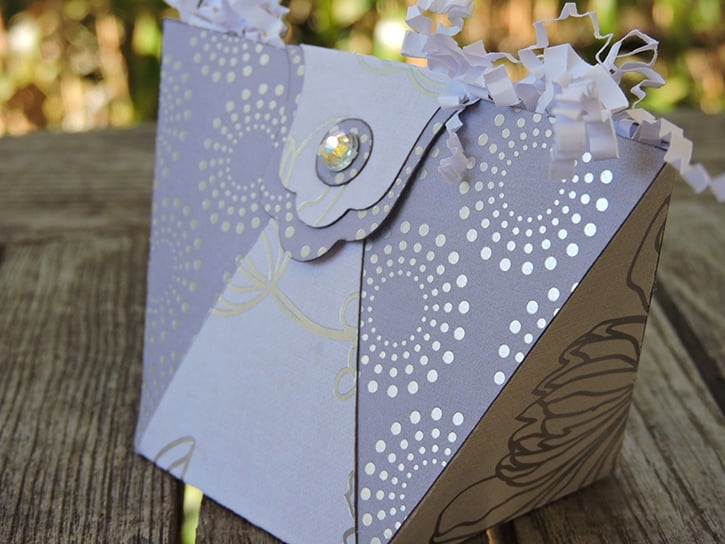
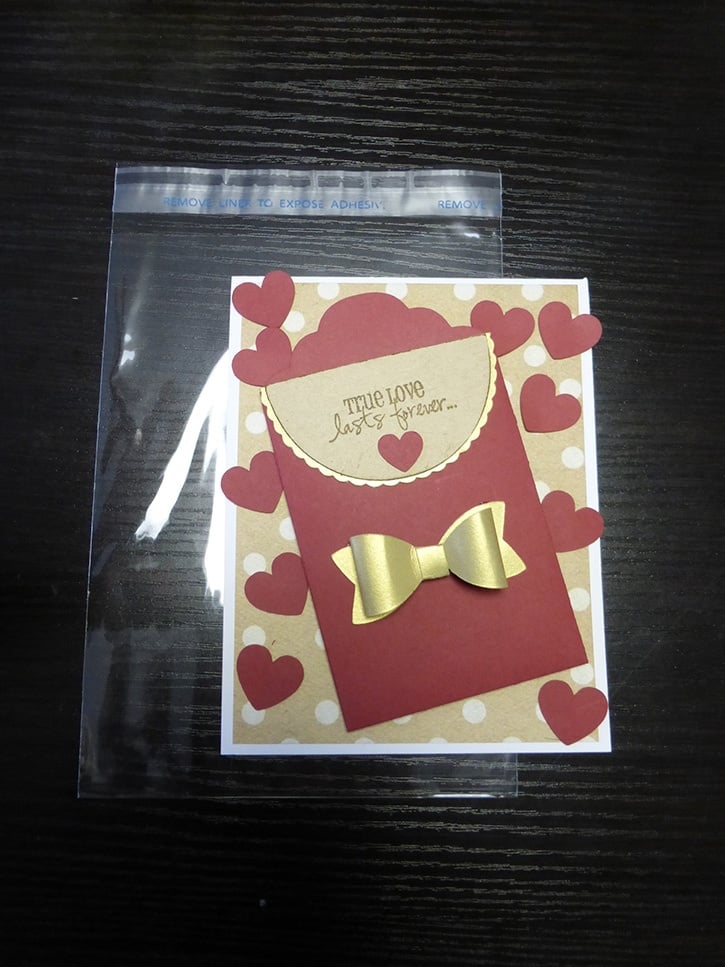
Celebrate your day with DIY wedding favor pouches with a template and Permanent Premium GlueTape™.
Made by: Kim Rippere
Time: 20 minutes
Level: Beginner
Size: 2 x 2-inches - base, 2.75-inches - tall, 4-inches - length at top.
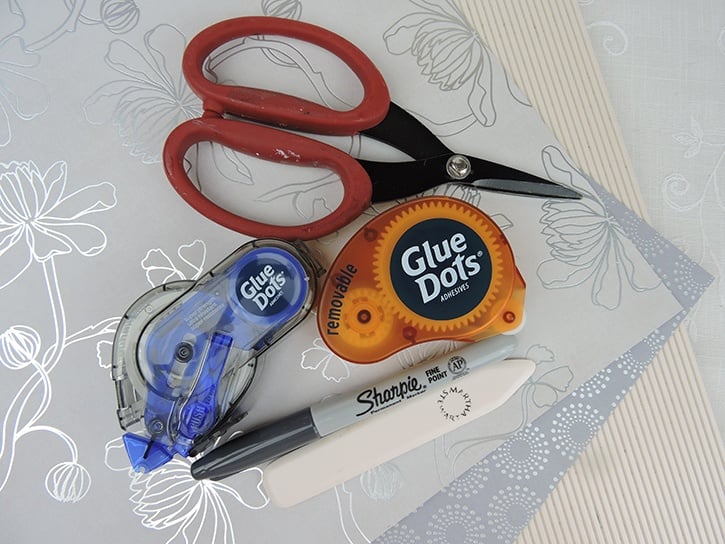
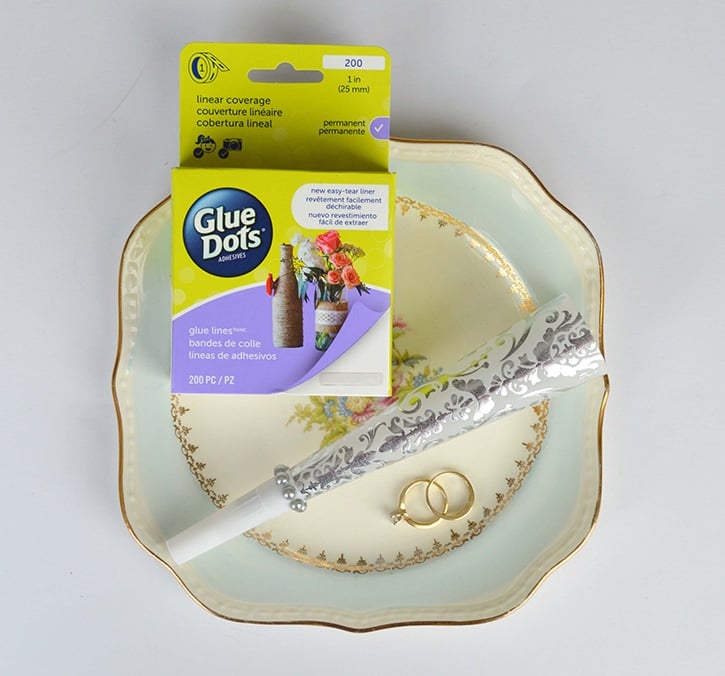
Here's what you need:
- Glue Dots® Premium Permanent GlueTape™
- Glue Dots® Removable Dots™
- Glue Dots® Mini Dots™ (not shown)
- DCWV - Wedding paper pack
- Score board and bone folder
- Scissors
- Template
- Gem (not shown)
Here's what you do:
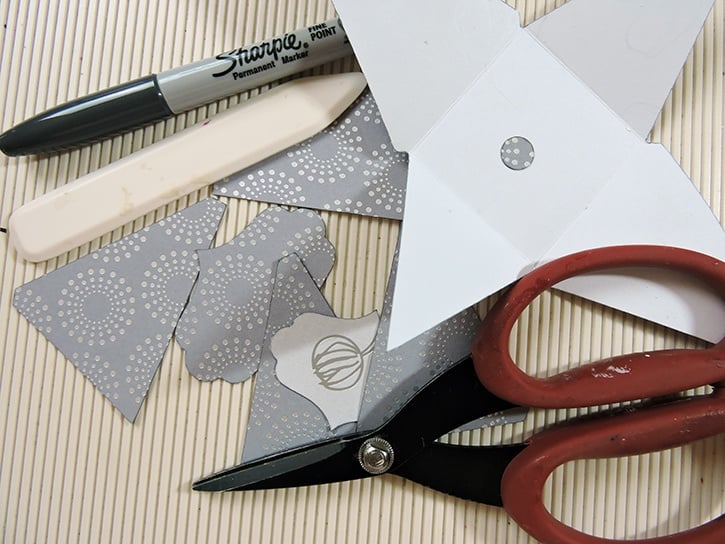
Cut all pieces using template:
- DCWV - Wedding, flowers paper: main pouch piece, large tab, circle.
- DCWV - Wedding, circle paper: 4 triangles, small tab.
- Score along all the interior lines. This should be well creased.
To assemble the box, apply Premium Permanent GlueTape to all tabs, trim excess.
Adhere inverted triangle to the pouch base between triangles, as shown. Press together firmly with the bone folder.

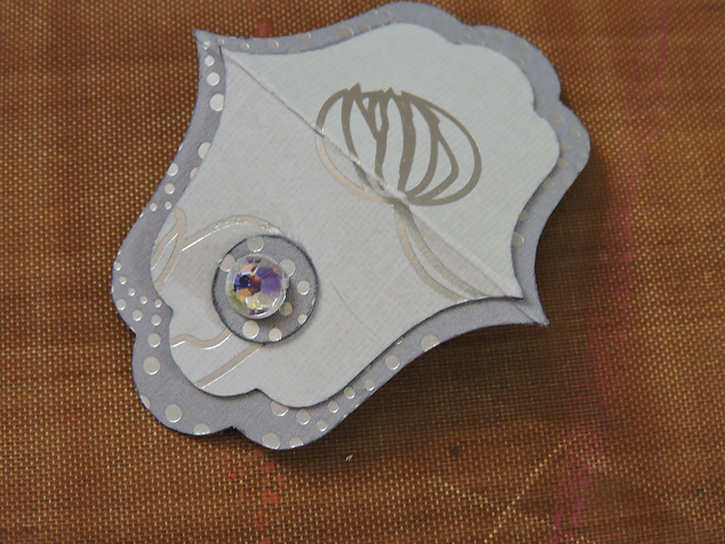
To assemble the tab apply Premium Permanent GlueTape to the back of the smaller tab. Center and press onto the larger tab.
Apply Mini Glue Dots onto the back of the paper circle, press onto smaller tab. then, apply Mini Glue Dots on the back of the gem, press onto the center of the circle.
To attached the tab, cover the back inside (the one without the gem) of the tab with Apply Premium Permanent GlueTape on the inside of the tab. Center and press the tab into place on the top of the pouch, as shown.
On the side of the tab under the gem apply removable Glue Dots. Press onto the front of the pouch to close.
~Kim

.jpg)

I live with my partner (Edward), 2 indoor cats, 2 outdoor feral cats I am luring, and a dog in the far southwest corner of Georgia. I have been creating for my whole life, from quilts, to locker hooking, to interior decorating, to paper crafting! The list was just growing and growing. I decided that I need to focus on something and choose paper crafting…which has now grown into card making, quilling, mixed media, artist trading cards, altered art, and swapping! lol.


