"You're Sweet" Teacher Treat
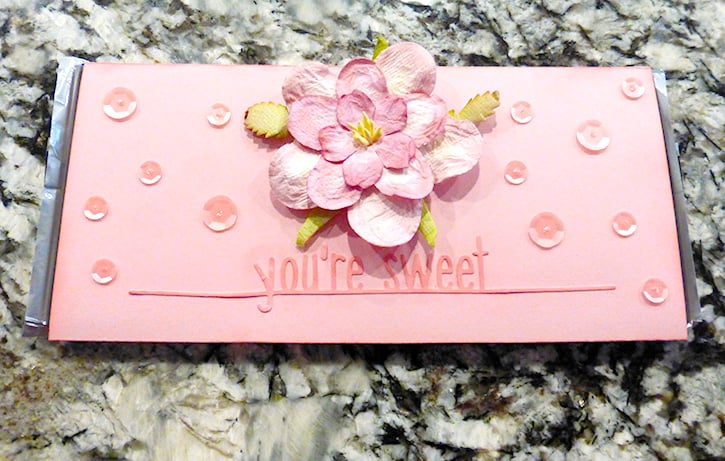
Posted on Apr 17, 2019 11:30:00 AM by Amanda TibbittsThis sweet treat is sure to make a teacher’s day! With just a few things, you can cover a whole bunch of candy in not time!
Made By: Amanda Tibbitts
Time: 45 minutes
Level: Moderate Handiness
Size: 7 3/8” x 3 ½” 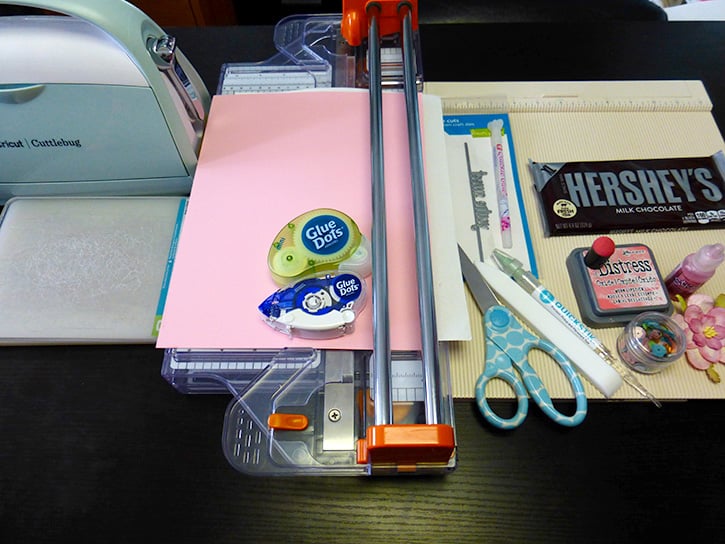
Materials:
- Mini Dots™
- Permanent GlueTape
- One 8 ½” x 11” cardstock (not super heavy)
- Paper flower
- Sequin mix
- Distress Ink in Work Lipstick and a finger dauber
- Stickles
- Quickstik
- Quickie Glue Pen for tiny die cuts
- Lawn Fawn Lawn Cuts “You’re Sweet Line Border”
- XL Hershey’s Chocolate Bar
- Cuttlebug or manual die cut machine
- Bone folder
- Score board
- Paper trimmer
Directions:
With the paper trimmer, cut the 8 ½” x 11” cardstock down to 7 ½” x 7 3/8”. Use the score board and score this piece at the 5, 5 2/8, 1 ½ and 1 ¼-inch marks.
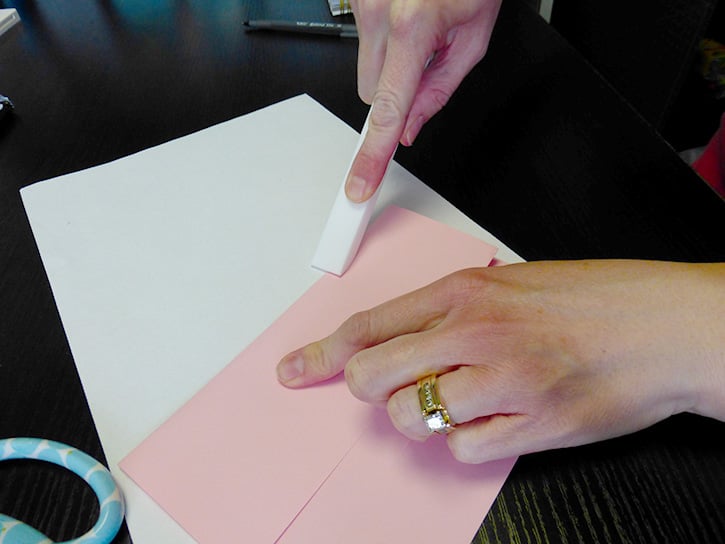
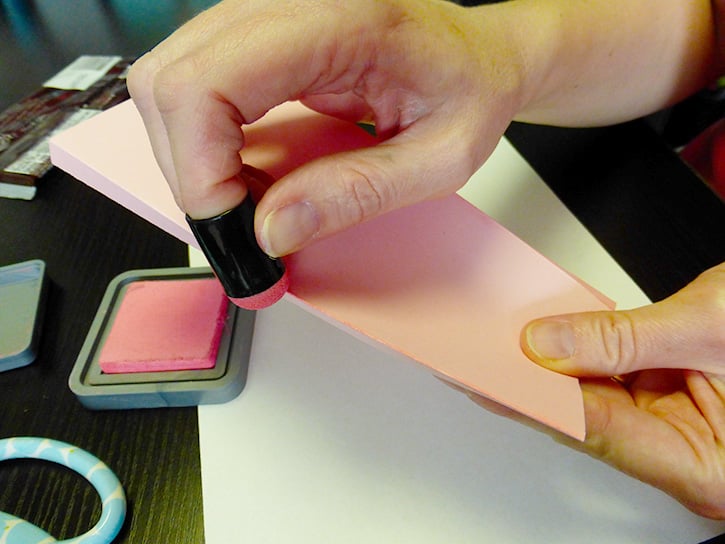
After you’ve scored your cardstock, place the XL Candy Bar in the middle and bend the score lines around to really crease them. Use the finger dauber and the Distress Oxide Ink to distress the edges and the folds.
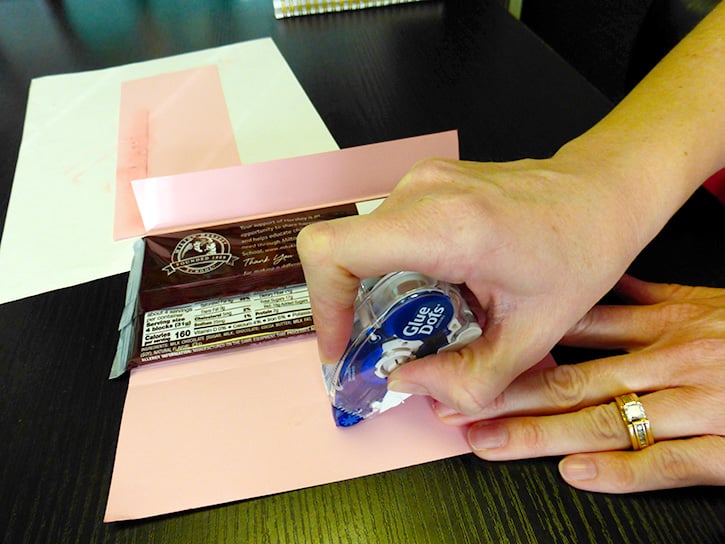
Place some Permanent GlueTape on the bottom inside and place the candy bar on the center.
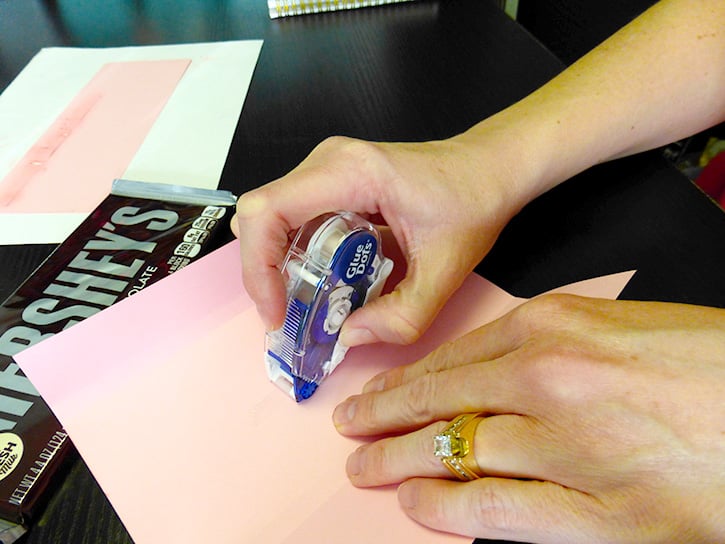
Wrap it around the back and have the ends meet, adding more Permanent GlueTape on one flap to stick them together.
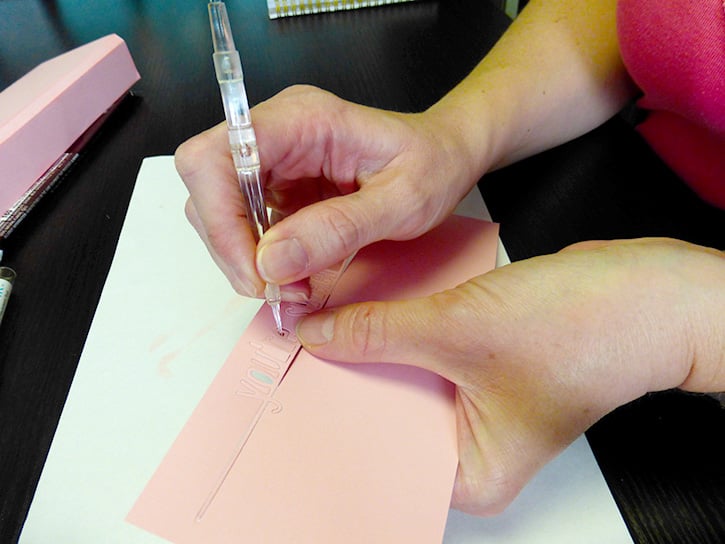
With the Lawn Fawn Line Border Die, cut one with the Cuttlebug using one of the smaller pieces you cut from the 8 ½” x 11” cardstock. Once it’s run through the die cut machine, use the sharp end of the Quickstik to weed out the middles of the e’s, the o and the w of the sentiment. Try to be gentle here to keep as much of the die cut in tact as possible.
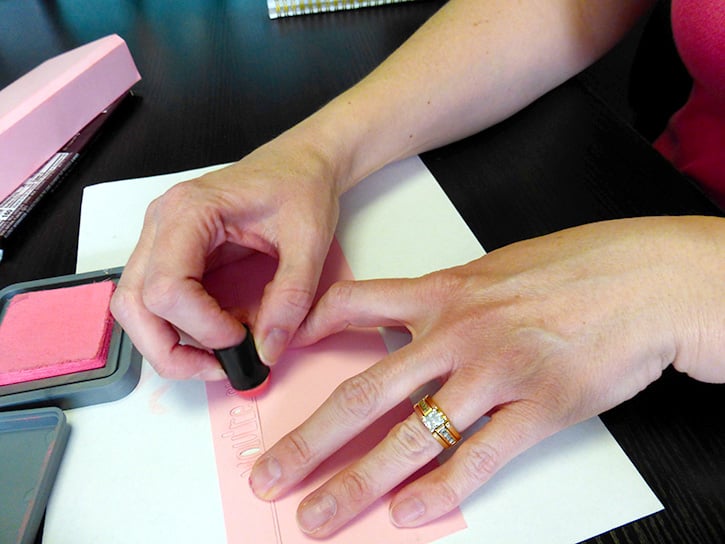
Place it on the scrap paper and run some distress ink around the top. Add as little or as much as you’d like.
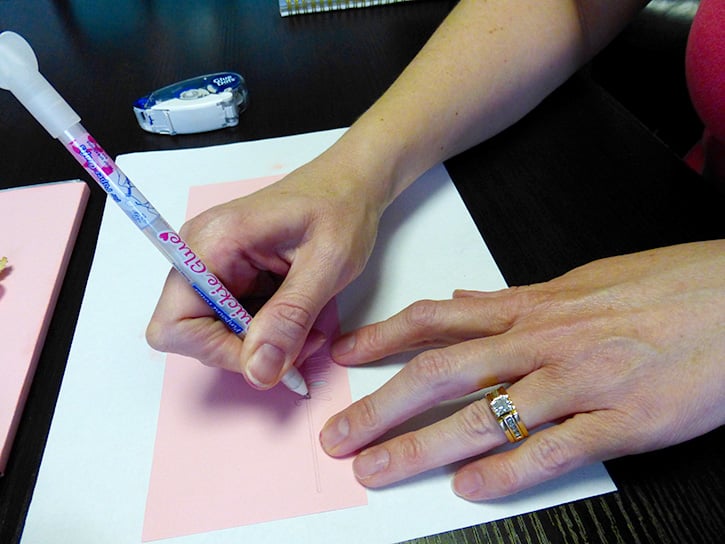
With the Quickie Glue Pen, run some around the back side of the die cut border and then remove it from the piece you cut it from.
Place the sentiment on the bottom center of the candy wrapper. In order to make sure you place it correctly, lay your flower down where you will want to glue it first. You may have to add a bit more glue to make sure the words really stick. 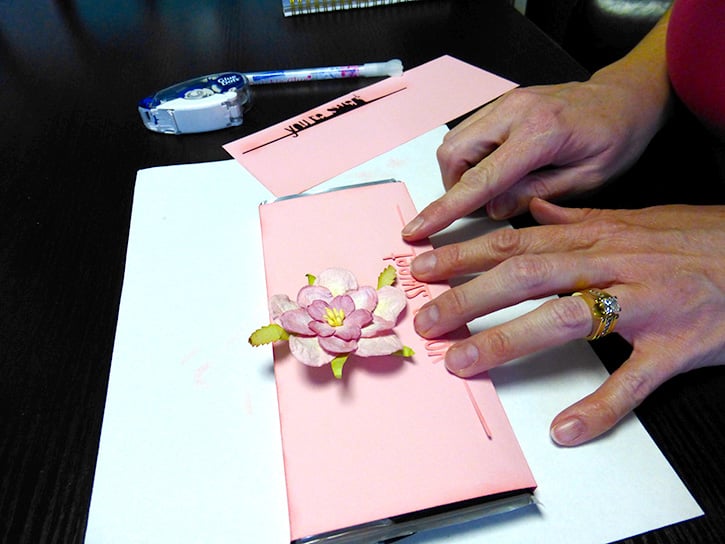
Use the Mini Dots to adhere the flower on the wrapper right above the sentiment.
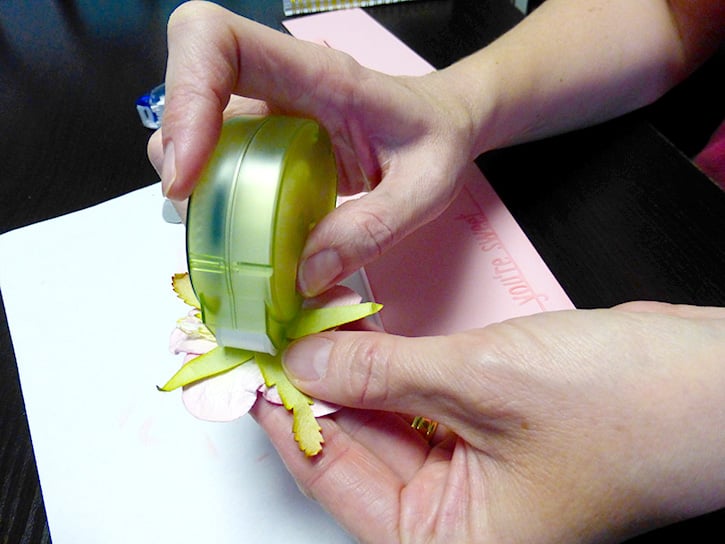
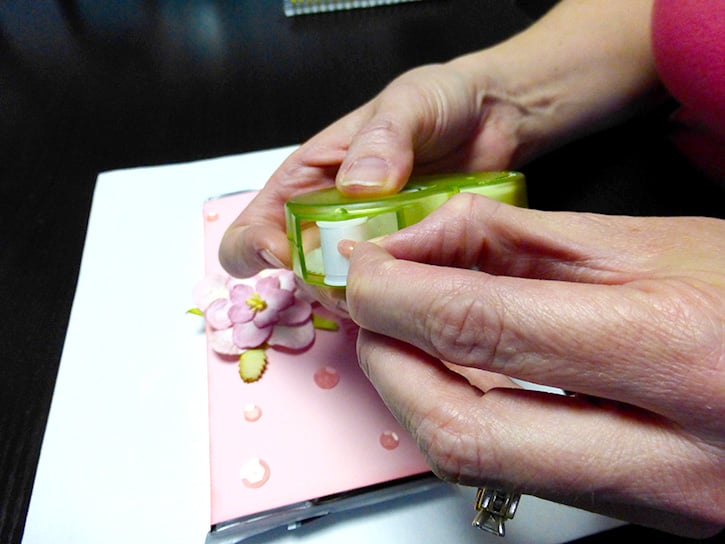
Pick some sequins and place them randomly around the wrapper. Once you like how they look, glue them down using more Mini Dots.
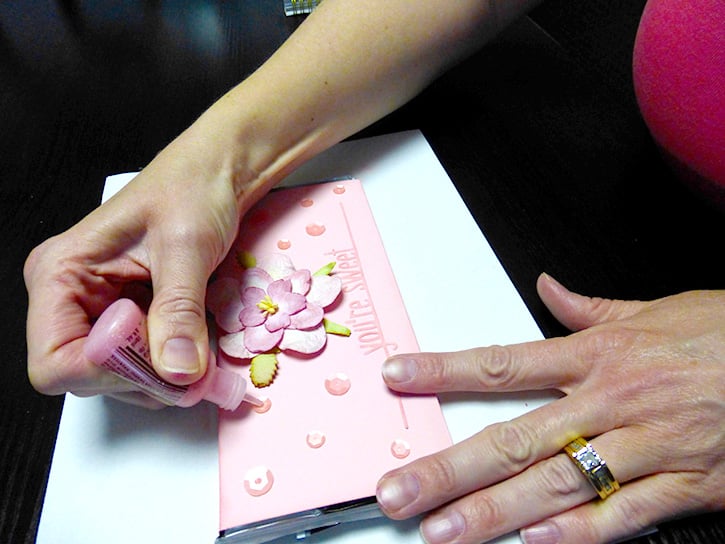
Once you’ve glued them all down, add a drop of stickles in the center of each one.
Have your child sign the back and their teacher will have a yummy treat to say thanks for being so sweet!
~ Amanda

I began crafting in 1996 and simply fell in love with making my own cards. Long live snail mail! Crafting isn’t just a hobby for me, but a way of life… Teacher gifts, posters, scrapbooks, wood crafts? Yes, please! I have been married to my cute husband for 16 years and he definitely inspires me to try new things and enjoy the little things. As a stay home Mom, my time is spent raising my two girls, and raising the bar for my gift giving!


