The letters used on this design allow your kids to add color to a Teacher Appreciation card. With extra space, kids can also draw their own photo or write a personal note.
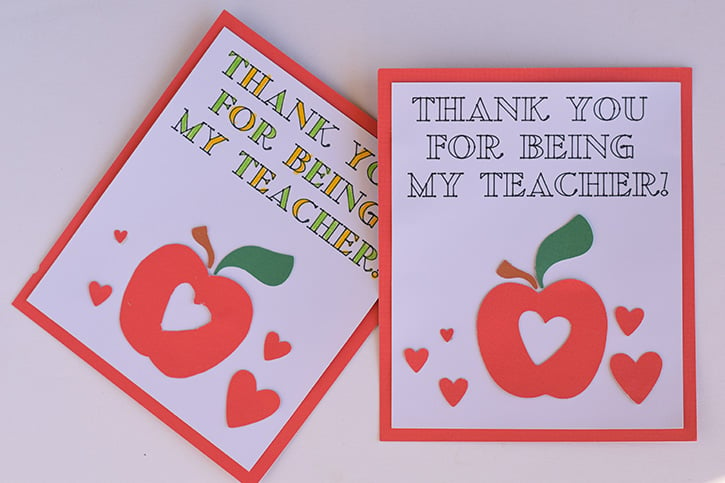
Made by: Melanie East
Time: 25 minutes
Level: Moderate Handiness
Size: Approximately 5” X 6”
*Note that I used a Cricut die cutting machine paired with Cricut Design Space. But, you could make this card by hand if desired.
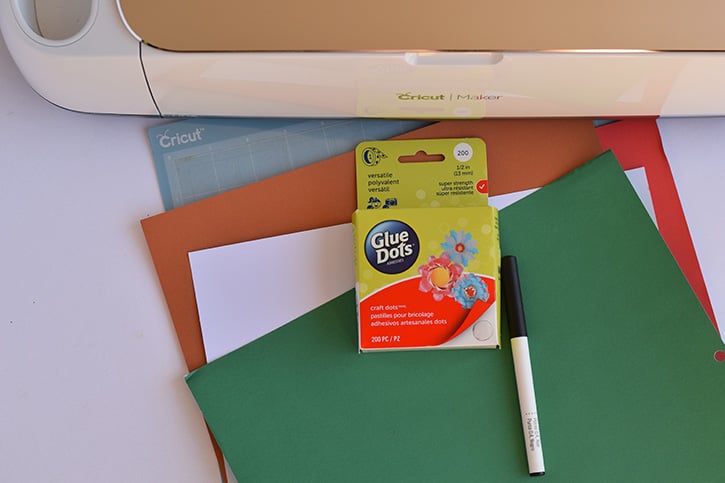
Supply List
- Craft Dots™
- White cardstock
- Red cardstock
- Green cardstock
- Brown or tan card stock
- Cricut machine – Cricut Explore Air 2 or Cricut Maker – with fine point blade
- Cricut LightGrip Cutting Mat
- Cricut 0.4 Pen
Directions:
Open up the Cricut Design Space software. Log in to your account.
This card is ready made for you to cut. Enter https://design.cricut.com/#/design/127477582/projects/user-project/127477582 to access the teacher card.
If desired, resize the card to be larger or smaller.
Send the project to the cutting mat. Be sure that the Cricut Pen and fine point blade are installed in the Cricut machine. Follow the prompts in Cricut Design Space to complete the cut.
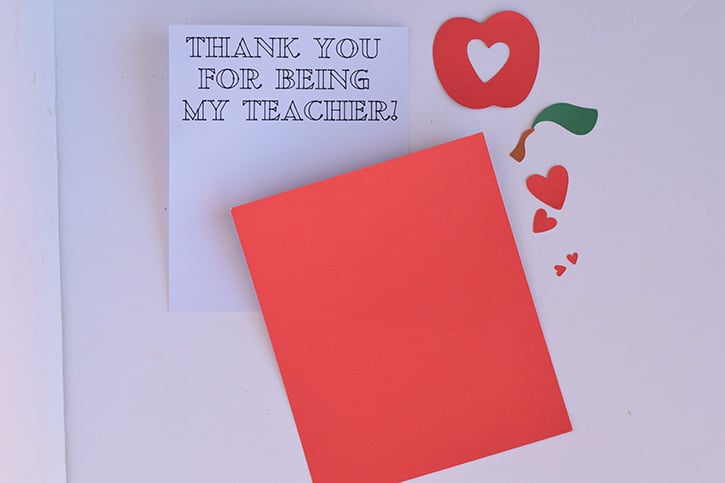
Use Craft Dots to adhere the apple shape to the white card stock.
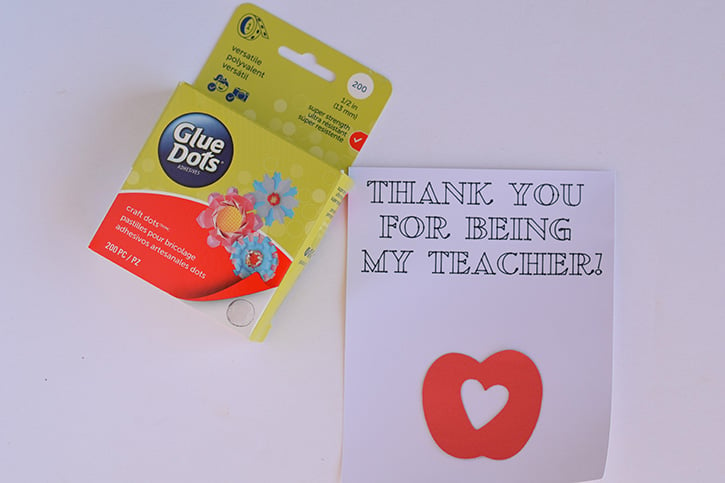
Continue using the Craft Dots to add the hearts, leaf, and stem to the card design.
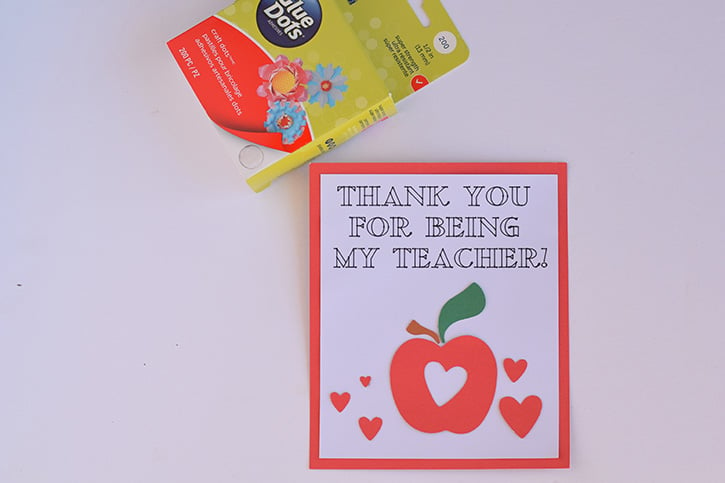
Use the Craft Dots to adhere the white card stock to the red background card stock piece.

Pair this card with a sweet gift to say thank you to that special teacher.
~ Melanie

Melanie East is the author of It Happens in a Blink, a space where she shares crafts, DIY, recipes, and home projects. Her inspiration for many of her projects come from nature, caffeine, and her triplet preschool aged boys. While she writes about many topics, her favorite projects to share are those that inspire others to live out their calling.


