Giving a gift to the wonderful Dads in my life has gotten harder through the years. They seem to have everything they need. So for this year, I decided to give them gift cards. It’s a win-win for everyone. With the help of a tutorial I found online plus some Glue Dots®, I was able to create a handmade card that will hold my beloved gift card.
Designed by: Grace Tolman
Time: 30 minutes
Level: Moderate Handiness
Size: A2 sized cards (4 ¼" x 5 ½")
Materials:
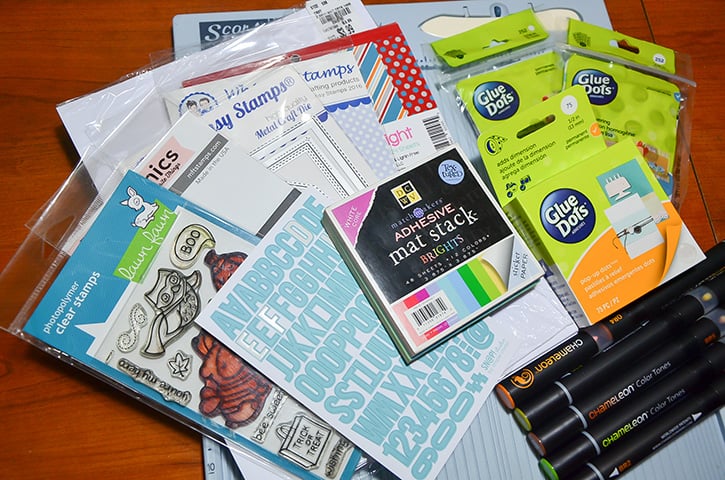
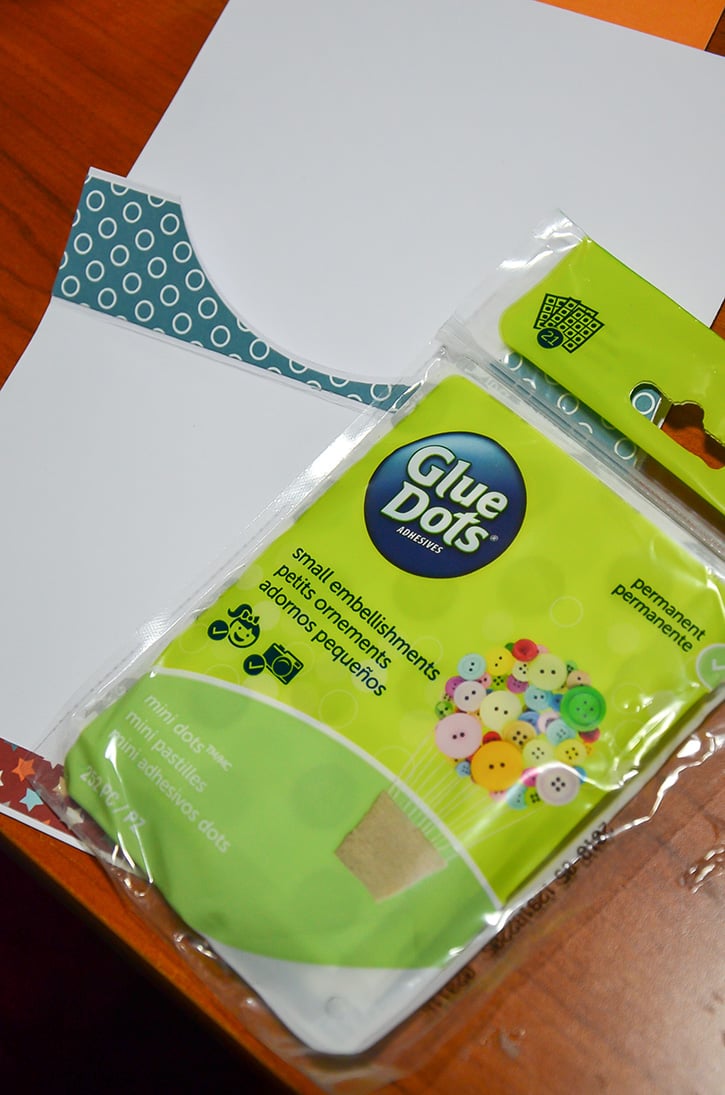
- Ultra-Thin Dots™
- Mini Dots™
- Pop Up Dots™
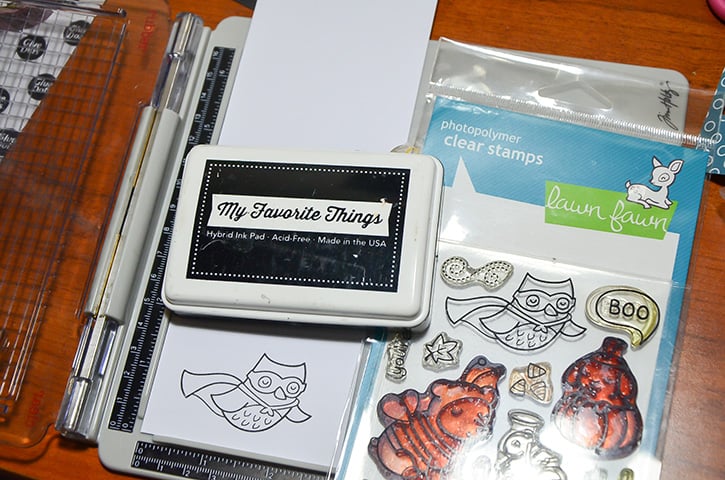
- Stamp- Critters In Costume, Lawn Fawn
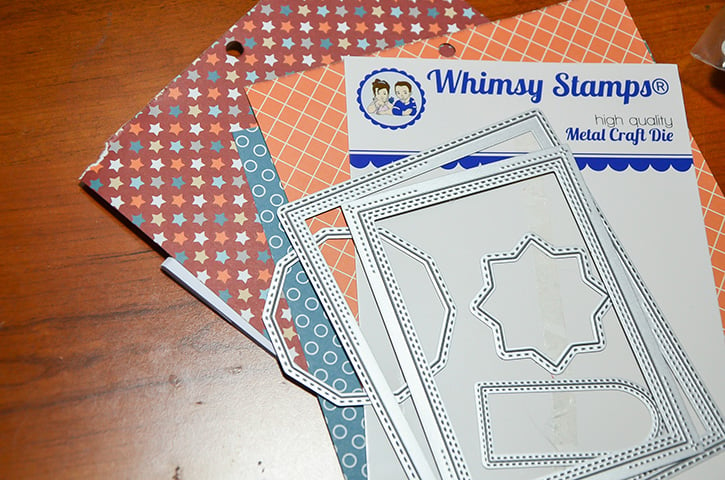
- Dies
- Markers
- Glitter spray
- Die cut machine
- Washi tape
- Paper trimmer
- Scissors
- Cardstock
- Pattern papers- Take Flights, 6" x 6", Pink & Main
- Vellum
- Letter stickers
Directions:
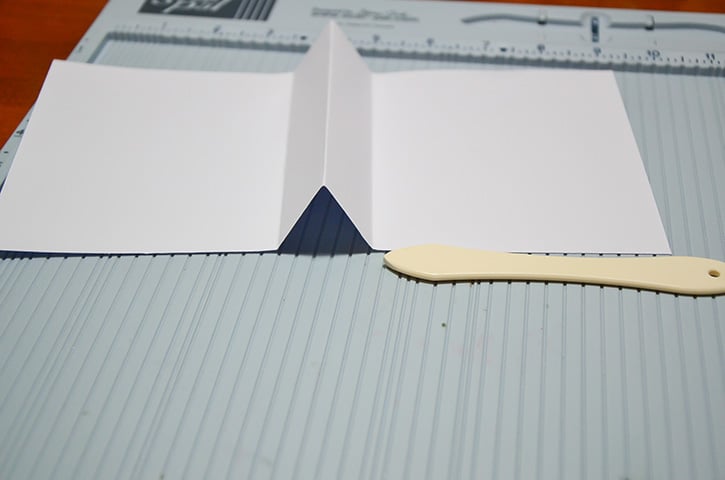
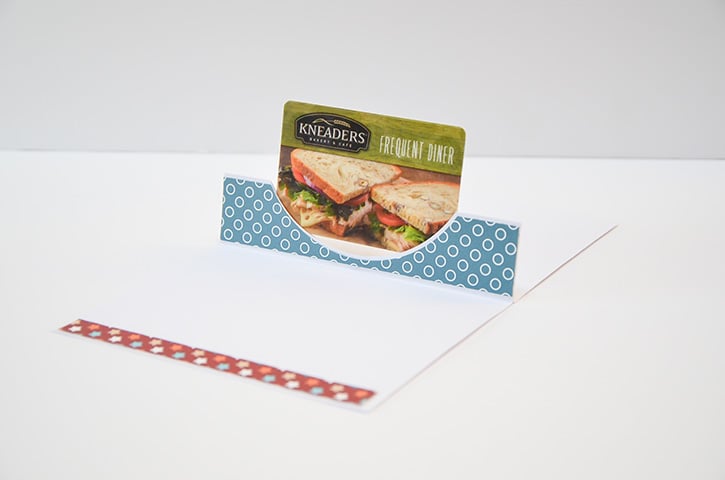
Cut your cardstock into a 5½” x 11" piece. Make score lines at 4¼", 5½" and 6¾."
Fold the paper in half along the 5½" score line. Then fold the other two score lines the opposite way (see the image below).
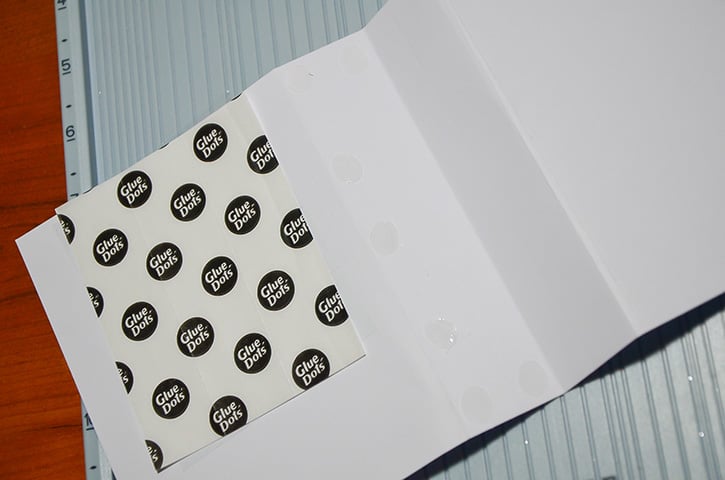
Adhere the sides of the “flap” inside the card with Ultra-Thin Dots. Make sure you are only adding the adhesive on the sides.
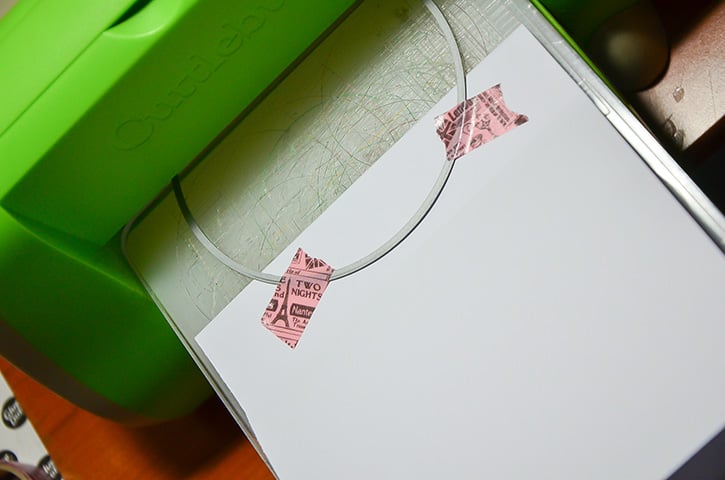
Place the circle die to create the valley in the center of the flap. Place some washi on the sides so it won’t move as you run it through the die cut machine.
Once you take out the die from the flap, do not remove the white piece that was taken out, you will use it later.
Measure your flap and cut a piece of pattern paper slightly smaller to that measurement. Place the same circle die on the center of the pattern paper piece.
Use the white cardstock cutout as a guide to where the circle needs to fall on the top of the paper. Run it through the die cut machine.
Repeat the process so you can cover the front and back of the gift card holder flap.
Adhere the pattern to the folded center of the card using Mini Dots. Make sure that the center is left unglued so that you can slide a gift card into it.
Create the layers for the front of the card with pattern paper. Run them through the die cut machine using the various dies from Whimsy stamps.
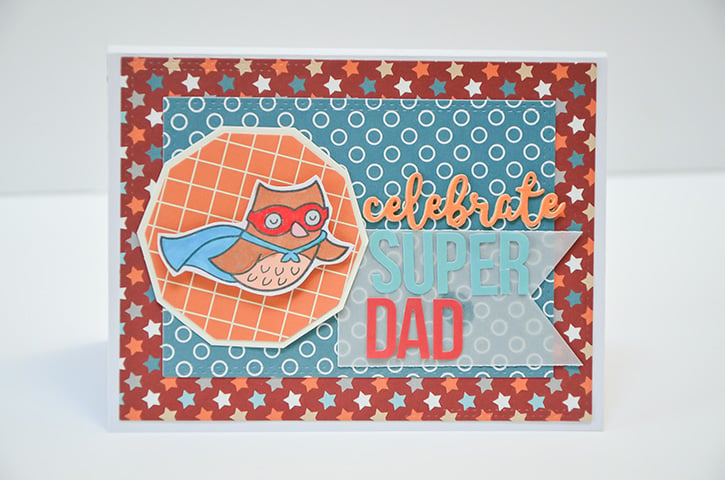
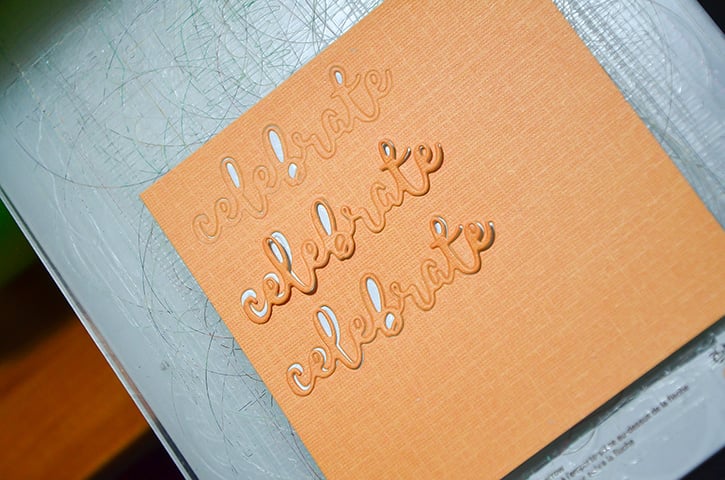
While the die cut machine is out, create three cuts of the word “celebrate” from cardstock using a die. Layer the three words on top of each other to create a thicker word die. Set aside.
Stamp the super owl image onto white cardstock with black ink pad. Color with markers. Cut out the image and spray with glitter mist. Set aside to dry.
Build the front of the card. Adhere the pattern papers using some Ultra-Thin Dots.
Back up the hexagon patter paper with some cardstock. Adhere it to the cardstock with Ultra-Thin Dots. Cut around the cardstock, leaving some space to create a mat around the pattern paper piece. Adhere onto the card front with Ultra-Thin Dots.
Cut a piece of vellum, about 2” tall, cut one side into a banner shape. Adhere to the card front using more Ultra-thin Dots.
Add the “celebrate” sentiment. Then, add “super dad” underneath using some letter stickers.
Place the owl shape onto the hexagon using Pop-Up Dots.
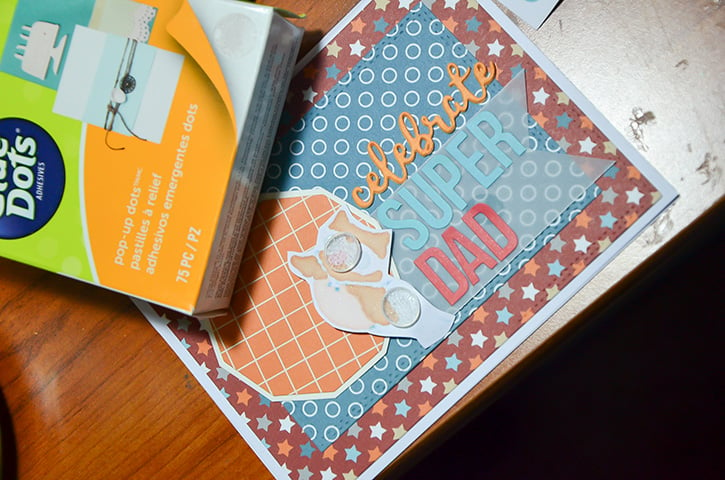
Add a gift card in the center before gifting to dad!
~ Grace


I’m a mom to a 10 year old boy and an 8 year old girl. Therefore my life is usually filled with learning, new discovery, bribery and driving to and from all of our activities. I have a loving and very supportive husband of 11 years. When the kids have gone to bed at night, my time is spent crafting while catching up on my favorite shows and movies. I also enjoy reading, window shopping, knitting and perusing blogs for inspirations. Three years ago we moved to Colorado from California and we are enjoying our new environment. I feel very inspired with my new home, my new scrapbook space and the mountain views. Although I’ve been doing some type of scrapbooking since grade school, I only started to scrapbook seriously after my son was born. When he was born I knew I would be staying at home with him but coming from a fast paced sales job I was afraid I would ran out of things to do during the day. Little did I know that with newborns you won’t have any time to do anything else. Anyways, after going through a basic scrapbooking class I was hooked and haven’t stopped scrapping since.


