A monochromatic background paired with some dimension from Pop-Up Glue Dots® lets your stamped images, colored with Marvy markers, be the star of the show.
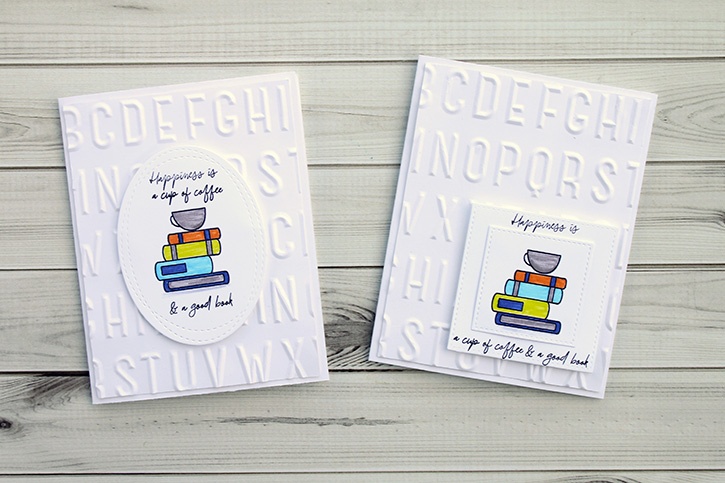
Made by: Samantha Taylor
Time: 20 minutes
Level: Moderate Handiness
Size: 4 ¼”x 5 ½”
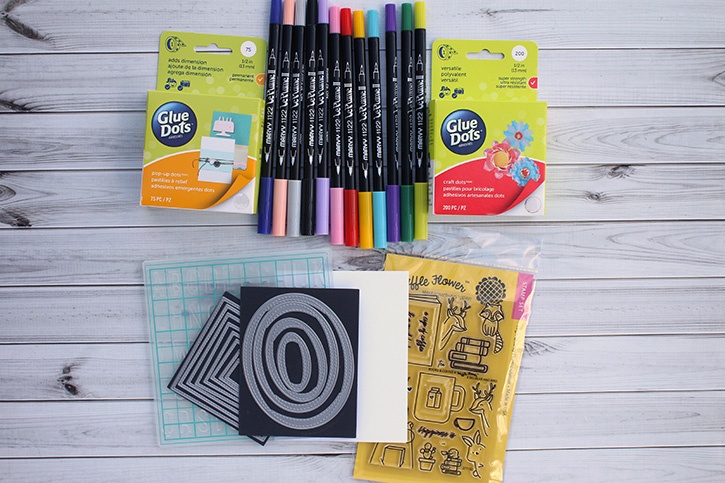
Here's what you need:
- Craft Dots™
- Pop Up Dots™
- Marvy LePlume II Markers
- Waffle Flowers - Books & Coffee stamp set
- Black waterproof ink
- Embossing Folder
- Assorted dies in round, oval, square, or rectangle shapes
- Manual die cutting machine.
- White cardstock.
Here's what you do:
Cut a card base to 8 ½” x 5 ¼”. Fold in half.
Cut a layering piece of cardstock to 4” x 5 ¼”. Dry emboss with a your die cutting machine and embossing folder.
Diecut white paper in an oval, round, rectangle, or square shape.
Stamp image with waterproof ink.
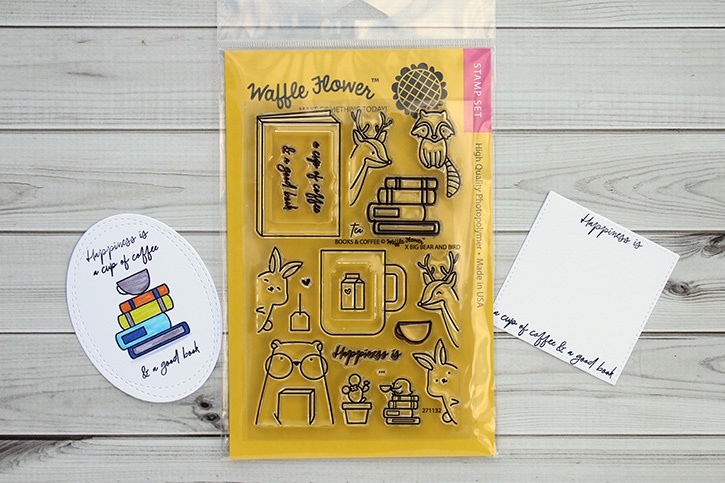
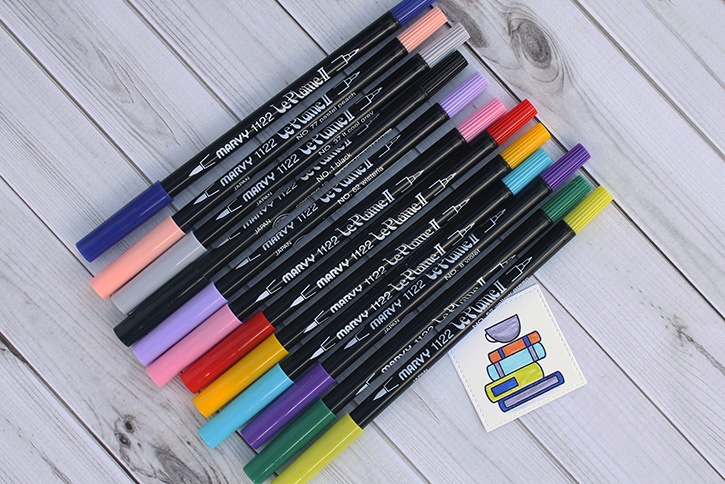
Use Marvy LePlume II Markers to color image.
Use Craft Dots to attach the embossed layer to the card base.
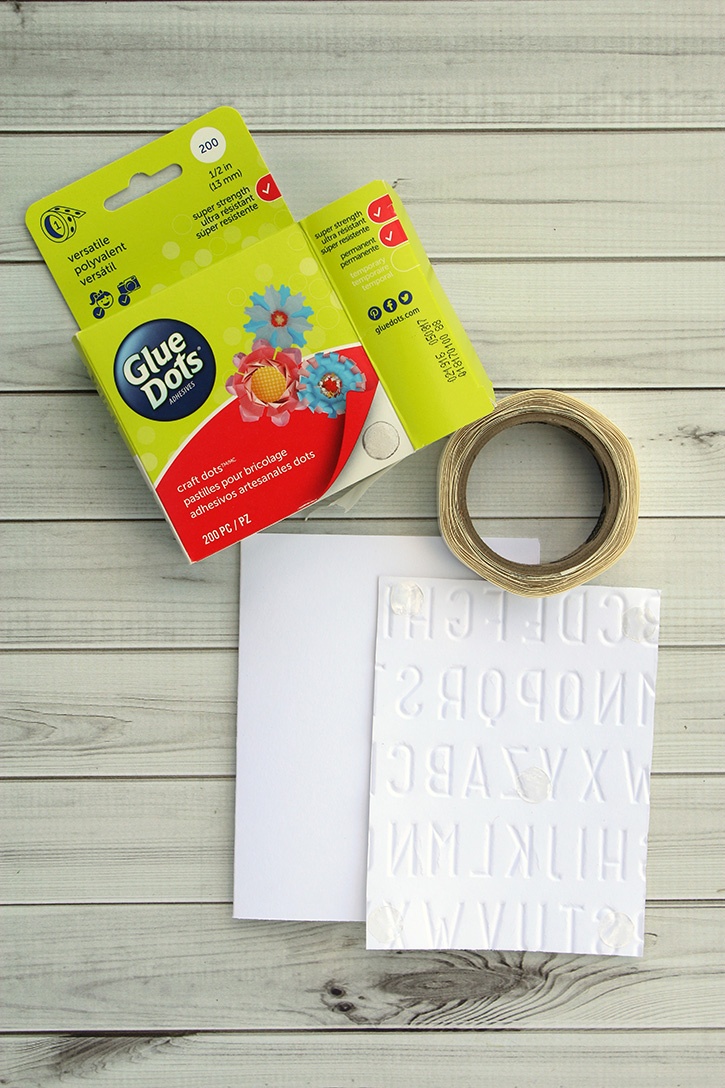
Use Pop-Up Dots to attach the stamped panel to the embossed layer.
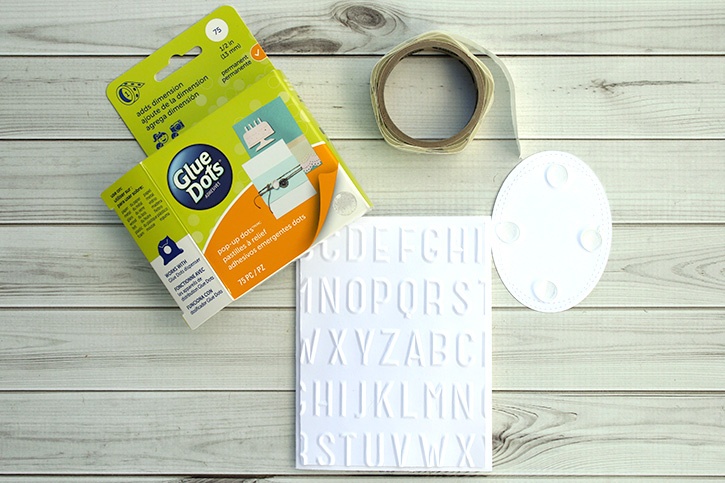
Pop-Up Dots are perfect for making sure bumpy items (like the embossed layer of this card) sticks permanently. You’ll never have to worry if your card is going to fall apart before it gets to the recipient! Personalize this card by choosing any of the many, many colors of Marvy LePlume II Markers to color your stamped image.
~ Samantha

My name is Samantha Taylor and I have a passion for combining crafting and creativity to beautify life. I live in a small town in rural Iowa with my husband and 2 boys (all 3 of whom you’ll see featured in my projects). I’m a paper crafting fanatic who also loves photography. I enjoy making lay outs, cards, mini albums and home decor items, party decorations, and crafting with my kids. My favorite thing about crafting is getting to connect with so many people all over the world who also love creating pretty things and preserving memories. You can find more from me at www.taylorstamped.blogspot.com. I am so excited to share with you my love for the many uses of Glue Dots®!


