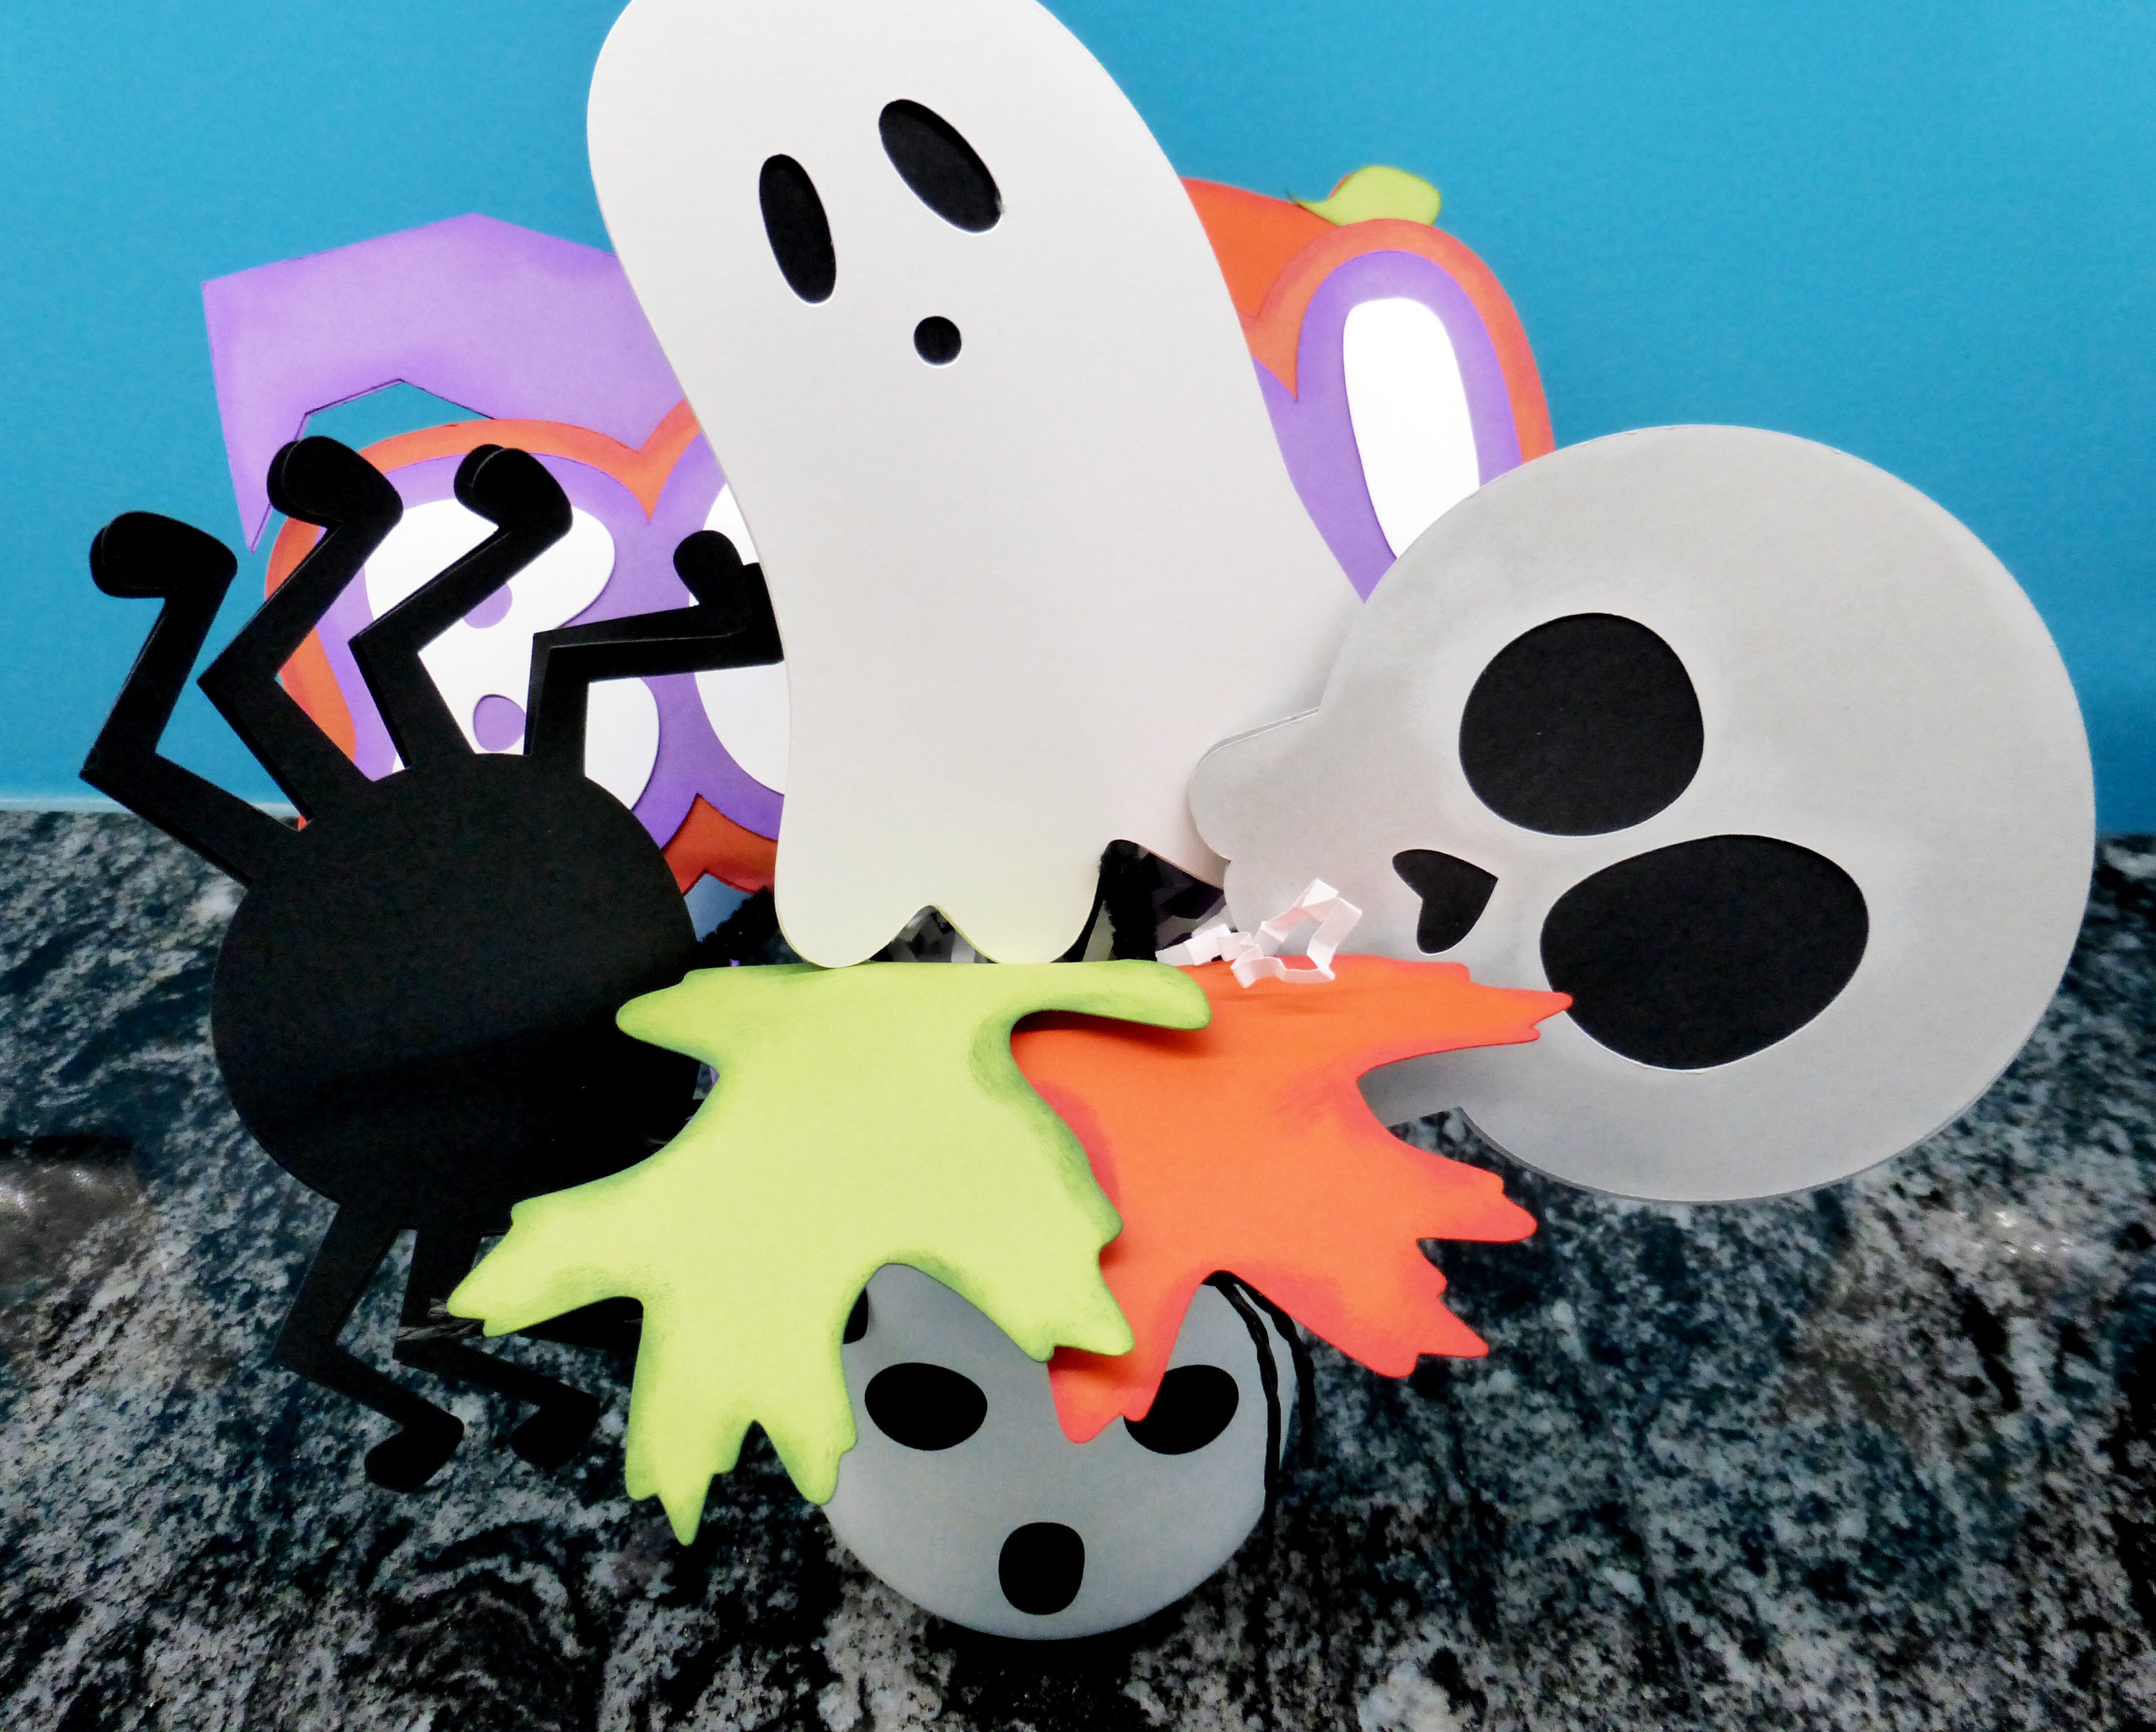
I don’t know if there’s a Halloween candy that’s more debated than candy corn, but love it or hate it, candy corn makes adorable inspiration for this Halloween décor piece.
MADE BY: SAMANTHA TAYLOR | TIME: 20-30 MINUTES
LEVEL: BEGINNER OR INTERMEDIATE | SIZE: 9"x11.5"

Supplies:
- Glue Dots® Permanent Glue Squares
- Glue Dots® Removable Glue Squares (optional)
- Chipboard
- Candy Corn Template (optional)
- Orange Paper Fringe (or tissue paper)
- Yellow Paper Fringe (or tissue paper)
- White Paper Fringe (or tissue paper)
- Scissors
- Trick or Treat Die Cut
Directions:
- Cut a candy corn shaped base from a piece of chipboard. If you can draw, you can do this by hand yourself. However, if you can’t draw use Removable Glue Squares® to hold your template in place on your chipboard, then cut around the template with a scissors.

- Use Permanent Glue Squares® to attach fringe to your chipboard base. Start from the bottom and work your way up.
*I bought pre-made paper fringe; however, you can make your own fringe with tissue paper and a scissors (or a fringe scissors). - Flip your candy corn to the back (wrong) side and use your scissors to trim any fringe that sticks out past the bottom or sides of the candy corn.

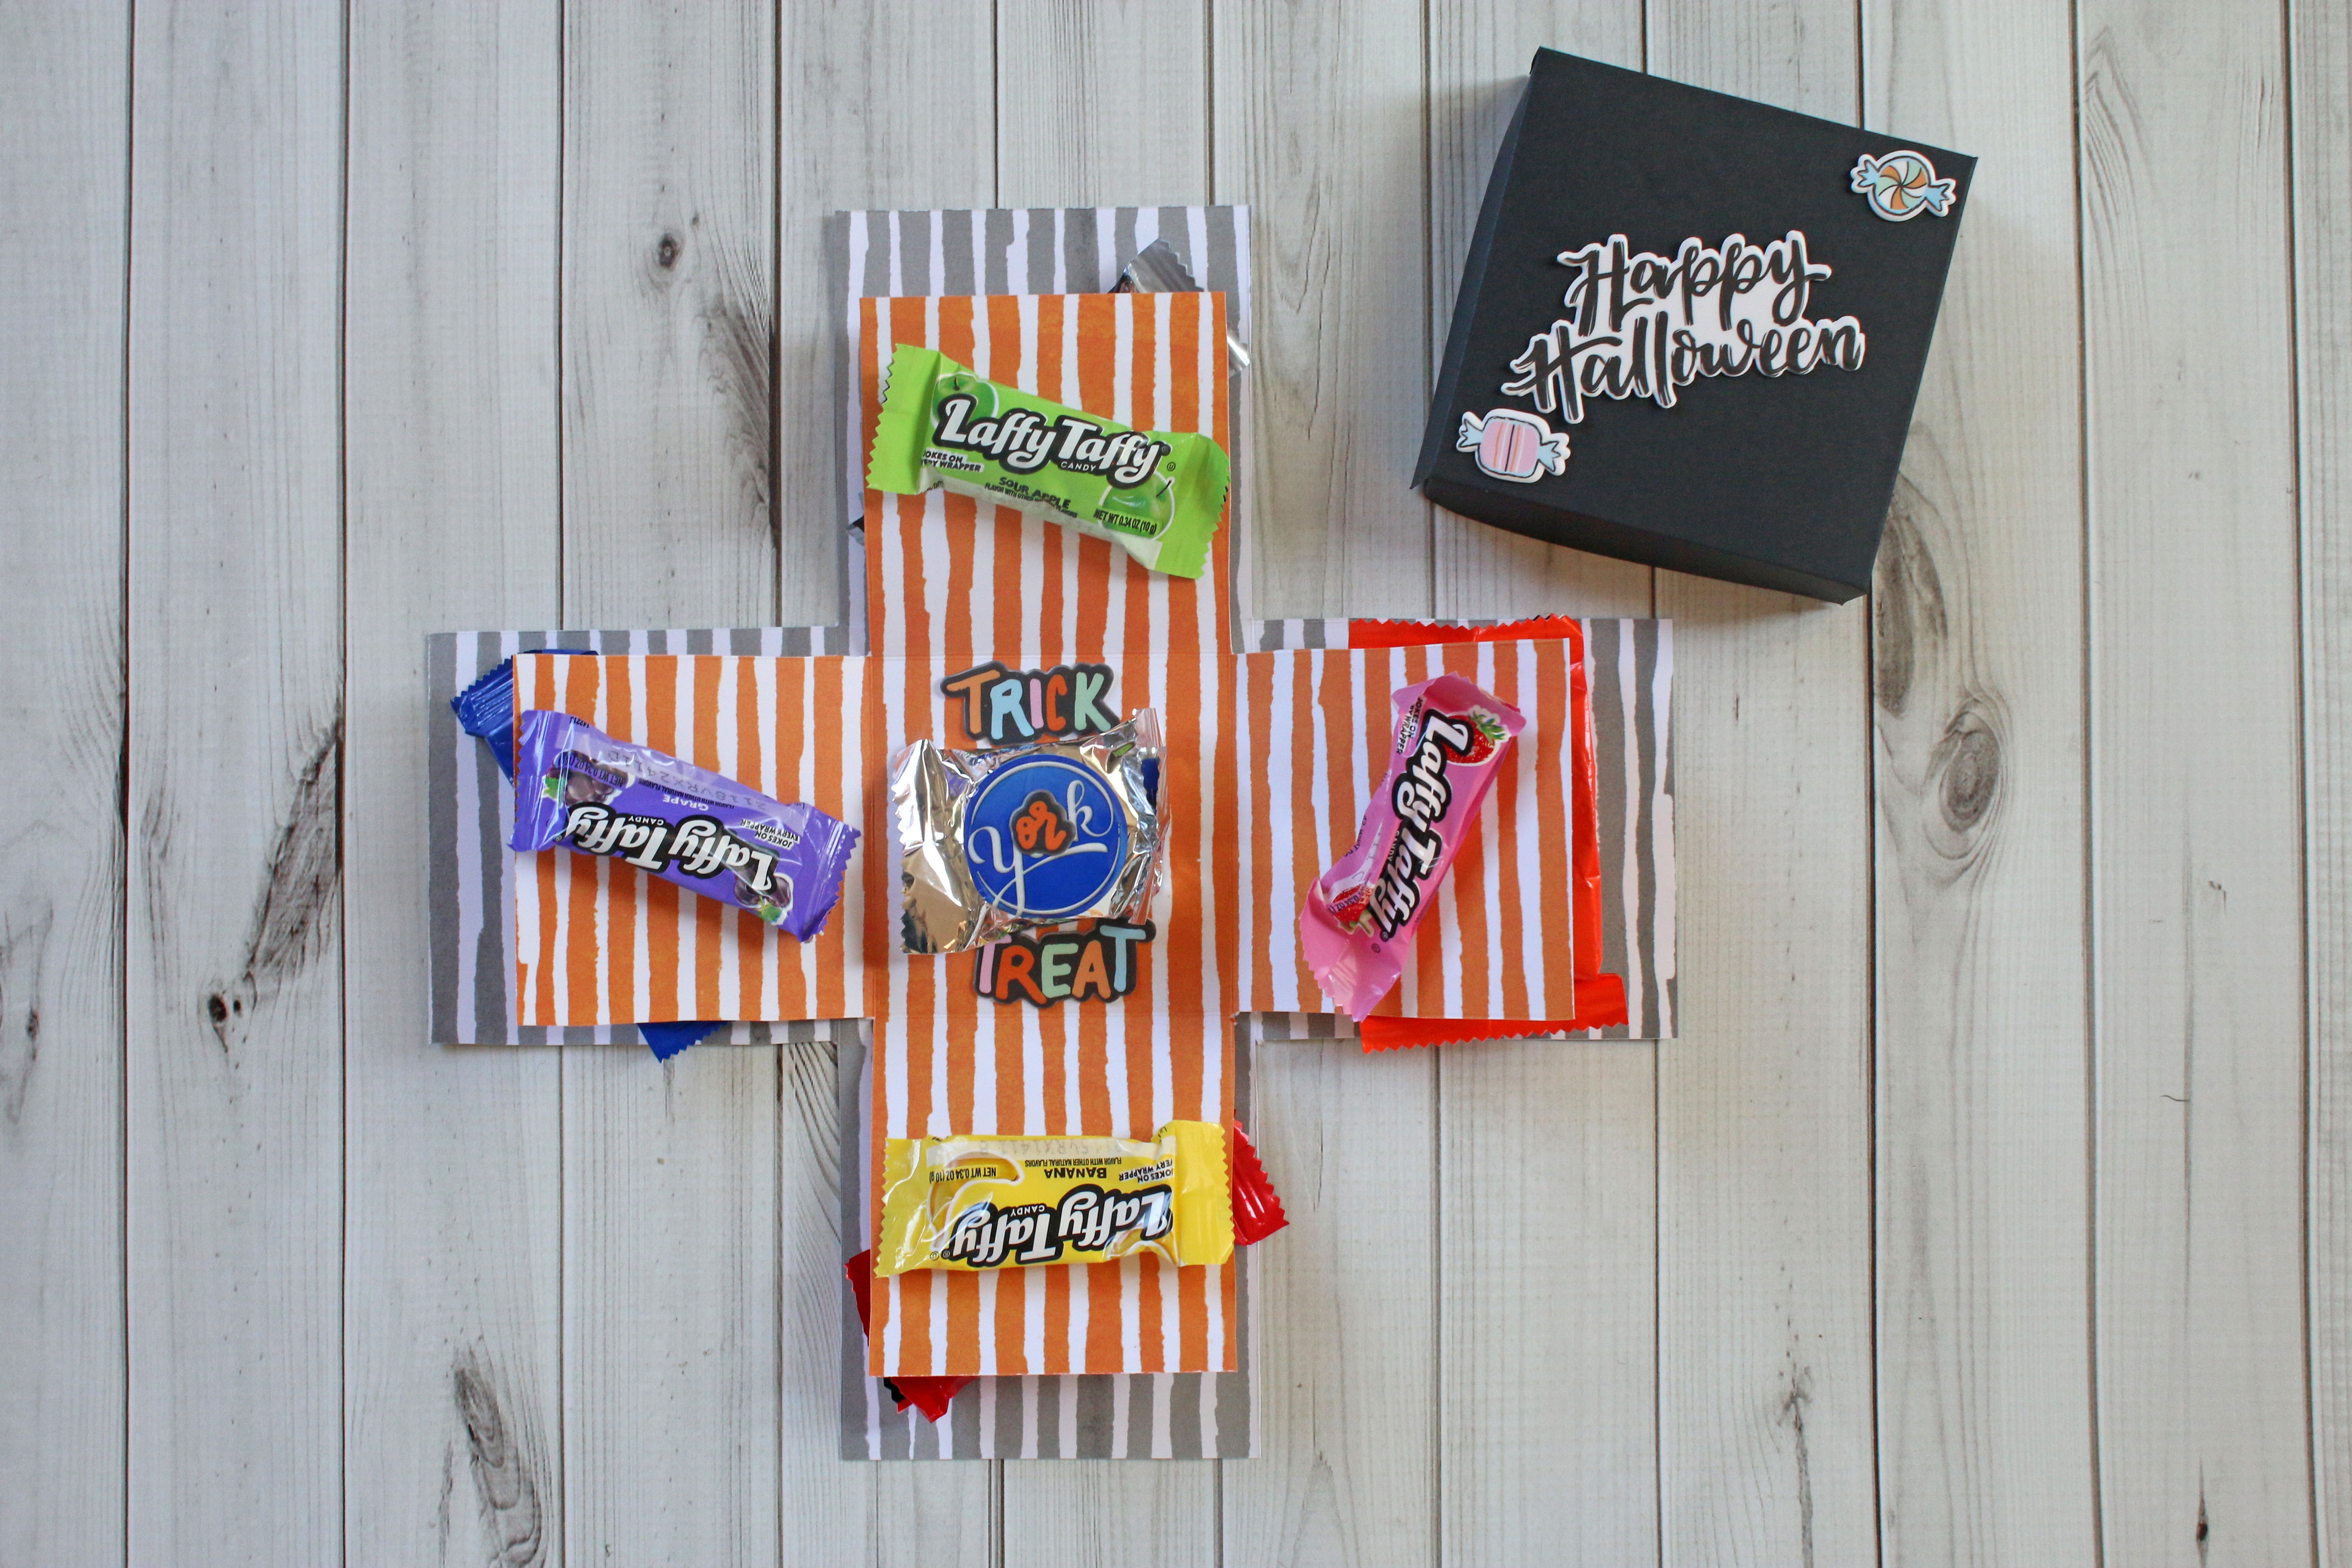
- Use Permanent Glue Squares® to attach a Halloween die cut (Trick or Treat or Happy Halloween works well) to the front side of the candy corn décor.

Notes:
I chose Glue Squares® for this project because the small size was perfect on the slim edges of my tissue paper. Additionally, they adhere to a variety of mediums including tissue paper, chipboard, and paper.
If you find you like working with fabric better, swap out the paper fringe for pleated or ruffled ribbon. Glue Squares® work great on fabric, too!
I went big for this home décor piece, but you could make these much smaller (3” x 4” or so) and use them at place settings on a Halloween tablescape.

My name is Samantha Taylor and I have a passion for combining crafting and creativity to beautify life. I live in a small town in rural Iowa with my husband and 2 boys (all 3 of whom you’ll see featured in my projects). I’m a paper crafting fanatic who also loves photography. I enjoy making lay outs, cards, mini albums and home decor items, party decorations, and crafting with my kids. My favorite thing about crafting is getting to connect with so many people all over the world who also love creating pretty things and preserving memories. You can find more from me at www.taylorstamped.blogspot.com. I am so excited to share with you my love for the many uses of Glue Dots®!


