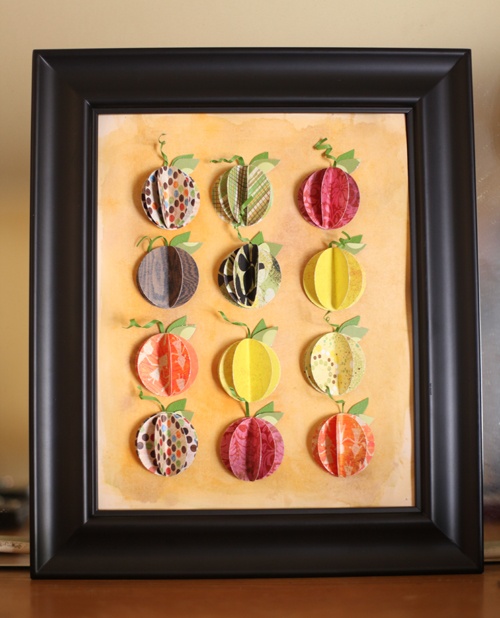
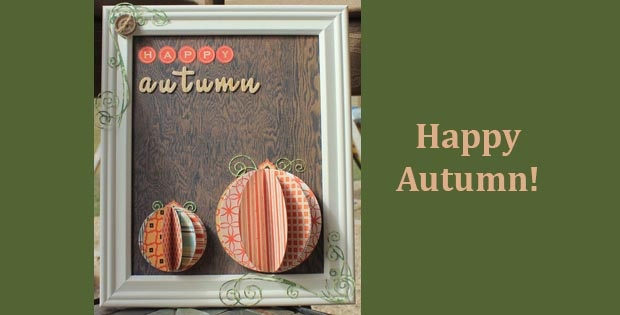
Grab a 1" circle punch, pattern paper and Glue Dots to make a simple home decor project that brings the beautiful autumn colors inside. Designer Smitha shows you how to make a pumpkin patch for your home!
Fall has to be the most colorful season. And I love bringing some of those colors into our house, by making some framed art for our mantle.
Here's what you need: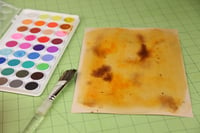
- Glue Lines®
- Pop Up Glue Dots®
- 8" x 10" frame (without glass)
- Cardstock
- Watercolor paints
- Patterned paper
- 1" circle punch
- Scissors
Here's what you do:
- Using cardstock, add some interest to it with some watercolor paints. Splatter a few different colors on damp paper and let dry completely.
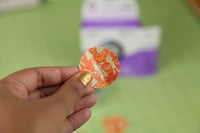
- Punch three circles from each patterned paper.
- To form the pumpkins, I adhered the three circles together using Glue Lines. These lines are the perfect size for this project. Place a glue line in the center of the circle and layer another folded circle on top. Make 12 such circle pumpkins.
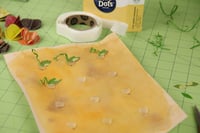
- Next cut some leaves from green patterned paper. Also cut thin strips and curl them to form the pumpkin vines.
- Mark a grid on the base cardstock, and adhere one Pop Up Dots onto each of the marks. Adhere two leaves and one vine to the top portion of each dot.
- Finally, adhere the pumpkin circles onto the Pop Up Dots.
- Place into a nice wooden frame (without the glass) and place in your favorite spot in the house!
Thanks for stopping by!
~Smitha
P.S. Supplies for this project can be found at your local:
![]()

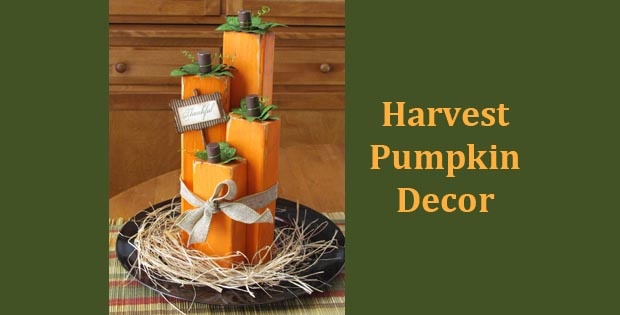
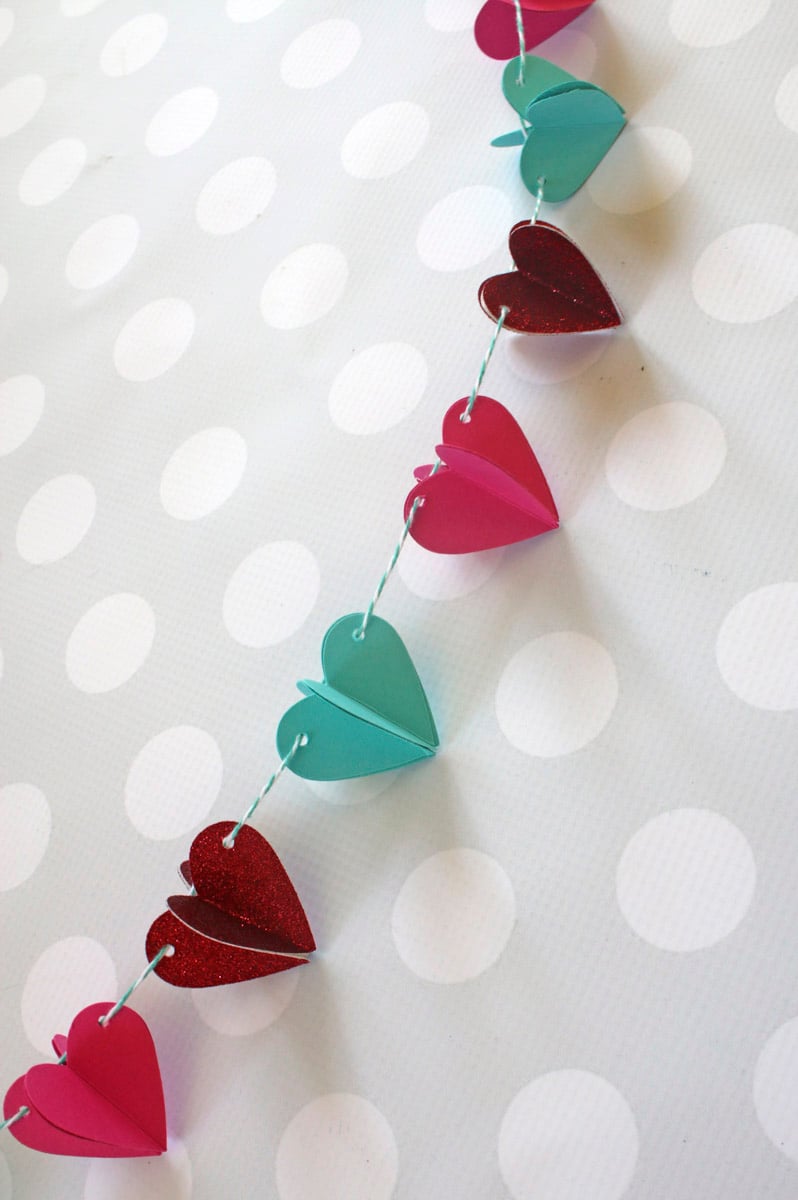
Check out our other Pumpkin Projects below! Happy Crafting!


The Team at Glue Dots consists of three highly creative individuals who find new ways and uses for Glue Dots products for every day life. We hope you like what we create. :-)


