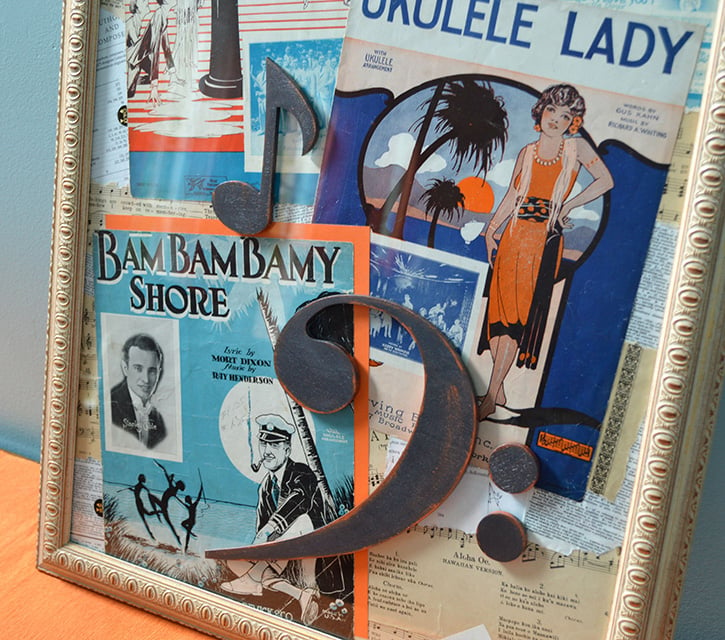
While shadow box frames provide an empty canvas for storing memorabilia, special trinkets and other things, you can also use them to make decorations for your home. We decided to turn two shadow boxes into cute nursery decorations for a co-worker who had twin girls. Once we used our spy skills to figure out which colors went with each girl, we were on a mission to create cute decorations for their room.
Designed by: The Team at GDI
Time: Approximately 30 minutes, not including dry time
Level: Intermediate
Size: 12″ x 12″
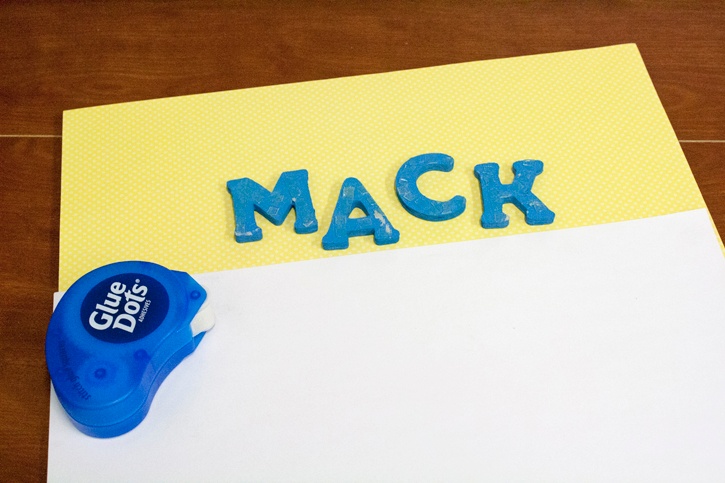
After brainstorming on what to make, we came up with the idea for a "shaker" shadow box. The names are painted and adhered to a piece of patterned paper that is adhered to the backer board for the frame and the remaining letters are loose. If the shadow box was shook, the smaller letters would move around and rearrange themselves, but the girl's name was always left in place on the paper. Twins have an uncanny connection, so we decided to incorporate the twin sister's name in the letters at the bottom of the other's sister's shadow box, so they'd always be together.
For this project, we used slightly larger wood letters for the names and slightly smaller letters that are inside on the bottom, but you can also make this project with all of the same size letters.
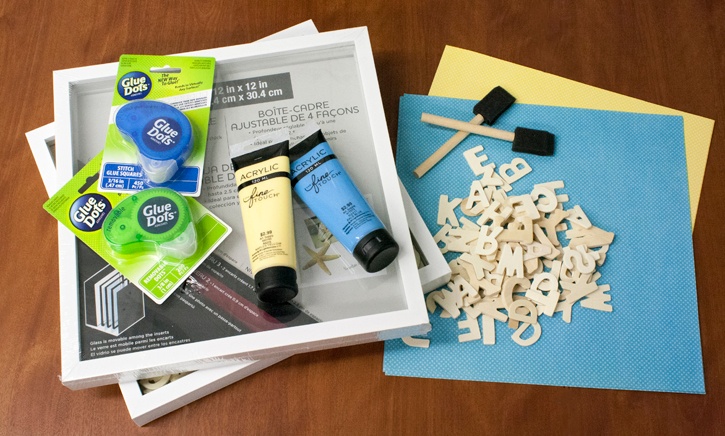
Here's what you need:
- Removable Glue Dots® or Removable Glue Squares®
- Permanent Glue Squares®
- 12" x 12" Shadow Box Frame
- Patterned Paper
- Assorted Wood Letters
- Paint
- Foam Brushes (if you're going to paint more than one coat, you'll need more than one brush)
Here's what you do:
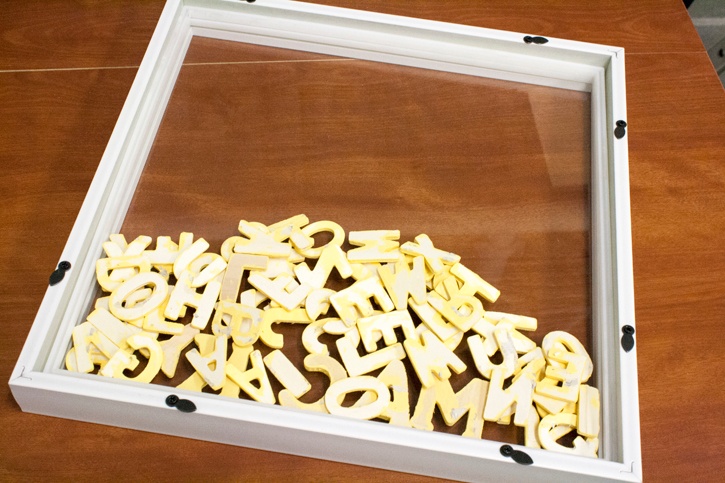
Paint all of the letters and set aside to dry. Add additional coats as needed, allowing adequate dry time in between each one.
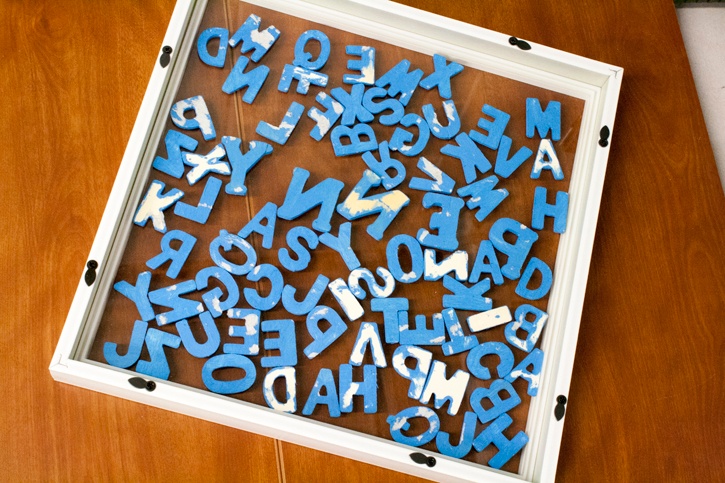
Pull out the letters you're using to spell the name and set them aside. Spread out the remaining letters face down on the glass without stacking. Assemble frame and stand up on end so that all of the letters fall naturally to the bottom. This helps create the randomized look and gives you an idea as to where to place the name in the frame.
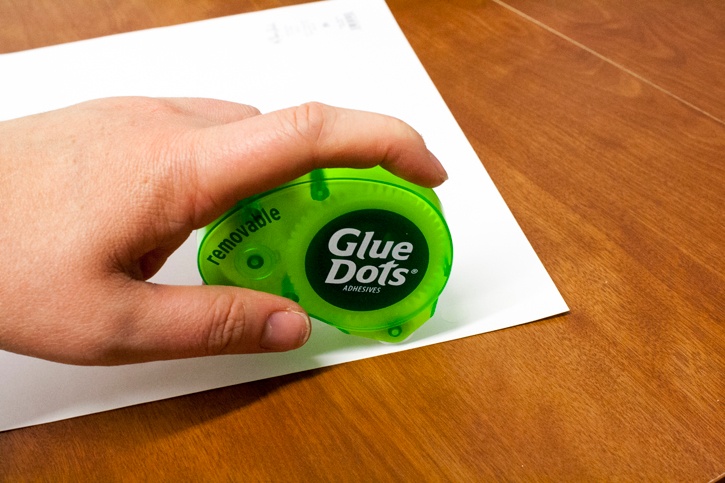
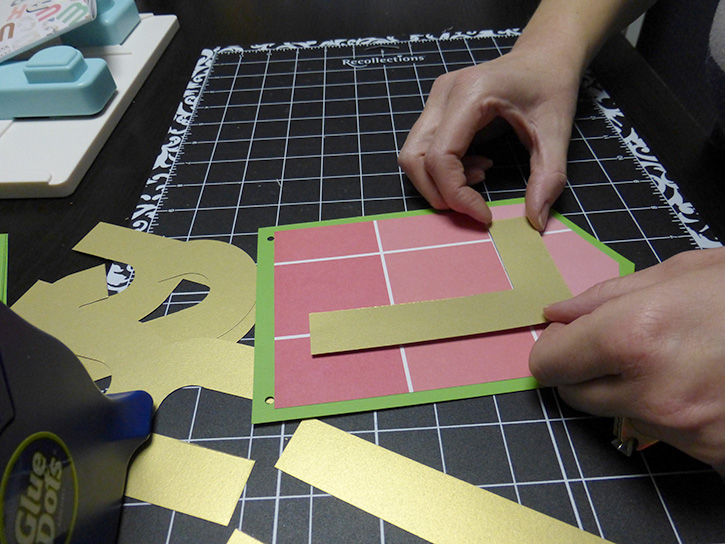
Apply Removable Glue Dots to the corners of the patterned paper and adhere to the back of the frame. Removable Glue Dots will hold the paper to the back and will allow you (or the parents) to remove it cleanly, allowing you to re-use the frame.
Apply Glue Squares to the back of each letter in the name. While the letters are upside down, align your letters on the paper. This is a permanent adhesive so to ensure correct placement before pressing into place. Tip: Use another piece of paper as a guide when attaching the name. This will ensure the letters are placed on straight.
Flip letters over and press firmly into place. Assemble the rest of the frame and put on display!
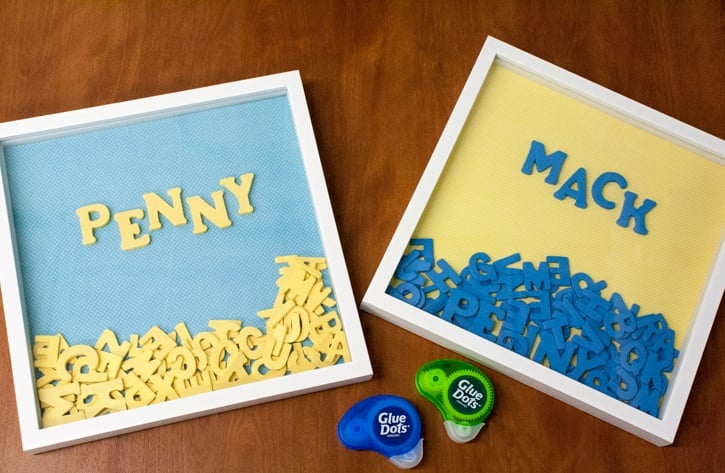
We had a little fun with our name and alternated the heights of each letter to give it extra personality. Give it a try! They turned out so well, we can't wait to make more! :-)
The Team at Glue Dots consists of three highly creative individuals who find new ways and uses for Glue Dots products for every day life. We hope you like what we create. :-)


