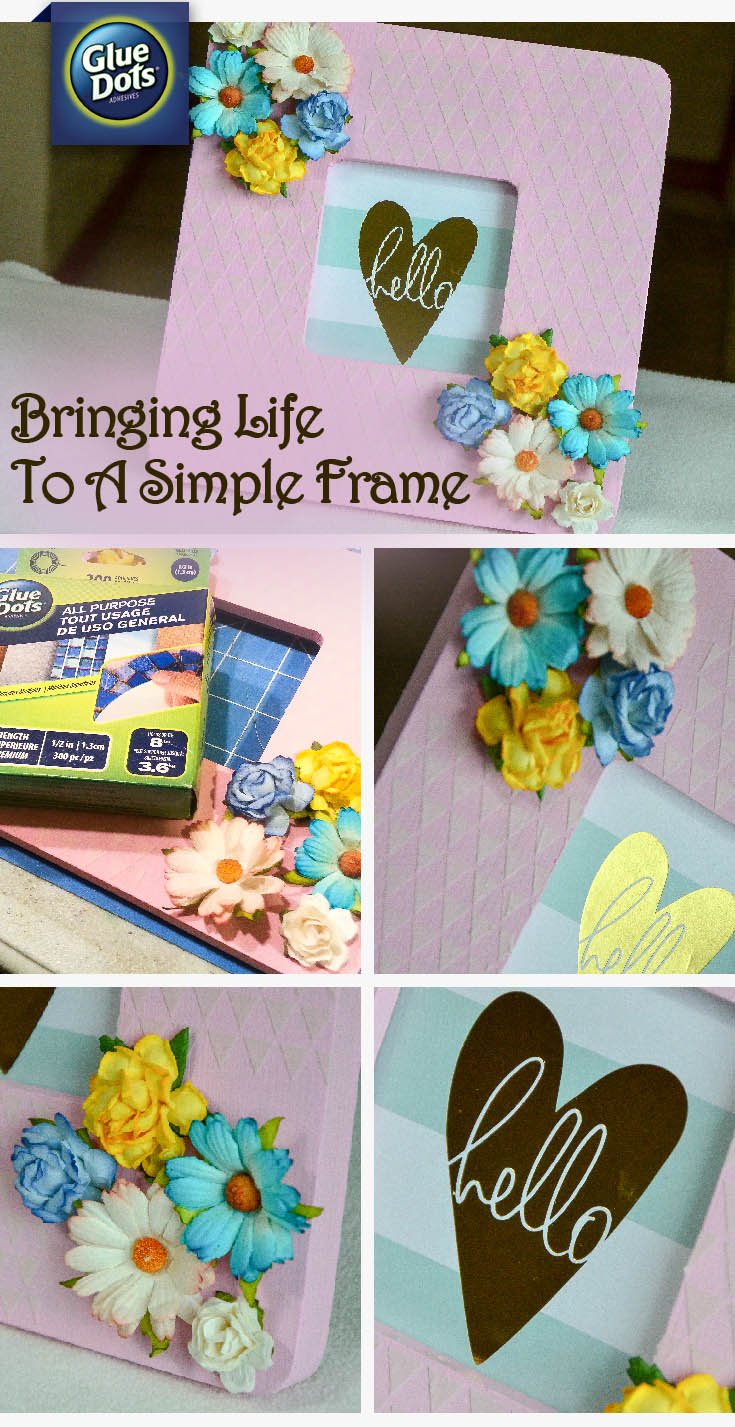
Adding texture and dimension to picture frames is easy with help from Designer Grace. In a few simple steps, you can create a unique and customized picture frame with modeling paste and a stencil.
Designed by: Grace Tolman
Time: Approximately 1 hour (including drying time for paint)
Level: Beginner
Size: 8" x 8 ½”
Add modeling paste over a painted frame to create a frame with texture and dimension. Don’t have any picture to match the season? Use a pocket scrapbook card to add a fun sentiment to your framed project.
Here's what you need:
- All Purpose Glue Dots® or Glue Dots® Advanced Strength Dispenser
- Frame
- DecoArt Americana Poodleskirt Pink
- DecoArt Media White Modeling Paste
- DecoArt Triangle Stencil
- Faux Flowers
- 4" x 6" Project life card
- Paint brush
- Spatula or old credit card
Here's what you do: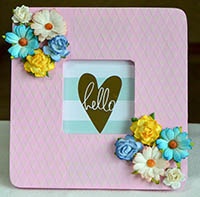
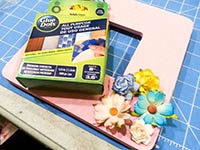
- Take out all of the hardware from your frame. Paint the front and sides with Poodleskirt pink paint from DecoArt. Set aside to dry completely.
- Set the triangle stencil over the frame, placing it on the bottom left corner. With a spatula or an old credit card, spread modeling paste over the stencil. Cover the entire area of the stencil trying not to go beyond the masking stencil. Carefully, lift it up to reveal the design. Set aside to dry completely and then repeat the process, moving the stencil to the top right corner of the frame. Set aside to dry.
- Adhere the flowers to the top left and bottom right side of the frame using All Purpose Glue Dots.
- Measure the inside of the frame and cut your pocket scrapbook card to fit. Place the cut-apart card in the frame and attach with hardware.
You now have a beautifully textured frame that's a perfect gift for Mother's Day, a friend or as an addition to your own home decor.
~Grace
All Purpose Glue Dots are available at:


The Team at Glue Dots consists of three highly creative individuals who find new ways and uses for Glue Dots products for every day life. We hope you like what we create. :-)


