How to Make Foam Stamps with Glue Dots
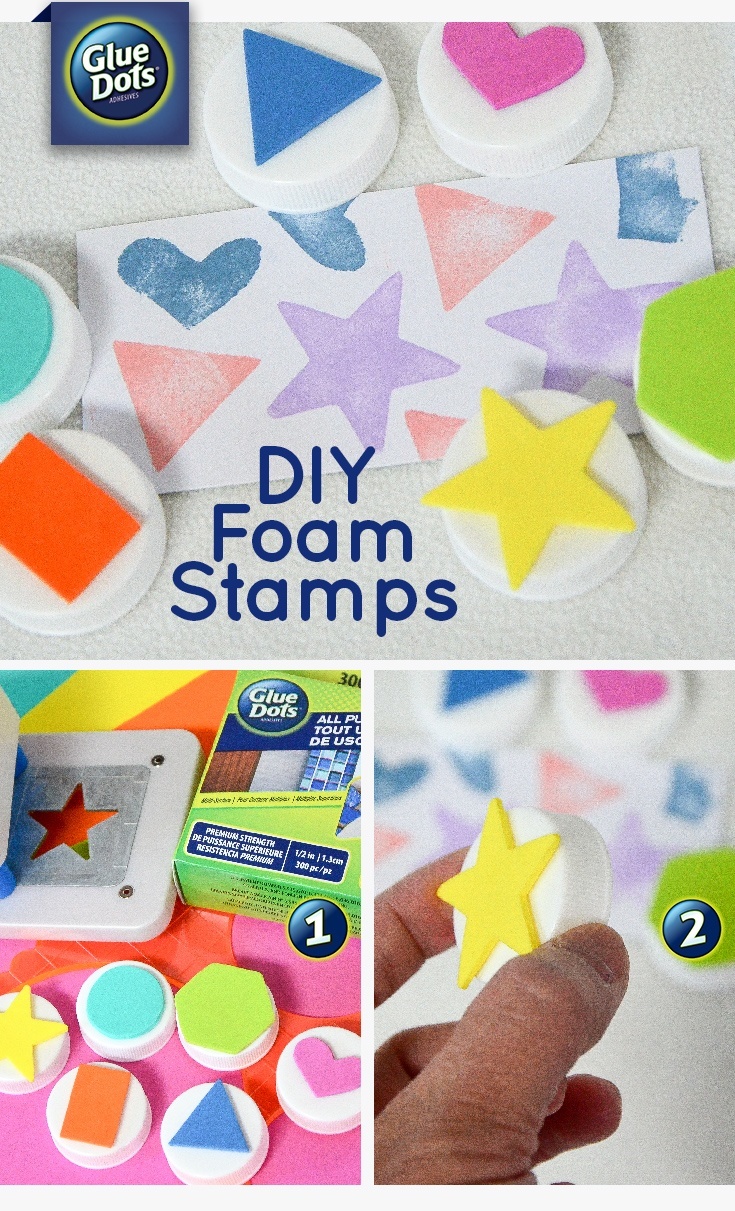
Posted on May 26, 2016 6:15:58 AM by The Team at GDILooking for a fun summer project for you and your kids? Make your own stamps using plastic bottle caps and fun foam! Sketch your own design or use various punches to make stamps for your kids and use All Purpose Glue Dots to adhere everything together. Designer Grace shows you how to make foam stamps for kids.
Designed by: Grace Tolman
Time: Approximately 15 minutes
Level: Beginner
Recycle some bottle caps by turning them into the base of foam stamps. With fun foam and shapes (created through different ways), you and your kids will have fun making your own stamps for some happy crafting afterwards.
Here's what you need:
- All Purpose Glue Dots®
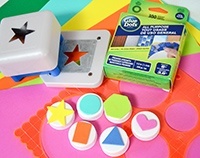
- Fun foam sheets
- Bottle caps (recycled item)
- Anywhere punches from Creative Memories
- Stamp Template
- Black Pen (to draw free form)
- Scissors
Here's what you do:
- Clean the bottle caps and set aside to dry.
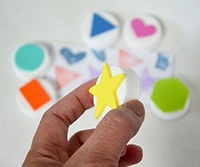
- Pick shapes that can fit onto the bottle cap area, but it's OK if the the shape slightly exceeds the bottle cap area. You just don’t want it to hang too much or the edges of your shape will not stamp properly.
- Use an anywhere punch or the black pen to draw your desired stamp shape on the fun foam sheets.
- Cut out your shapes with scissors and adhere to the top of the bottle cap with All Purpose Glue Dots.
To use your new stamps: Press the shape onto an ink pad and transfer the inked image onto paper.
To clean: Immediately wipe the stamp with baby wipe and let air dry.
~Grace
Glue Dots products and other materials for this project are available at the following retailers:
The Team at Glue Dots consists of three highly creative individuals who find new ways and uses for Glue Dots products for every day life. We hope you like what we create. :-)


