Keep the kids busy with their own Button Pumpkin project!
Here's what you'll need:
- Mini Glue Dots®

- Craft Glue Dots®
- Pop Up Glue Dots® (optional)
- Twine
- Orange cardstock
- Orange Buttons
- Green cardstock
- Striped or patterned Paper
- Pen
- Frame
- Die cut machine and pumpkin die (optional)
Here's what you do:
Cut a pumpkin shape out of orange cardstock so it's about 7" tall. Cut a top/stem out of green cardstock. You could use a die cutting machine to cut out the pumpkin if you have one.
Attach the stem with Craft Glue Dots, or use Pop Up Glue Dots for extra dimension.
Tie twine around the stem of the pumpkin.
Using Craft Glue Dots, attach orange buttons to the orange pumpkin. Be sure to include various shapes, sizes, and textures of buttons for the kids.
To frame the pumpkin, cut background patterned paper to fit inside the frame.
Write sentiment on striped (or a different patterned paper) and cut into a banner shape.
Attach finished pumpkin to the background paper using Craft Glue Dots.
Attach banner to the front of the pumpkin using Craft Glue Dots, or use Pop-Up Glue Dots for added dimension.
Assemble project inside of frame and start decorating for Halloween!
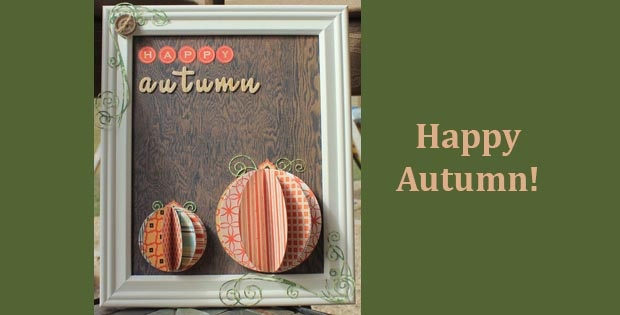
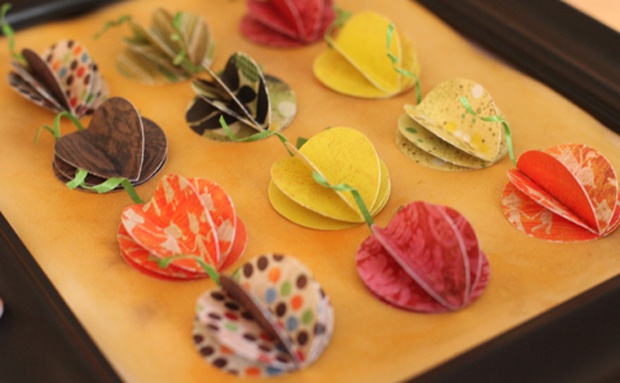
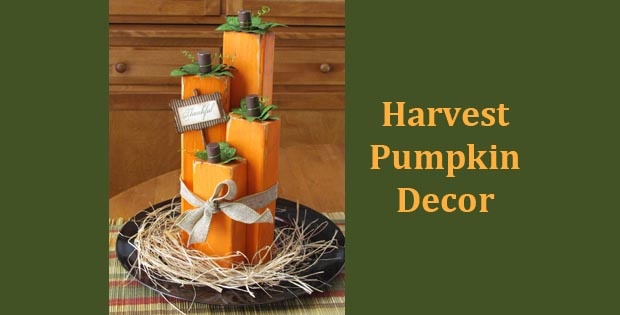
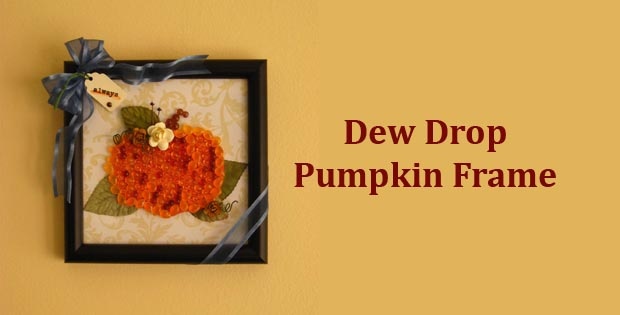
Have you seen our other Pumpkin Decor? Click on the images below to learn how make other pumpkin crafts and decorations.

The Team at Glue Dots consists of three highly creative individuals who find new ways and uses for Glue Dots products for every day life. We hope you like what we create. :-)

