Nursery Decoration - An Easy Idea
Posted on Mar 29, 2016 7:01:00 AM by The Team at GDIDesigner Donna from Memes Art Place shows you how to make a cute nursery decoration that's quick and easy. All you need is a frame, an image, Glue Dots, patterned paper, and embellishments (optional). It's soft and sweet and will add just a touch of vintage to your nursery's decor.
Designed by: Donna Budzynski
Time: 30 minutes
Level: Beginner
Size: 5” x 7”
Whether you're making a nursery decoration as a gift for a friend's nursery or your own, here's a quick way to add a touch of vintage to the decor.
Here's what you need: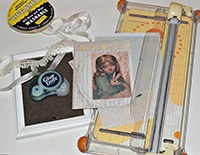
- 1" Glue Lines®
- Ultra-Thin Glue Dots®
- 5” x 7” Frame
- Paper
- 3" x 5" vintage card or photo (I used an image from The Graphics Fairy)
- Embroidery Floss
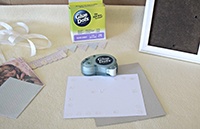
- Small resin decorative frames by Melissa Frances
- Butterflies
- Paper Trimmer
- Scissors
- Other embellishments as desired
Here's what you do: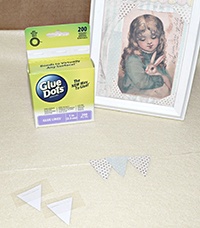
- Find your graphic or picture you will use and size it to a 3” x 5” print.
- Trim and cut all of your paper pieces that you have chosen and lay them out. Use the cardstock that came with the frame as your size guide.
- Start adhering your papers together using Ultra-Thin Glue Dots.
- Adhere banner flags to embroidery floss using 1" Glue Lines.
- Adhere banner to outside of frame and embellish as you like – I used butterflies and white resin frames.
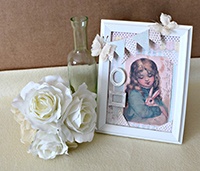
***Embellish any way you would like. I was going to incorporate lace and ribbon, but I decided to go with the resin frames and butterflies instead. Flowers would be very pretty also. Make it your own!
~Donna
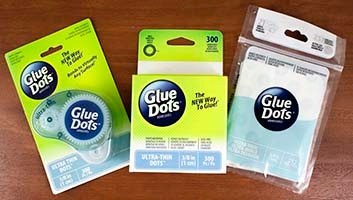
Use either format of Ultra-Thin Glue Dots for this project:
Glue Dots products are available at the following retailers:
The Team at Glue Dots consists of three highly creative individuals who find new ways and uses for Glue Dots products for every day life. We hope you like what we create. :-)


