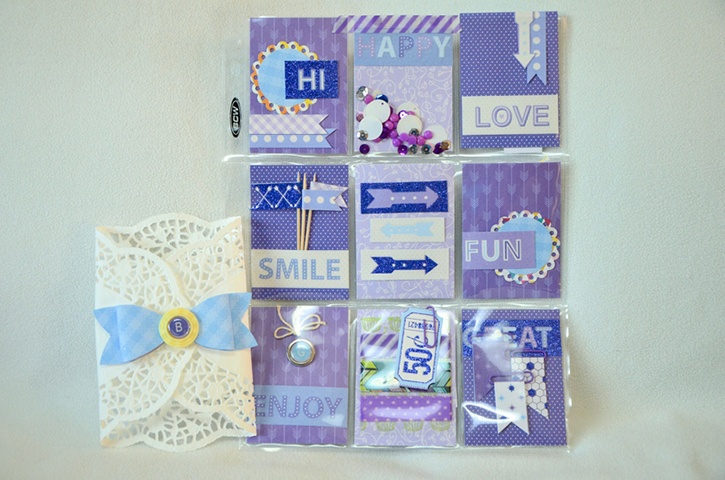
Pocket letters are hitting the crafty community like a storm! It’s the fun way to get to know other crafters as well as swap products. Learn how Designer Grace makes her Pocket Letters and if you're new to the concept, watch her step-by-step tutorial on what's about!
Designed by: Grace Tolman
Time: Approximately 35 minutes
Level: Beginner
Size: (folded and ready for mailing) 9" x 4" x 1/4" , (opened) 9" x 11 1/3”
I use some of my favorite Glue Dots adhesive to put together a letter that I can’t wait to mail to my new crafty friend.
Here's what you need:
- Glue Dots® Advanced Strength
- Glue Squares®
- Removable Glue Dots®
- Trading Card Sheet Protectors
- Bubble stickers and charm holders- Epiphany Crafts
- Pattern papers - Marquee stack, Die Cuts With A View (DCWV)
- Paper clip
- Doily
- Sequins
- Toothpick
- Twine- Lemon drop, The Twinery
- Washi Tapes
- Tag and circle punches
- Scallop circle die- Nestabilities, Spellbinders
- Paper Trimmer
- Scissors
Here's what you do:
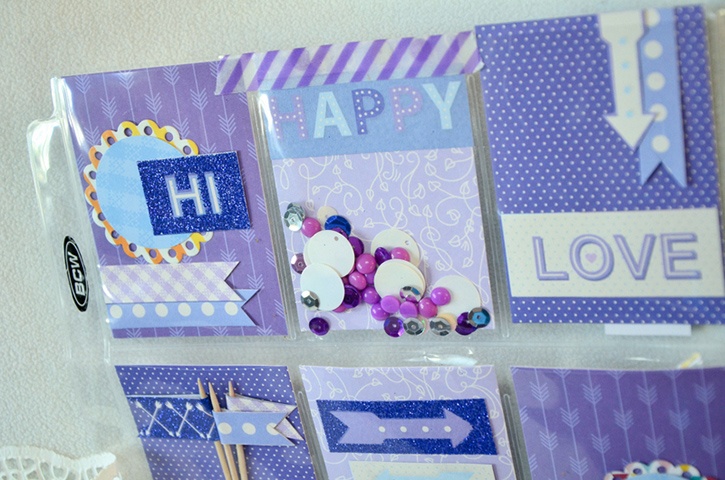
Cut out three, 3 ½" x 2 ½" pieces from different colored purple papers. Cut out words from a pattern paper stack as well as the ticket stub designs and strips of papers from the same stack.
Decorate each pocket using assorted papers and cut apart accents. Adhere the different layers together with Glue Squares.
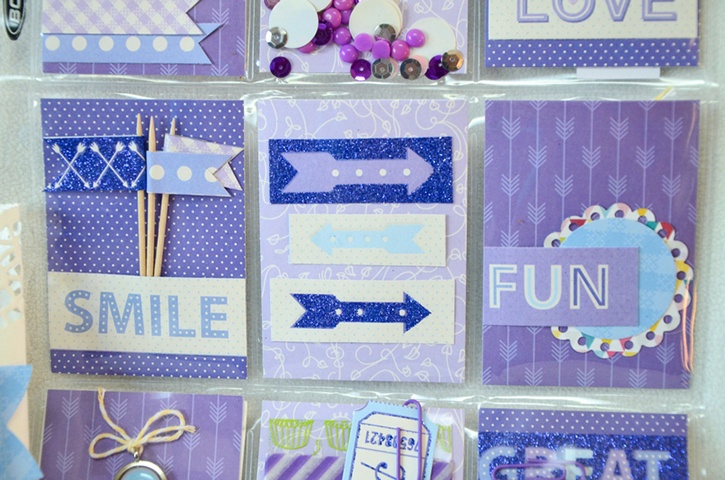
To make the toothpick banners: Add Stitch Glue Squares adhesive on the back of the paper strip. Adhere the toothpick to the center of the paper strip, fold and cut the ends into notches. Repeat to make two more toothpick banners.
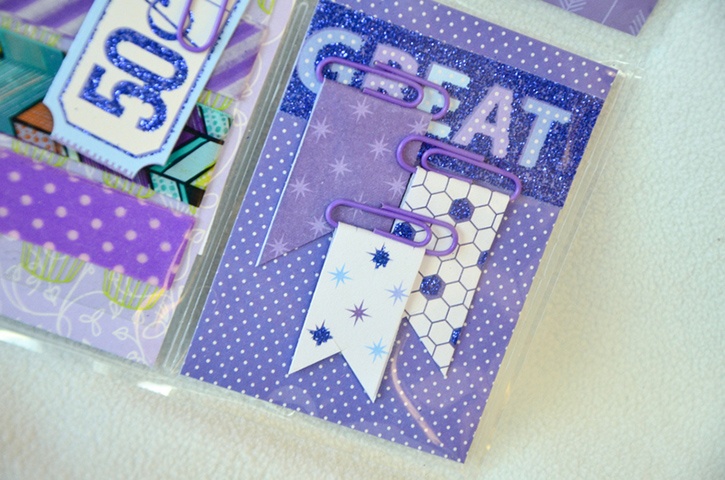
To make the paper clip accents: Slip the paper strip through the bottom of one of the clips. Add Glue Squares to the back side of the paper. Fold and cut the ends into notches. Repeat to make two more accents. Adhere to the paper using Removable Glue Dots.
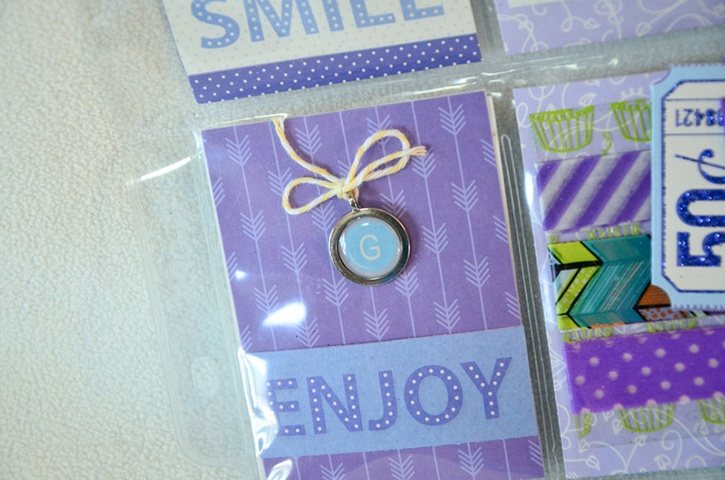
To make monogram accent: Adhere a bubble sticker over the letter chosen from paper. Trim the edges. Adhere to the metal pendant using Glue Dots Advanced Strength adhesive. Thread the twine to the pendant loop, tie into a bow.
Slip the pocket letter goodies through the sheet protector pockets. *Add tape over the pocket with the sequins so they won’t fall out.
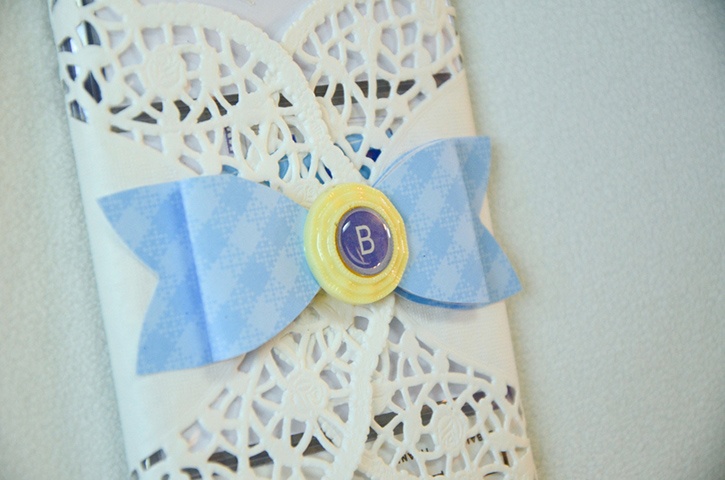
Fold the page protector. Wrap the doily around the center and adhere the ends together with Glue Dots Advanced Strength adhesive.
Create a bow using a template or your die cut machine. Put together the dimensional accent with Glue Squares.
Create another monogram using the plastic circle accent instead of the metal charm. Adhere it to the center of the bow using more Glue Dots Advance Strength adhesive.
To better understand what this project is, watch my complete tutorial below:

I’m a mom to a 10 year old boy and an 8 year old girl. Therefore my life is usually filled with learning, new discovery, bribery and driving to and from all of our activities. I have a loving and very supportive husband of 11 years. When the kids have gone to bed at night, my time is spent crafting while catching up on my favorite shows and movies. I also enjoy reading, window shopping, knitting and perusing blogs for inspirations. Three years ago we moved to Colorado from California and we are enjoying our new environment. I feel very inspired with my new home, my new scrapbook space and the mountain views. Although I’ve been doing some type of scrapbooking since grade school, I only started to scrapbook seriously after my son was born. When he was born I knew I would be staying at home with him but coming from a fast paced sales job I was afraid I would ran out of things to do during the day. Little did I know that with newborns you won’t have any time to do anything else. Anyways, after going through a basic scrapbooking class I was hooked and haven’t stopped scrapping since.


