Designer Grace shows you how to make a Poinsettia Christmas card with papers from DCWV stack, cardstock and Glue Dots.
Designed by: Grace Tolman
Time: Approximately 15 minutes
Level: Beginner
Size: 5 ½” x 4 ¼”
Here's what you need:
- Glue Lines®
- Pop Up Glue Dots®
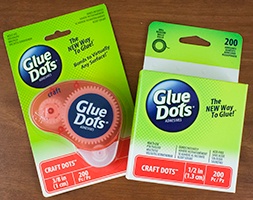
- Craft Glue Dots®
- Papers- Candy Cane Lane stacks, Die Cuts With a View
- Cardstock- White, Worldwin Papers
- Button- Glittered, American Crafts
- Twine- Red, Doodlebug Design Inc.
- Scallop punch- Fiskars

- Scissors
Here's what you do:
- Create the card base with white cardstock. Fold to create a vertical card.
- Cut out a piece of black diagonal paper measuring 4 x 5 ¼” and adhere to the card using some Glue Lines
- Cut a piece of newspaper patterned paper measuring 3 ¾ x 3 ¾”. Cut out a box inside the paper measuring 3 ½ x 3 1/2 “.
- Punch out a scallop border on the red/white dot pattern paper strip. Adhere them onto the top and bottom sides of the homemade frame using some Glue Lines. Trim off the excess.
- Adhere the frame with the scallop border on the center of the card using some Glue Lines
- Hand cut the poinsettia flowers from pattern paper. Adhere them on top of each other using some Pop Up Glue Dots®
- Thread some twine through the glittered button and tie into a bow for a finished look. Adhere to the center of the flower using some Craft Glue Dots®
- Handcut the sentiment from a pattern paper and adhere to the top of the frame using some Pop Up Glue Dots®
~Grace
Either format of Craft Glue Dots work to complete this project:
Glue Dots products can be found at your local:

The Team at Glue Dots consists of three highly creative individuals who find new ways and uses for Glue Dots products for every day life. We hope you like what we create. :-)

