Santa Countdown to Christmas Calendar
Posted on Nov 11, 2015 6:16:35 AM by The Team at GDIWe're getting ready to count down to Christmas with a free printable! Designer Dawn created an adorable Santa countdown calendar that can be enjoyed by the whole family!
Designed by: Dawn Barrett
Time: 30 minutes
Level: Beginning
Size: 12 x 17 inches
Add a cotton ball to Santa’s beard each day with Craft Glue Dots. Whether you count up to day 25 or count down the days left until Christmas Day, this craft will delight anyone who enjoys the magic of Santa!
Here's what you need:
- Glue Lines®
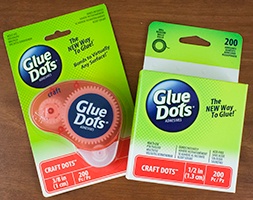
- Craft Glue Dots®

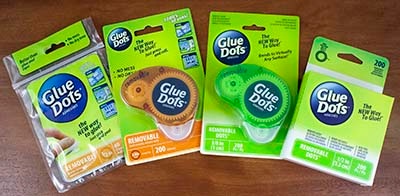
- Removable Glue Dots®
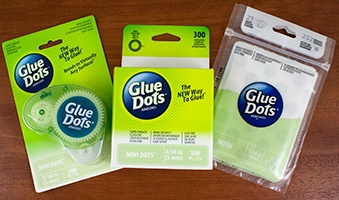
- Mini Glue Dots®
- Pop Up Glue Dots® (optional)
- Glue Dots® Countdown to Christmas printable on white cardstock
- DCWV Candy Cane Lane Paper Stack
- 12 inch peapod card stock (2 pieces)
- Crayola Crayons or markers
- Cotton balls

- Bling from the Eyelet Outlet
- Silver trim
- Fiskars Paper Trimmer
- Ruler
- EK Success Cutter Bee Precision Scissors
- Scallop Border Punch (Stampin Up)
- Holly die (retired Sizzix)
- Sizzix BigShot
Here's what you do:
- Print the Santa Countdown Calendar printable from Glue Dots. Click here to download. Note: Santa's face prints on two pages. check to make sure your printer is not set to to print back-to-back before printing.
- Trim one inch off each page of the printable cutting off the Glue Dots label. Be sure to trim each page the same amount. Trim off the unprinted top beard margin on the 2nd page of the printable.
- Using Glue Lines, adhere the second page on top of the first page. Be sure to line up the outline to form the Santa face.
- Have your child use crayons or markers to color in the hat, mouth, and face. Leave the beard uncolored. Another option is to print the first page of the printable onto red Candy Cane Lane Paper. Cut out the hat and mouth. Use Glue Dots to piece it to the white card stock. Mini Glue Dots are a good size for smaller edges.
- Create a mat out of the peapod papers that measures 12 x 17 inches by overlapping the two sheets of cardstock using 1" Glue Lines. Add borders as you wish using other papers from the DCWV Paper Stack. Use a border punch and layer papers to give added interest to your project. Use 1" Glue Lines to adhere the colored Santa Face on top of the mat.
- Add additional decorations to embellish Santa, such as bling, trim, and holiday die cuts. Optional: Use Pop Up Glue Dots to add dimension to your die cuts.
- Use Removable Glue Dots to hang up your countdown calendar.
Tips: Place Craft Glue Dots onto the printed circle and then press a cotton ball onto the dot. Fluff your cotton ball before adhering to the Countdown Calendar.
~Dawn
Any of the following formats can be used to complete this project:
Glue Dots products can be purchased at:

The Team at Glue Dots consists of three highly creative individuals who find new ways and uses for Glue Dots products for every day life. We hope you like what we create. :-)

