We're getting ready for a new school year with a school plan command center. Set your student (or yourself) up for success with a quick command center complete with a calendar, pins for notes and marker/pencil holder. Creative Maker Grace shows you how easy it is to make a school plan command center for your home.
Made by: Grace Tolman
Time: Approximately 45 minutes
Level: Beginner
Planning is part of a successful school year. Inspire yourself or your child with this DIY command center. It has an erasable calendar, a pocket to hold pens and markers and homemade pins to preserve important little notes.
Here's what you need: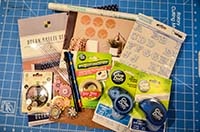
- Glue Squares®
- Permanent Glue Dots®
- Glue Dots® HybriBond™ Repositionable Mounting Tape
- Cork- Natural Cork Stack, Die Cuts with a View
- Pattern papers- Ocean Breeze, Die Cuts with a View
- Chipboard letters- Family Jeans, GCD Studios
- Contact Paper- Duck
- Stamps- (Alphas) Typewriter, Plaid Enterprises; (days of the week) Pretty Planners, Inspired By Stamping
- Brad settings- Epiphany Crafts
- Black Ink, Hybrid, My Favorite Things
- Black Pen
- Ruler

- Pencil
- Scissors
Here's what you do:
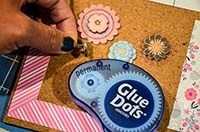
- Cut out 5 cork sheets to 11" x 12" pieces. Adhere them onto one another using Permanent Glue Dots.
- Cut ¾" strips of pink diagonal pattern paper. Add them to the corners of the cork board to create the frame. Adhere them using more Permanent Glue Dots.
- Cut a piece of white cardstock measuring 8" x 4 ½". Create lines to make a calendar. You can personalize this to fit your school needs. Use pencil first to make sure that the lines are how you want it and then finalize the marks with a pen. Stamp or write down the days of the week and title. Add some pattern paper strips on the top if you want to decorate it more. Cover the entire piece with contact paper. Trim off the excess. Adhere to the cork using Permanent Glue Dots.
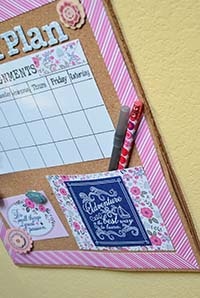
- Add the chipboard title on the top.
- Cut a piece of the floral pattern paper to 5" x 3 ¾". Adhere the sentiment block to the center with Permanent Glue Dots. Add Glue Squares to the three sides of the floral paper (all but the top one) and adhere to the cork board leaving some room to be able to fit the pens and pencils.
- Adhere the layered flowers to the brad setting with Permanent Glue Dots adhesive.
- Add some more layered flowers to the top of the board with Permanent Glue Dots.
- Adhere to a wall or door using HybriBond Repositionable Mounting Tape.
~Grace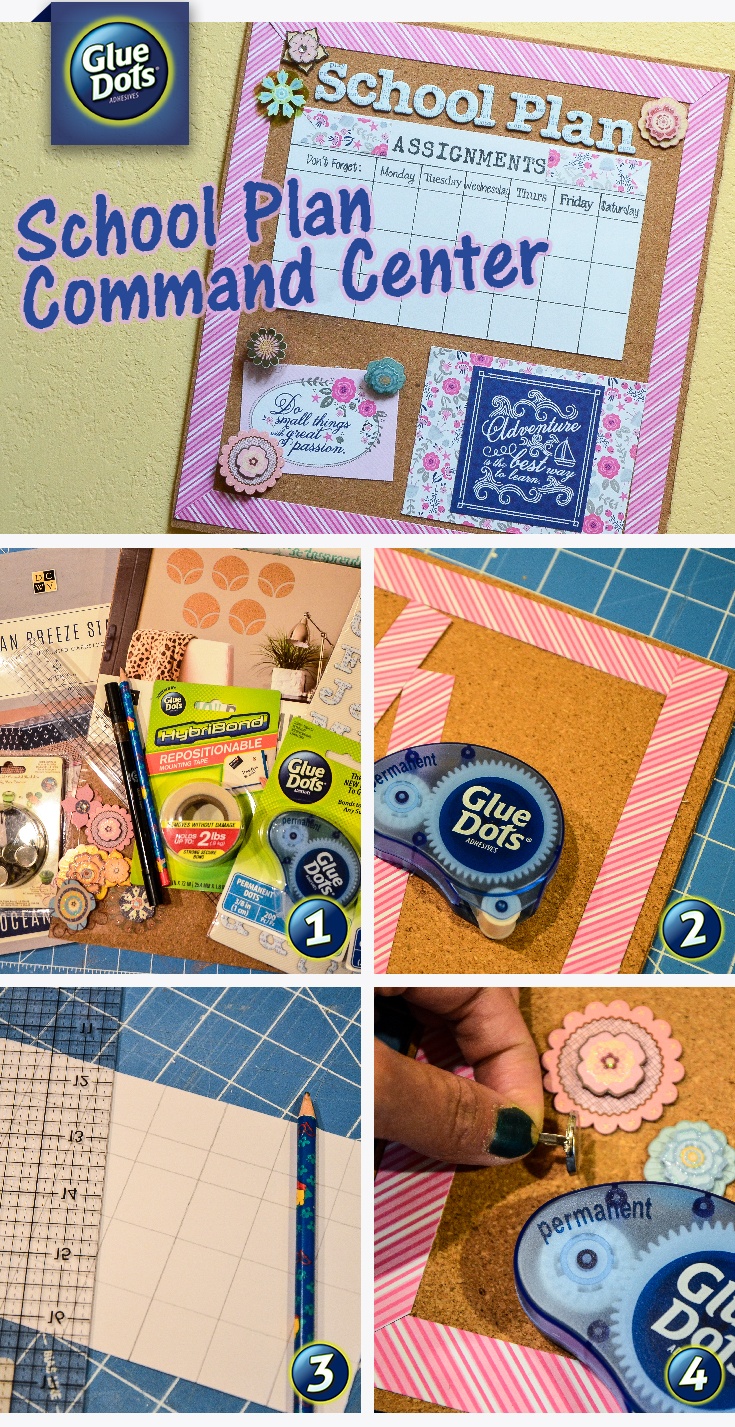


I’m a mom to a 10 year old boy and an 8 year old girl. Therefore my life is usually filled with learning, new discovery, bribery and driving to and from all of our activities. I have a loving and very supportive husband of 11 years. When the kids have gone to bed at night, my time is spent crafting while catching up on my favorite shows and movies. I also enjoy reading, window shopping, knitting and perusing blogs for inspirations. Three years ago we moved to Colorado from California and we are enjoying our new environment. I feel very inspired with my new home, my new scrapbook space and the mountain views. Although I’ve been doing some type of scrapbooking since grade school, I only started to scrapbook seriously after my son was born. When he was born I knew I would be staying at home with him but coming from a fast paced sales job I was afraid I would ran out of things to do during the day. Little did I know that with newborns you won’t have any time to do anything else. Anyways, after going through a basic scrapbooking class I was hooked and haven’t stopped scrapping since.


